What is a Spot Welder?
Spot welders are electrical tool that is used to weld two metallic plates together by the application of pressure & electrical current. Spot welding is used in a wide array of industries, which includes but is not limited to sheet metal & automotive industries; notably for the assembly of sheet steel vehicle bodies. They provide a strong weld & are easy to build with a small number of components. So, in this article, we will go over a step-by-step process on How To Make A Spot Welder Using a High-Voltage Capacitor.
Spot welding makes use of the phenomenon of Resistance welding; Resistance welding is the joining of metals by applying pressure and passing electrical current for a length of time through the metal area which is to be joined, creating a strong & focused weld nugget.
Hardware Components
The following components are required to make Spot Welder
| S.No | Component | Value | Qty |
|---|---|---|---|
| 1. | Electrical Probes | – | 2 |
| 2. | Capacitor | 20uF/440VAC | 1 |
| 3. | Insulated Copper wire | 1.5mm | As per need |
| 4. | Safety Gloves & Goggles | – | 2 |
| 5. | wire connect terminals | – | 1 |
| 6. | Soldering Iron | 45W – 60W | 1 |
| 7. | Soldering wire & flux | – | 1 |
| 8. | Hard Plastic Bottle w/ cap | – | 1 |
| 9. | Flat Screwdriver | – | 1 |
| 10. | Insulating work Surface | (Wood/Plastic) | 1 |
| 11. | Bench Stand with clips | – | 1 |
| 12. | AC Wall outlet | 220V | 1 |
Useful Steps
The following are the steps on ‘How To make a spot welder’. BE EXTREMELY CAREFUL when working with 220V AC sources & high voltage capacitors.
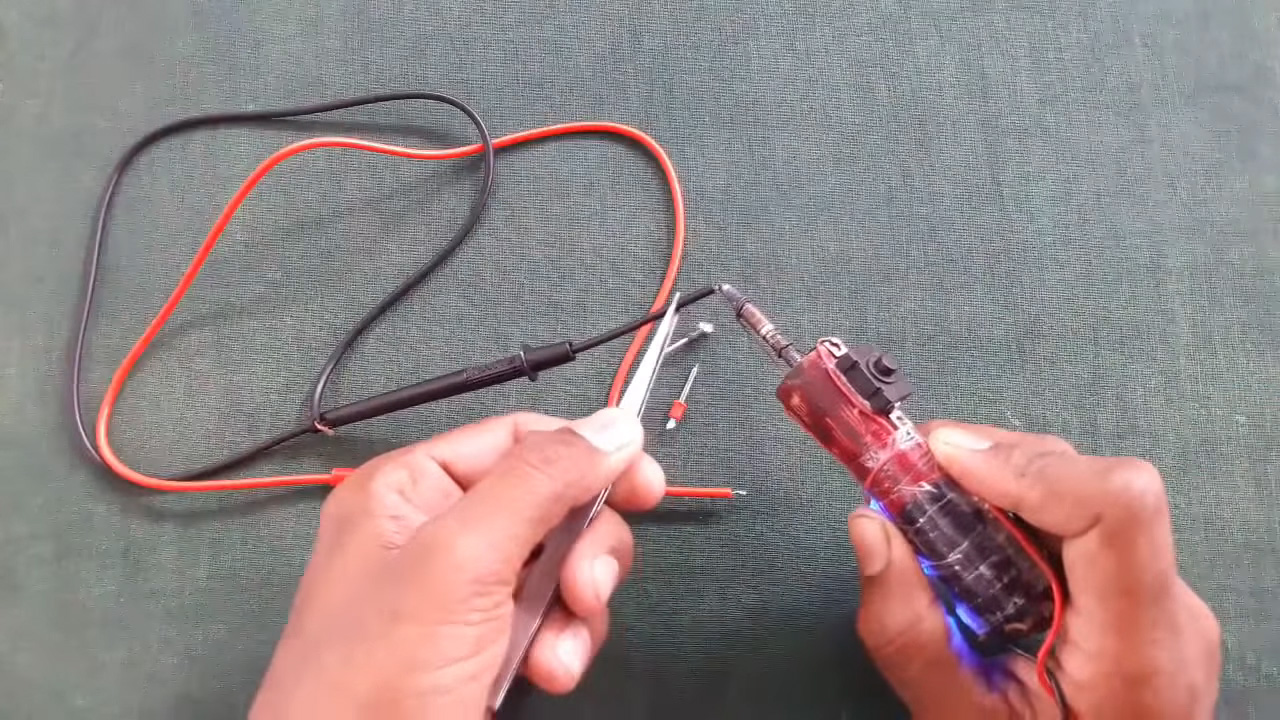
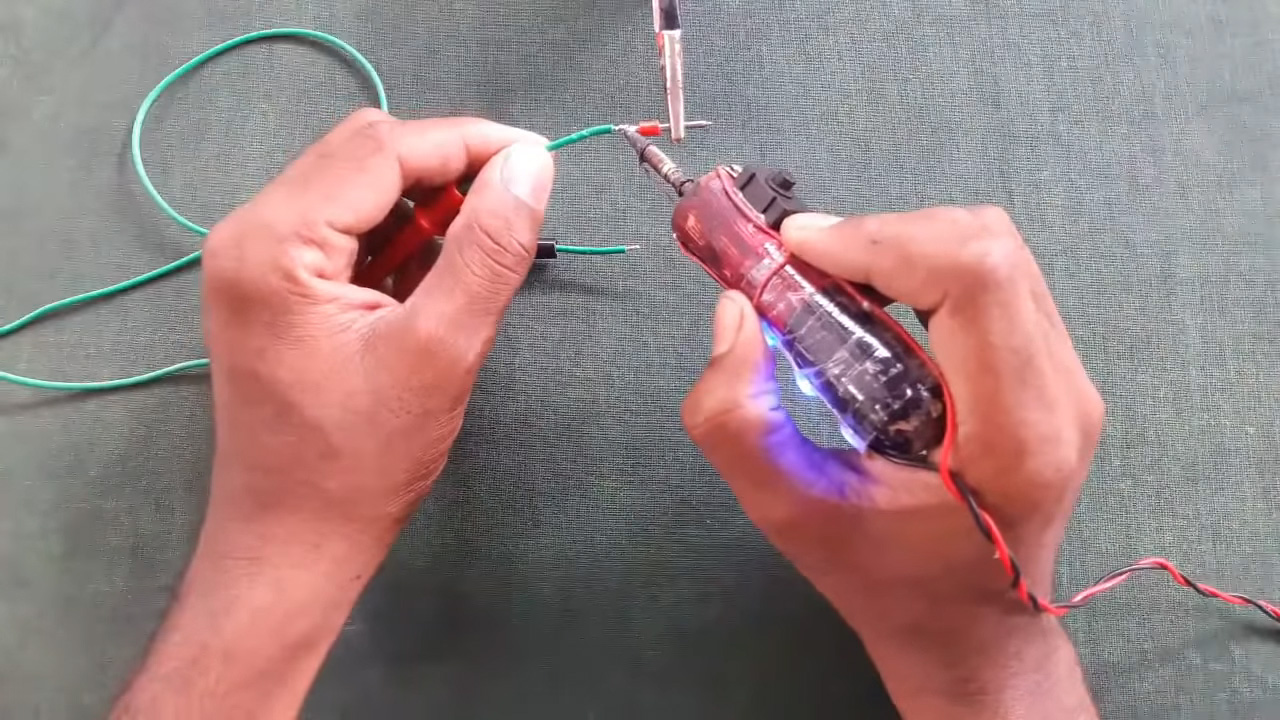
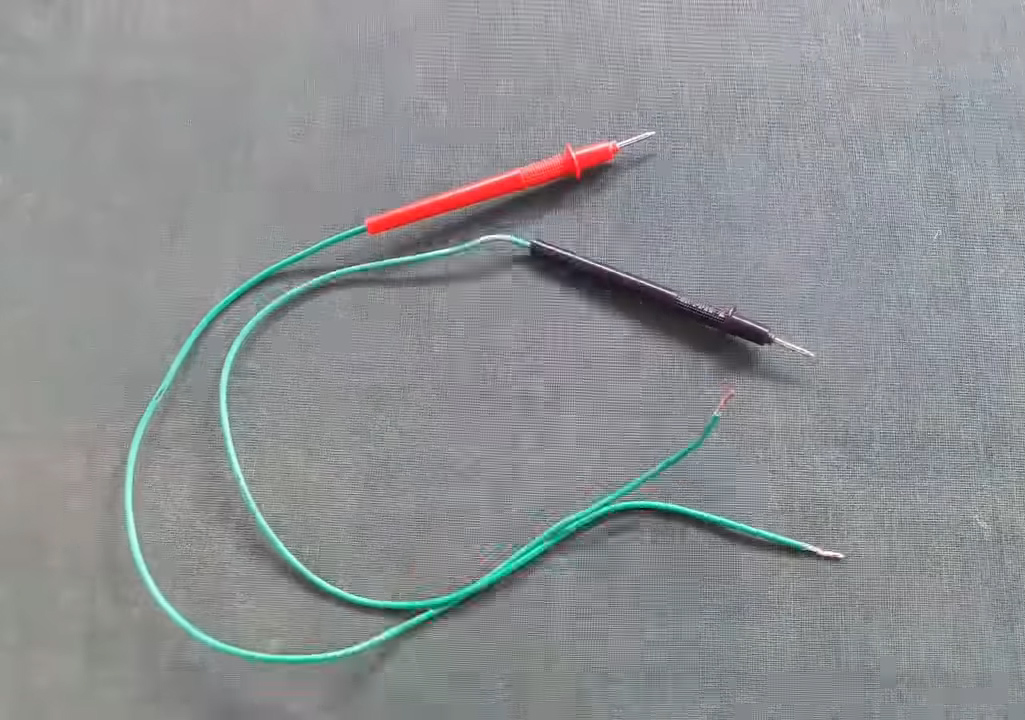
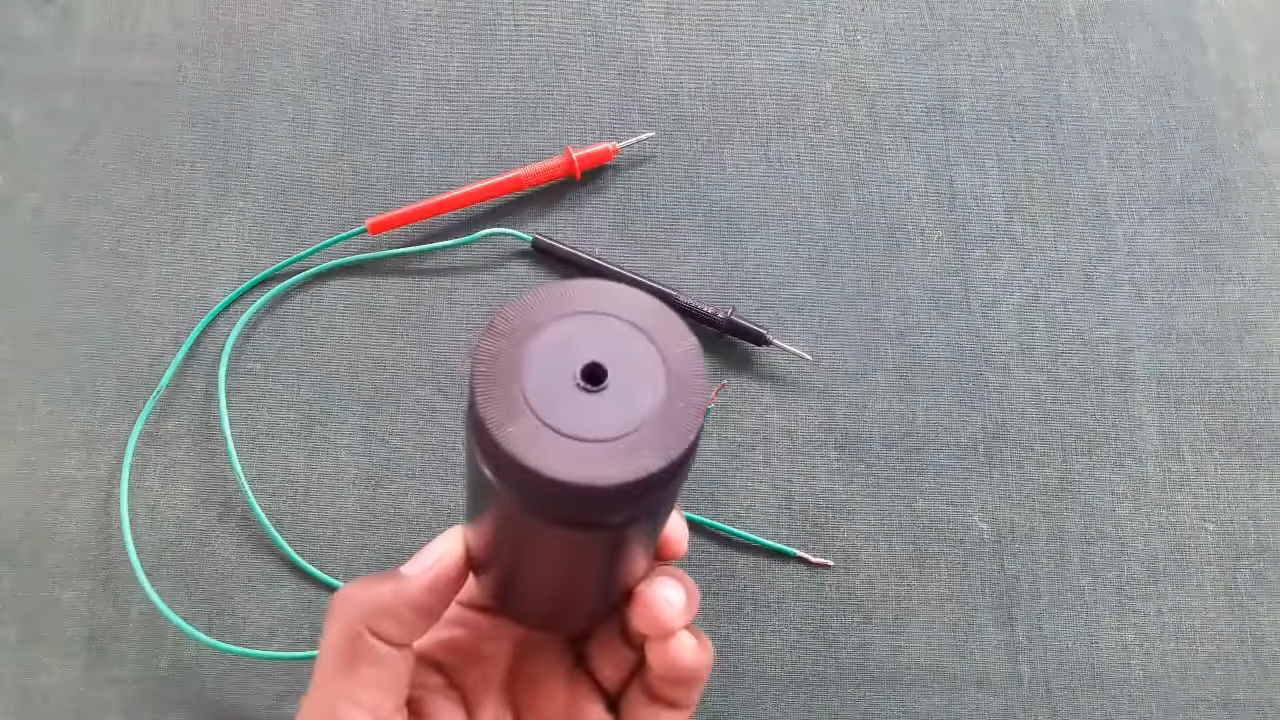
1) Remove the leads of the two electrical probes & solder them on the ends of the 1.5mm insulated copper wire.
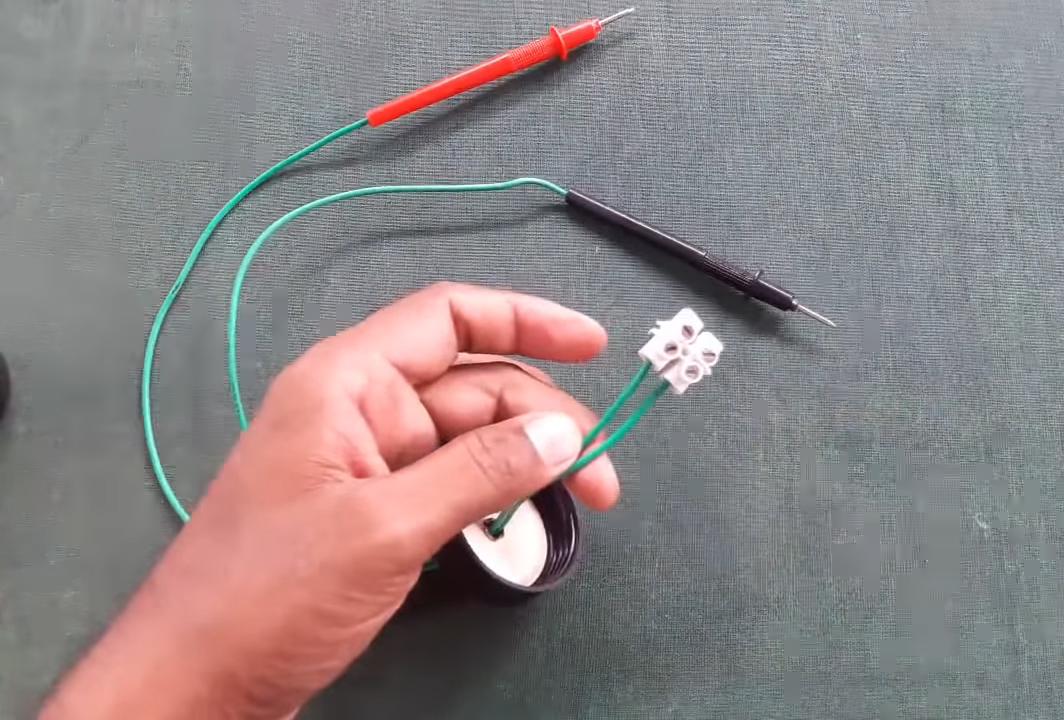
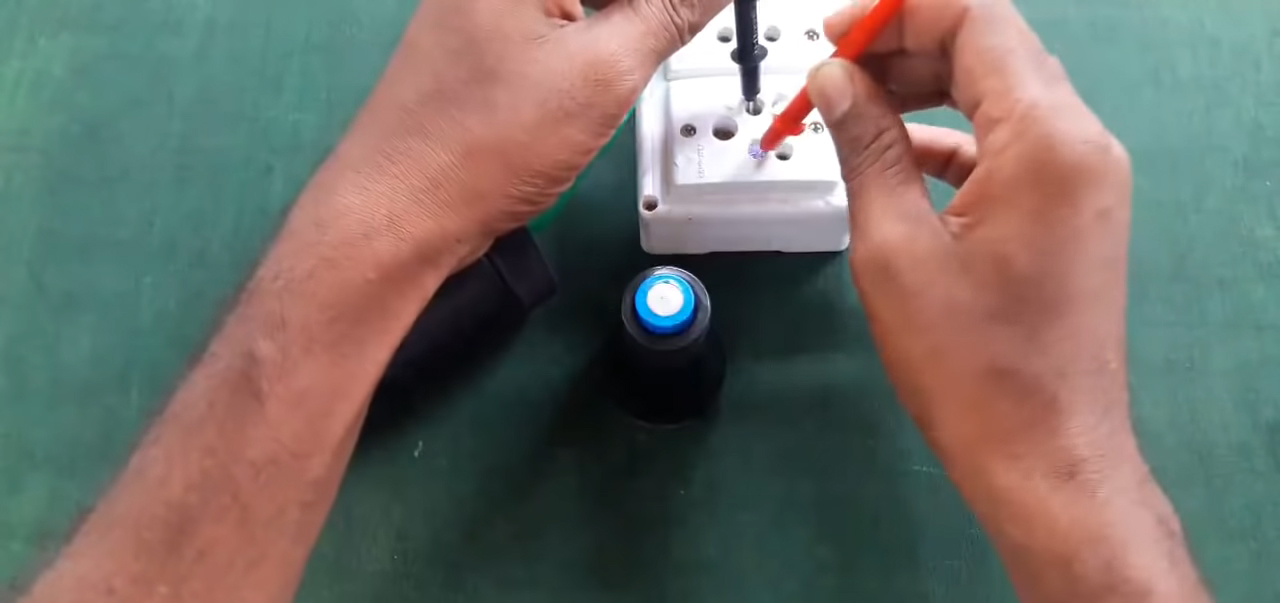
2) Make a hole on the cap of the empty plastic bottle & connect the end of the wires to a 2-terminal rail connector through the cap of the bottle.
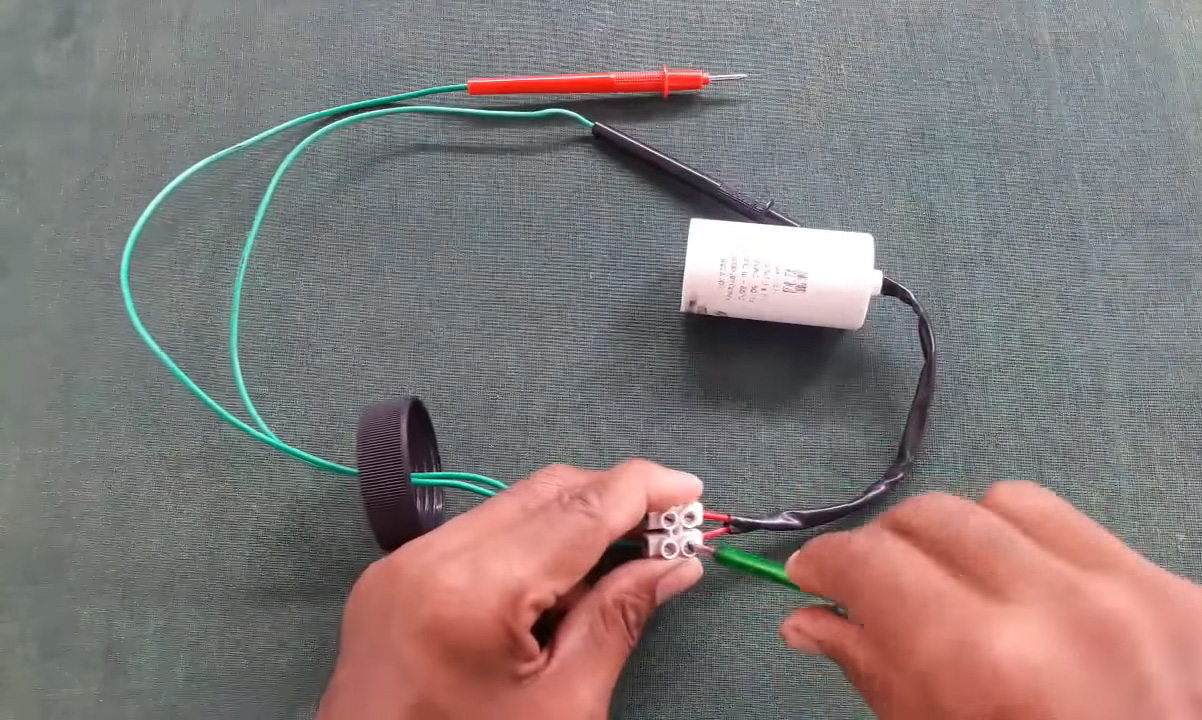
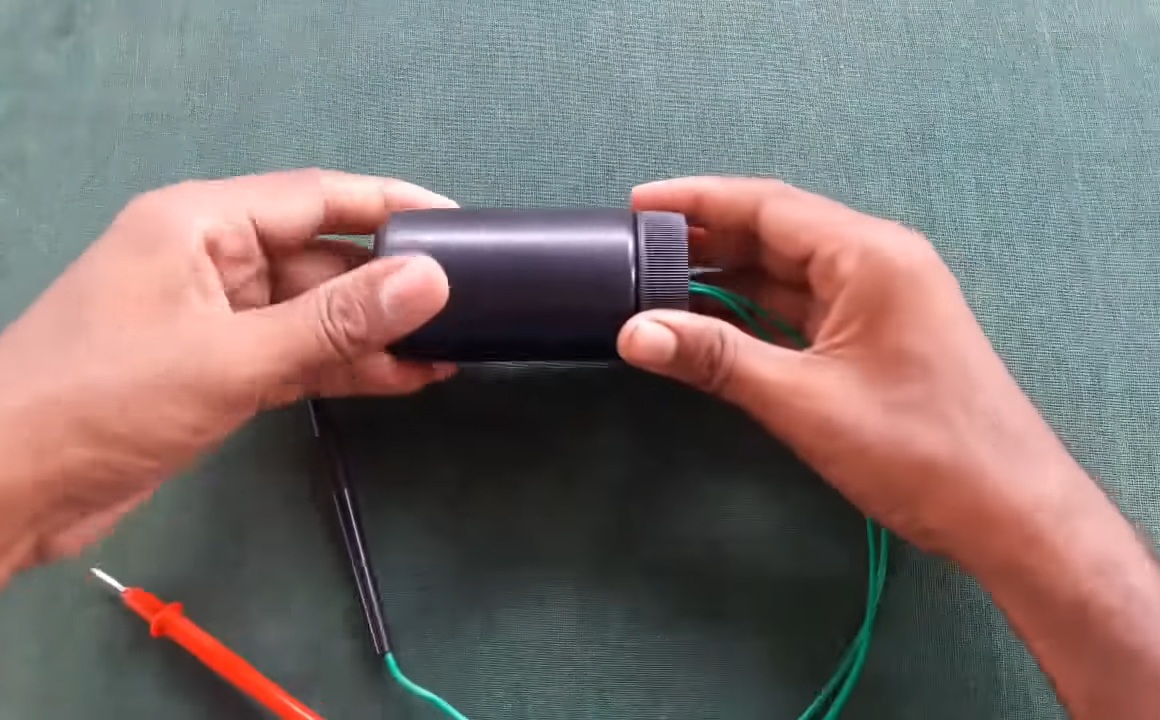
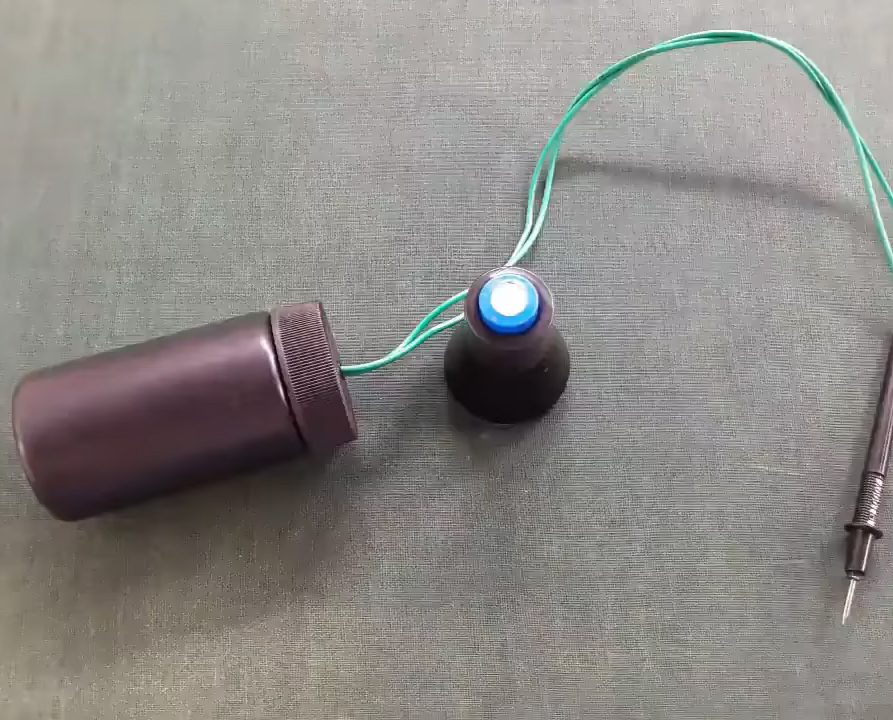
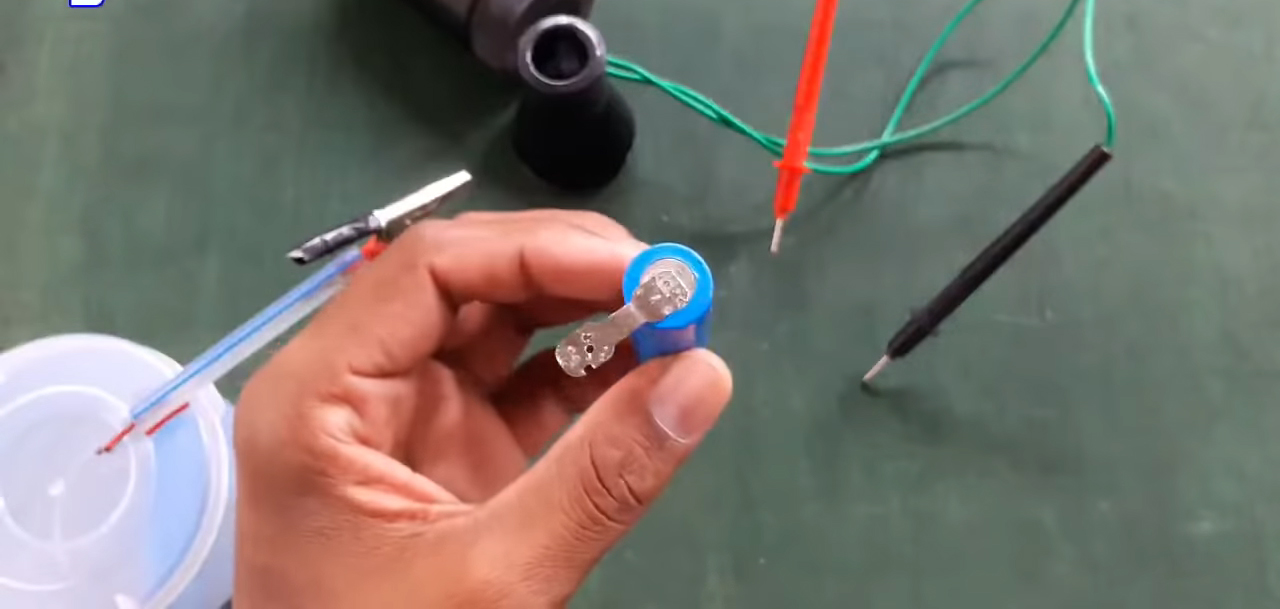
3) Connect the +ve & -ve terminal of the capacitor to the +ve & -ve probes respectively, then put the capacitor & the power within the plastic bottle & firmly secure the lid.
4) Place the metallic surface to be welded to another surface ( here we are using the metal terminal of a DC battery) on an insulative surface (preferably a plastic/wooden stand)
4) Welding: Wear gloves & safety goggles, and place the two probes in the live & neutral terminals of a 220V AC for a few seconds to charge the capacitor. (DO NOT AT ANY POINT IN THIS PROJECT TOUCH THE METALLIC PART OF THE PROBES AFTER CHARGING THE CAPACITOR AS YOU CAN GET A DEADLY SHOCK!).
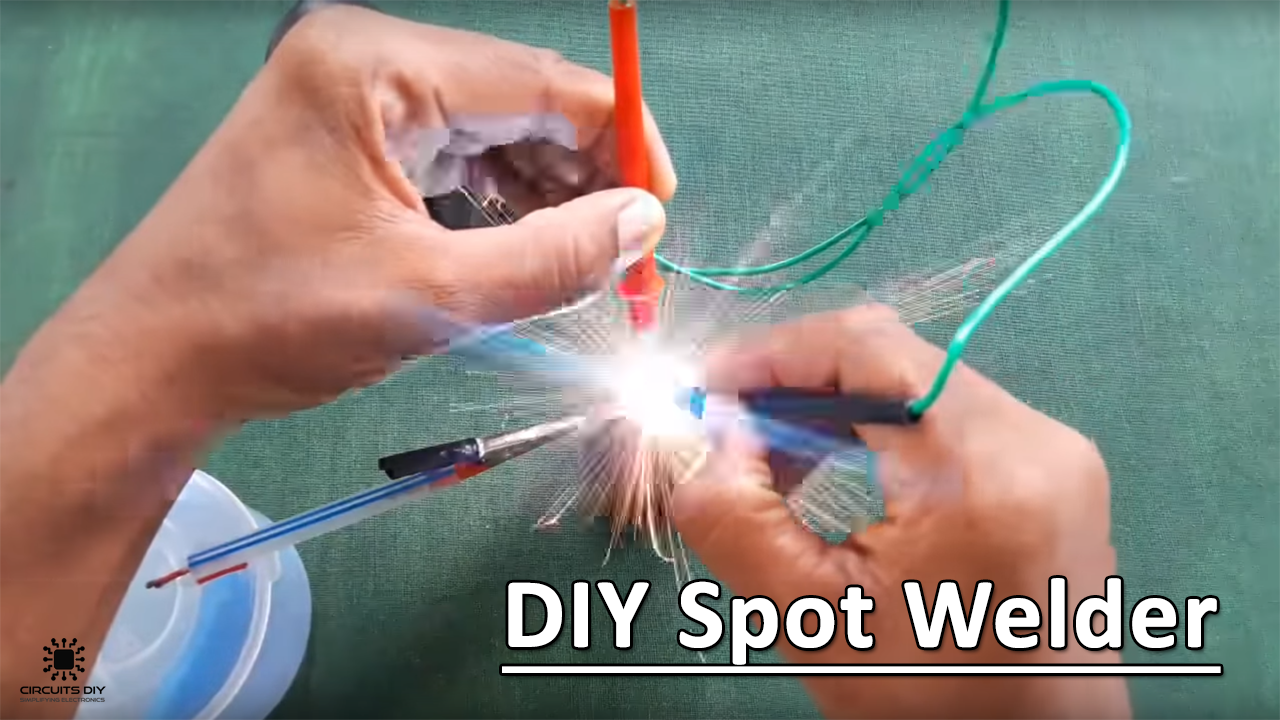
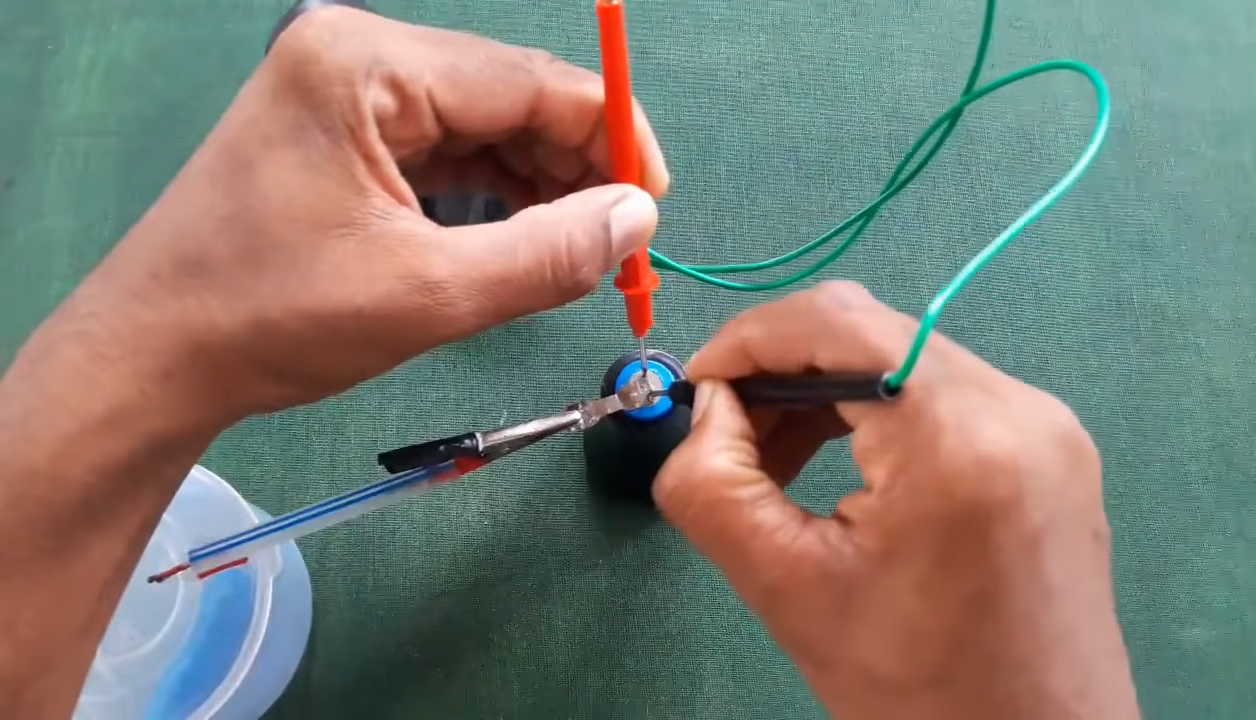
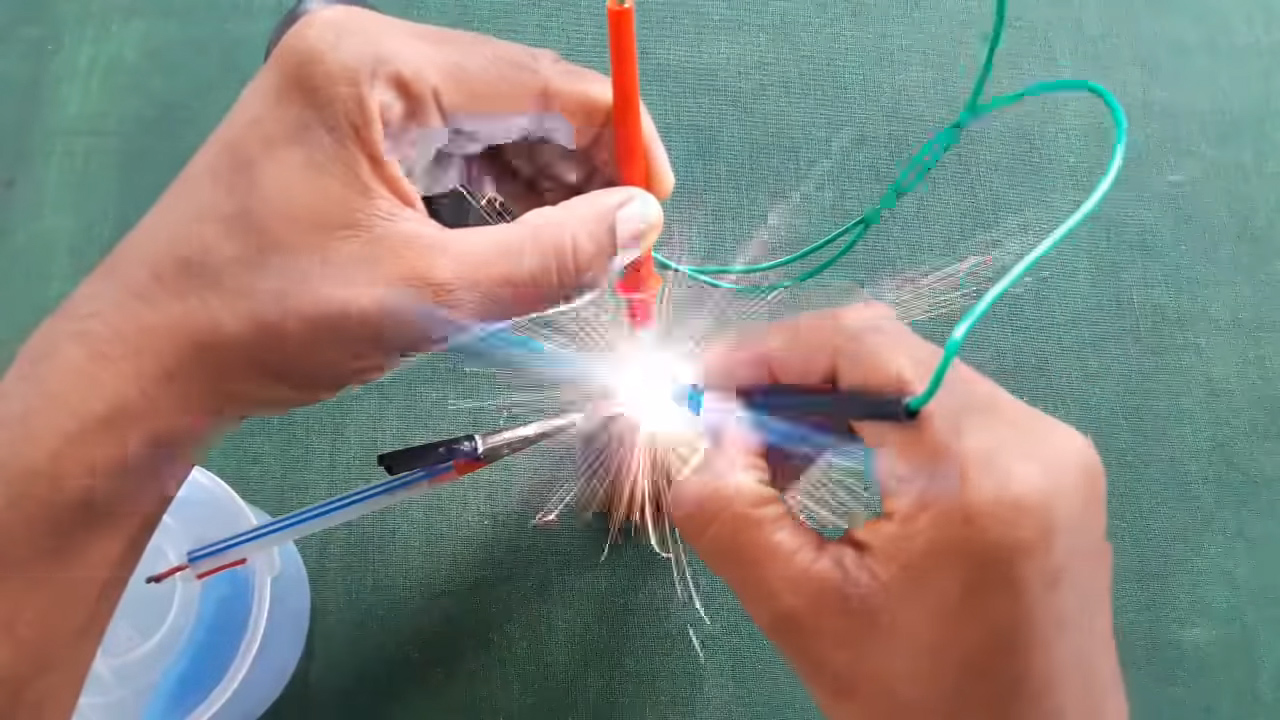
5) Secure the metal piece to be welded by using a welding stand with alligator clips & place them on top of each other so that they are in contact with each other. Place one of the probes on the bottom metal piece & press the other probe on the top metal sheet. Some sparks will fly, after which you should see a secure weld nugget. Fully Discharge the capacitor after every weld.
Working Explanation
Spot welding utilizes the geometry of the welding electrodes to point the welding current at the required weld location, as well as the pressure to weld the workpieces together. Once sufficient resistance is produced, the materials are set down and combined, and a secure weld is formed.
Precautions
- DO NOT touch the metallic part of the probes after charging as it can give you a deadly shock.
- DO NOT touch the surface of the two metallic bodies while welding as it can give you a bad shock.
- ALWAYS Discharge the capacitors fully after each spot weld.
- ALWAYS wear gloves & safety goggles during spot welding.
Application
- Spot welders are commonly used in places such as automotive fabrication units & Metal sheet factories.