Introduction
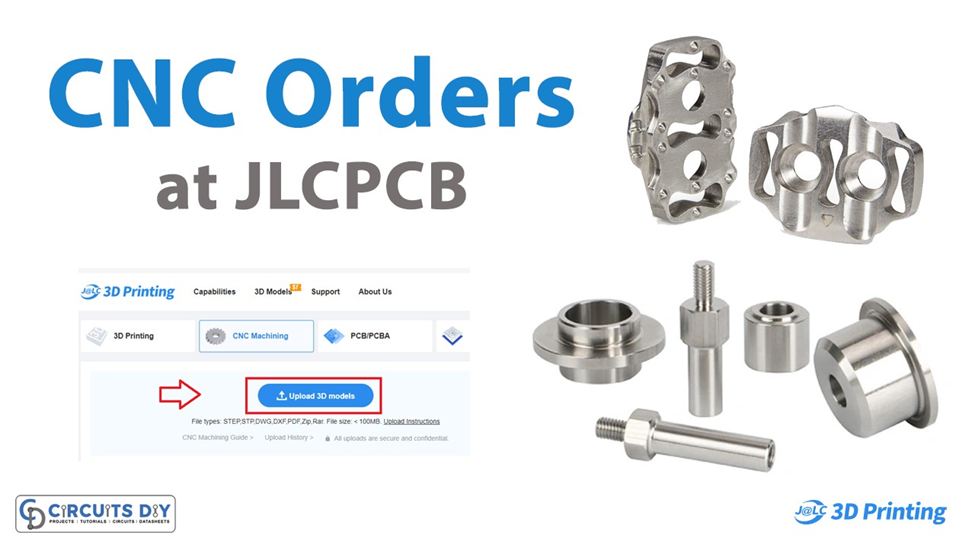
In the world of electronics manufacturing and prototyping, CNC (Computer Numerical Control) machining has revolutionized the way precision parts and prototypes are created. JLCPCB, a renowned name in the PCB (Printed Circuit Board) manufacturing industry, not only excels in PCB fabrication but also offers CNC machining services. This article serves as a comprehensive guide on how to place CNC orders at JLCPCB, walking you through each step of the process.
Step 1: Registration and Account Setup
Before you can start placing CNC orders at JLCPCB, you need to create an account on their platform. Visit their official website and navigate to the registration page. Provide the required information, including your email address and a secure password. Verify your email, and you’re ready to proceed.
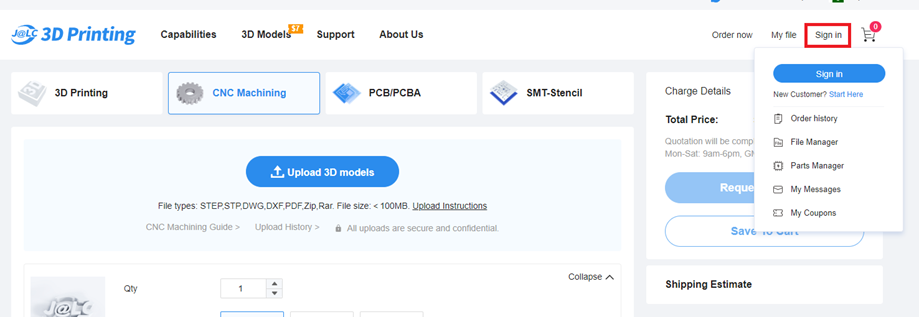
Step 2: Log In to Your Account
Once you’ve successfully created an account and verified your email, log in to your JLCPCB account using your credentials.
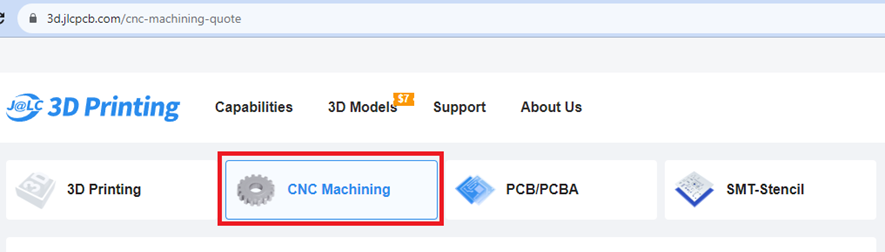
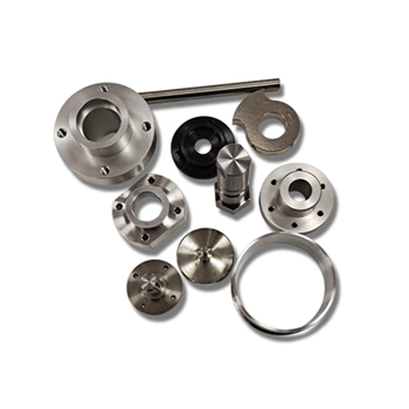
Step 3: Accessing the CNC Machining Service
After logging in, navigate to the CNC machining service page. This can typically be found under the “Services” or “Manufacturing” section of the website.
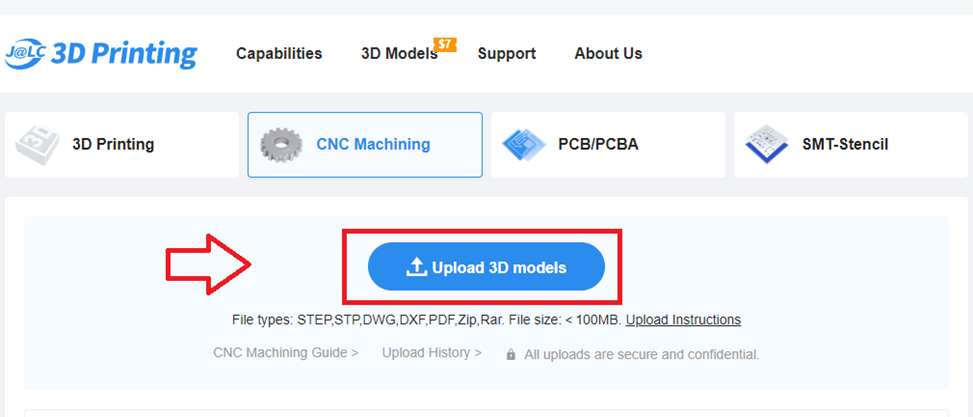
Step 4: Upload Your Design Files
Before you can place a CNC order, you need to upload the design files of the part or prototype you want to manufacture. Accepted file formats may include DXF, DWG, STEP, IGES, and more. Ensure that your design is properly prepared and follows the guidelines provided by JLCPCB for CNC machining.
Step 5: Select Material and Quantity
Once your design files are uploaded, you’ll be prompted to select the material you want for your CNC machined part. JLCPCB offers a variety of materials, each with its own unique properties and suitability for different applications. Additionally, specify the quantity of parts you want to order.

Step 6: Configure Machining Options
At this stage, you can configure various machining options to tailor your CNC order according to your requirements. This may include selecting the type of surface finish, specifying tolerances, and other relevant parameters. Be sure to review the options carefully, as they can impact the final outcome of your part.
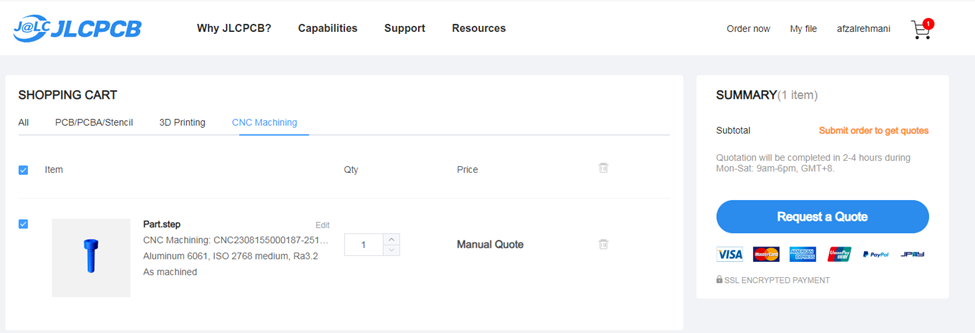
Step 7: Add to Cart
Once you’ve configured all the necessary options, you can add the CNC machining service to your cart. Review the order details to ensure that everything is accurate before proceeding.
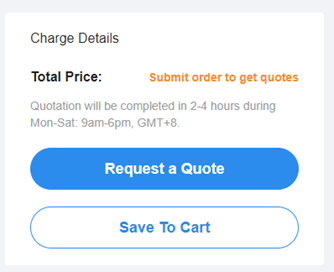
Step 8: Place Your Order
With the CNC machining service in your cart, you’re ready to place your order. Click on the “Checkout” or “Place Order” button, and you’ll be guided through the payment process. JLCPCB accepts various payment methods, so choose the one that suits you best.
Step 9: Review and Confirmation
After completing the payment, take a moment to review the order summary and confirmation. JLCPCB will usually provide you with an order number and estimated lead time for your CNC machined parts.

Step 10: Tracking Your Order
Once your CNC order is placed and confirmed, you can track its progress through your JLCPCB account. They usually provide real-time updates on the manufacturing and shipping status of your parts.
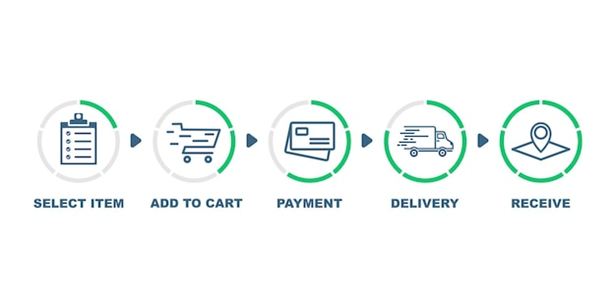
Step 11: Receive Your CNC Machined Parts
As the estimated lead time elapses, you’ll receive your CNC machined parts at the address you provided during the ordering process. Carefully inspect the parts to ensure they meet your expectations and requirements.
Conclusion
Placing CNC orders at JLCPCB is a streamlined process that ensures precision and quality. By following these steps, you can navigate through the ordering process with confidence, knowing that you’re partnering with a reputable manufacturing service provider in the electronics industry.