
Introduction
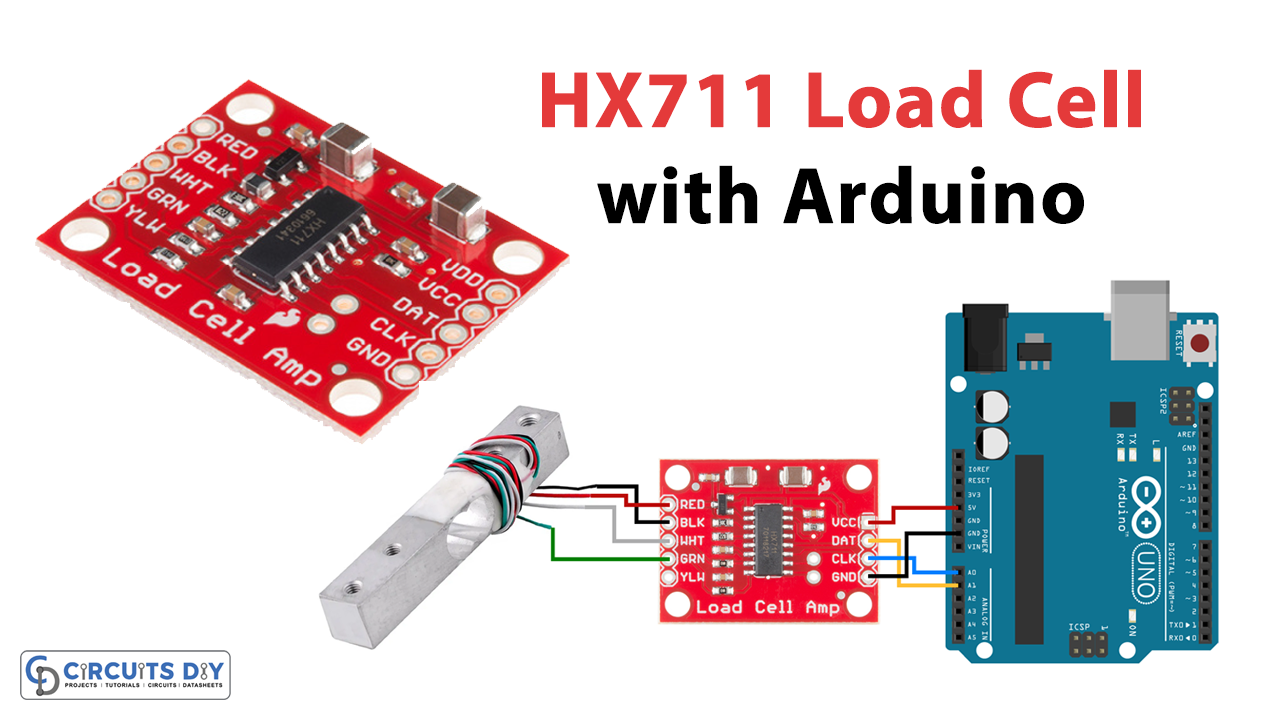
This tutorial will teach you how to use the HX711 to connect a load cell to an Arduino. Since fewer parts are in the circuit, it’s simpler to assemble. The circuit’s code is also much simpler for a beginner to understand.
The load cell amplifier HX711 is included in the making of this circuit. The HX 711 is a 24-bit analog-to-digital converter designed for industrial control and weighing scale applications that connect directly to a bridge sensor.
So, to make the circuit, let’s dive in!
What is a Load Cell?
Load cells are sensing devices that can measure loads. In other words, a load cell is an electromechanical device that, when subjected to force, transforms that force into an electrical signal. They are also called “load transducers” because of their ability to convert mechanical forces into electrical currents. When we apply a load, the resistance of the strain gauge will vary; as a result, the output voltage from the load cell will also change, which impacts how accurately we can estimate the load’s value.

Hardware Components
You will require the following hardware for Interfacing the Load Cell with Arduino using HX711.
| S.no | Components | Value | Qty |
|---|---|---|---|
| 1 | Arduino | UNO | 1 |
| 2 | 24-bit Analog to Digital Converter | HX711 | 1 |
| 3 | Load Cell | – | 1 |
| 4 | Breadboard | – | 1 |
| 5 | Jumper Wires | – | 1 |
In the hardware section, you can find a list of the hardware you need to connect a load cell to an Arduino with HX711. Once you have all of them, proceed with the following steps:
Schematic
Make connections according to the circuit diagram given below.

Wiring / Connections
| Arduino | HX711 |
|---|---|
| 5V | VCC |
| GND | GND |
| D2 | DT |
| D3 | HX711 |
Installing Arduino IDE
First, you need to install the Arduino IDE software from its official website, Arduino. Here is a simple step-by-step guide on “How to install Arduino IDE“.
Installing Libraries
Before you start uploading a code, download and unzip the following libraries at /Progam Files(x86)/Arduino/Libraries (default), in order to use the sensor with the Arduino board. Here is a simple step-by-step guide on “How to Add Libraries in Arduino IDE“.
Code
Now copy the following code and upload it to Arduino IDE Software.
// Hx711.DAT - pin #A1
// Hx711.CLK - pin #A0

#include "hx711.h"

Hx711 scale(A1, A0);

void setup() {

  Serial.begin(9600);

}

void loop() {

  Serial.print(scale.getGram(), 1);
  Serial.println(" g");

  delay(200);
}
Let’s Test It
It’s now time to test the circuit. The readings will appear on the serial monitor once you wire the circuit and upload the code to Arduino.
Working Explanation
To understand the working explanation, you need to understand the code. So here’s the code description:
- We first defined an Arduino’s analog pins connected to the module and named them.
- Then we include the required library. Know that it’s a crucial step to be done.
- Then, there is a void setup section. Here the code runs only once. So, here we only initialize the serial monitor by using the function Serial.begin.
- Next comes the void loop. Here the code runs in a loop. To measure the value coming from the sensor, we give the function scale.getGram(), and to print that value, we use the function Serial.print(). In the end, we give a little delay to get the next readings.
Applications
- Industrial control applications.
- Weighing scale devices.
Conclusion
We hope you have found this Interfacing Load Cell with Arduino using HX711 Circuit very useful. If you feel any difficulty making it feel free to ask anything in the comment section.
Related posts:
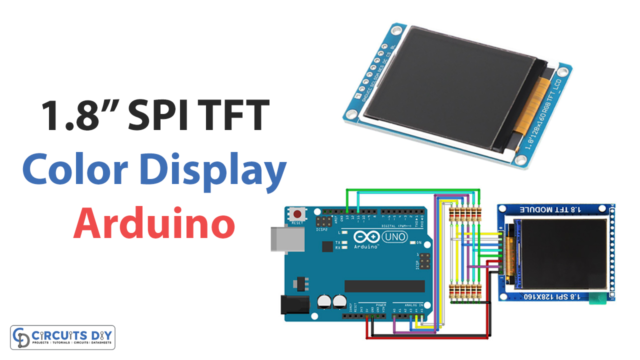 Interfacing 1.8 Inch SPI TFT Color Display Module with Arduino
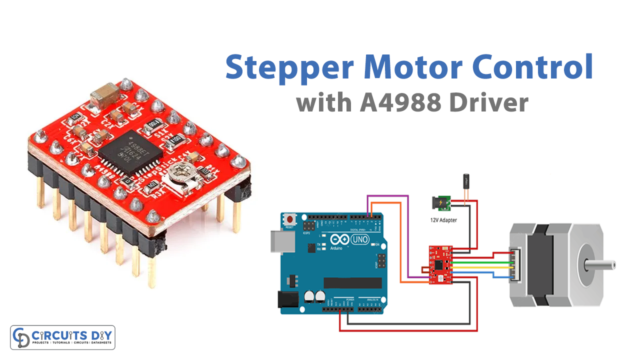 Control Stepper Motor with A4988 Driver Module & Arduino
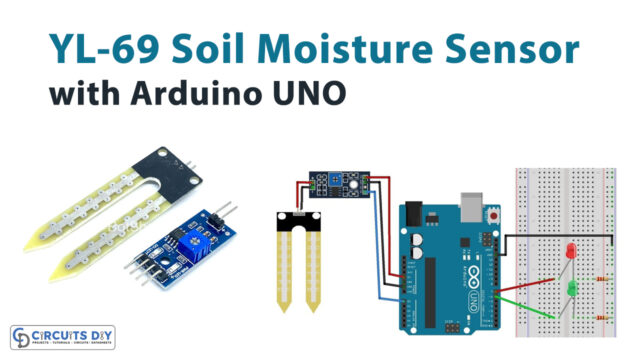 How to Interface Soil Moisture Sensor YL-69/HL-69 with Arduino UNO
 How to control LED with button using Arduino
 PakDuino UNO Microcontroller Pakistani Flag Arduino
 Interfacing BT06 Bluetooth Module with Arduino


