
Introduction
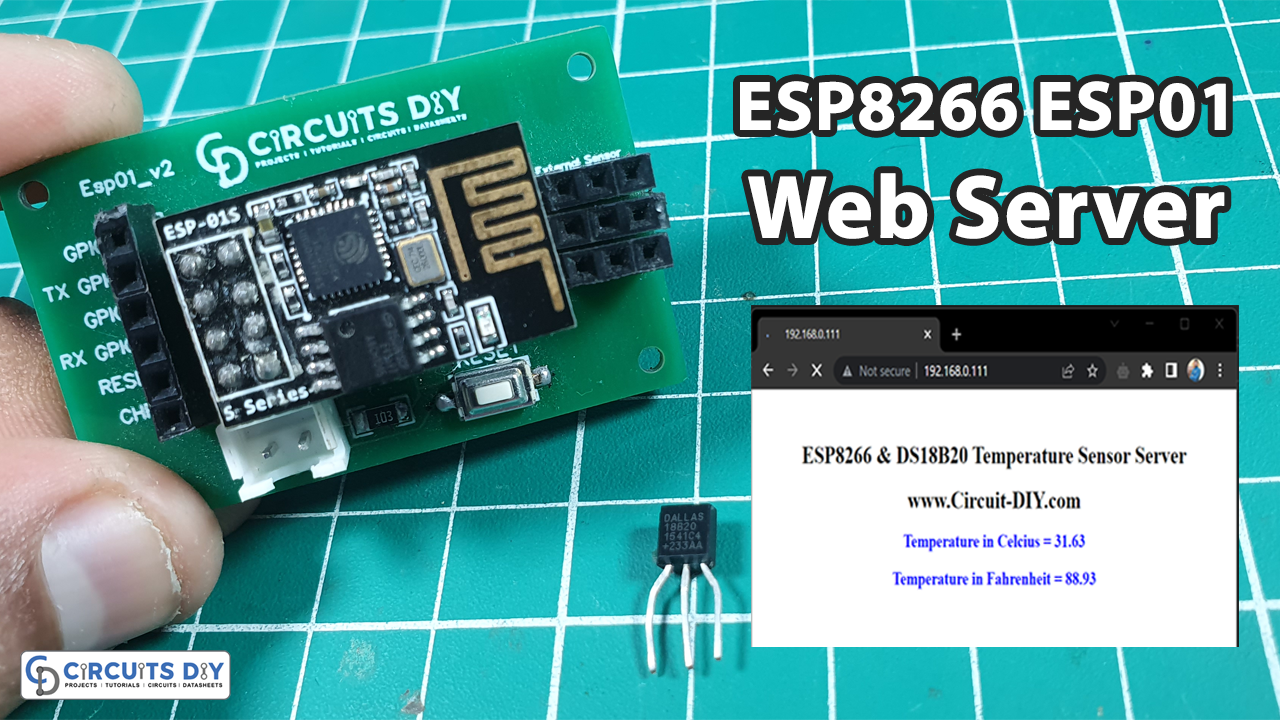
In this tutorial, we are going to make a simple “Temperature Sensor Web Server with ESP8266 ESP01 & DS18B20”. ESP8266 displays readings of Temperature in Celsius & Fahrenheit on a web page from DS18B20 Sensor. This is just a simple demonstration we can make more things by combining multiple sensors, broadcast reading in the world, etc. This tutorial pre assumes that you have experience in programming ESP8266-ESP01. So let’s get started!
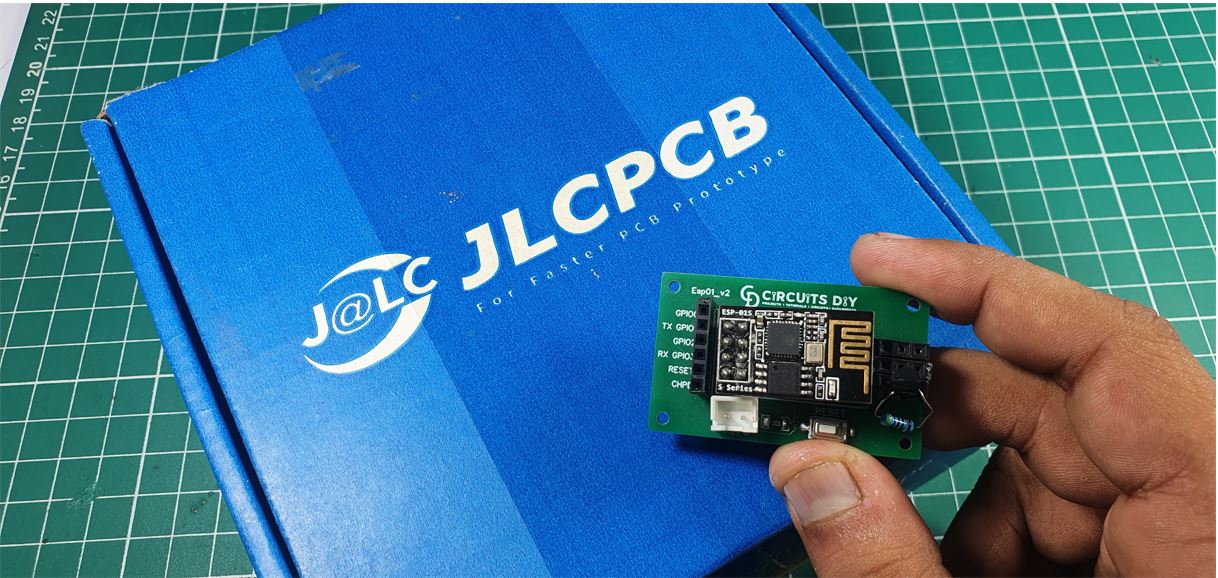
JLCPCB is the foremost PCB prototype & manufacturing company in china, providing us with the best service we have ever experienced regarding (Quality, Price Service & Time).
Hardware Component
The following components are required to make Temperature Sensor Web Server Circuit
DS18B20 Pinout
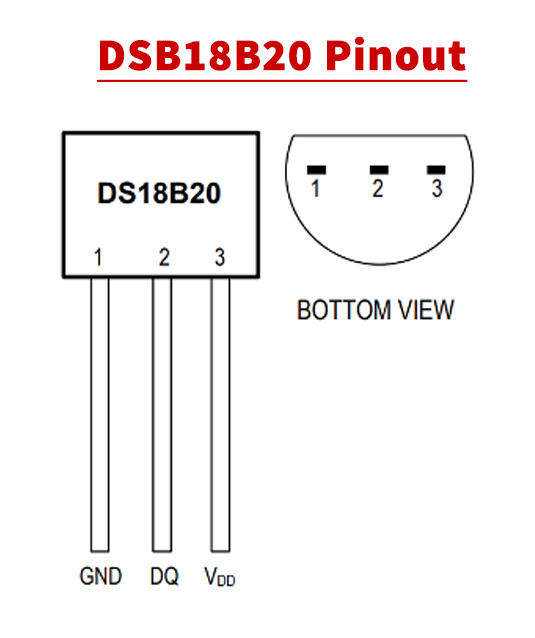
For a detailed description of pinout, dimension features, and specifications download the datasheet of DS18B20
Temperature Sensor Web Server Circuit
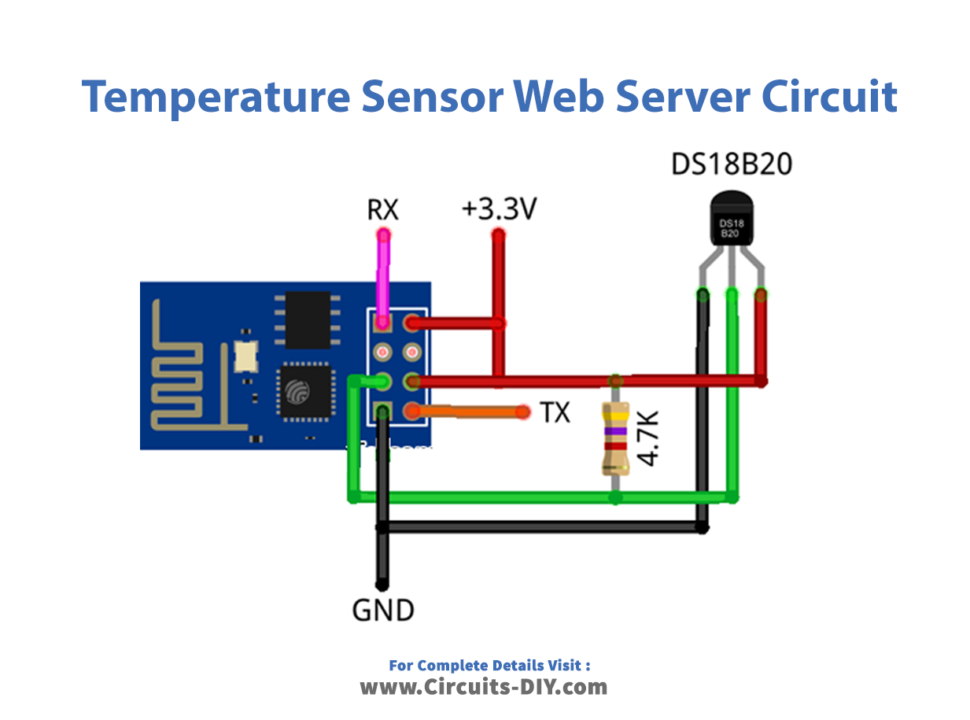
Connections
Connections are very simple. We added a 4.7k Resistor in between VCC & DQ of DS18B20. DQ is also connected to the GPIO2 of ESP8266 ESP01. RX & TX Pin can be used to see data on the serial monitor. Be careful while powering up the circuit in our case we used a 3.7 Lithium Cell which is nearly 3.3v. Don’t power it up with 5V
ESP8266 ESP01 Code
#include <ESP8266WiFi.h>
#include <OneWire.h>
const char* ssid = "TP-LINK_CD2ED6"; // Your ssid
const char* password = "20244064"; // Your Password
OneWire ds(2); // on pin 2 (a 4.7K resistor is necessary)
WiFiServer server(80);
void setup() {
Serial.begin(115200);
delay(10);
// Connect to WiFi network
Serial.println();
Serial.println();
Serial.print("Connecting to ");
Serial.println(ssid);
WiFi.begin(ssid, password);
while (WiFi.status() != WL_CONNECTED) {
delay(500);
Serial.print(".");
}
Serial.println("");
Serial.println("WiFi connected");
// Start the server
server.begin();
Serial.println("Server started");
// Print the IP address
Serial.println(WiFi.localIP());
}
void loop() {
byte i;
byte present = 0;
byte type_s;
byte data[12];
byte addr[8];
float celsius, fahrenheit;
if ( !ds.search(addr)) {
Serial.println("No more addresses.");
Serial.println();
ds.reset_search();
delay(250);
return;
}
Serial.print("ROM =");
for ( i = 0; i < 8; i++) {
Serial.write(' ');
Serial.print(addr[i], HEX);
}
if (OneWire::crc8(addr, 7) != addr[7]) {
Serial.println("CRC is not valid!");
return;
}
Serial.println();
// the first ROM byte indicates which chip
switch (addr[0]) {
case 0x10:
Serial.println(" Chip = DS18S20"); // or old DS1820
type_s = 1;
break;
case 0x28:
Serial.println(" Chip = DS18B20");
type_s = 0;
break;
case 0x22:
Serial.println(" Chip = DS1822");
type_s = 0;
break;
default:
Serial.println("Device is not a DS18x20 family device.");
return;
}
ds.reset();
ds.select(addr);
ds.write(0x44, 1); // start conversion, with parasite power on at the end
delay(1000); // maybe 750ms is enough, maybe not
// we might do a ds.depower() here, but the reset will take care of it.
present = ds.reset();
ds.select(addr);
ds.write(0xBE); // Read Scratchpad
Serial.print(" Data = ");
Serial.print(present, HEX);
Serial.print(" ");
for ( i = 0; i < 9; i++) { // we need 9 bytes
data[i] = ds.read();
Serial.print(data[i], HEX);
Serial.print(" ");
}
Serial.print(" CRC=");
Serial.print(OneWire::crc8(data, 8), HEX);
Serial.println();
int16_t raw = (data[1] << 8) | data[0];
if (type_s) {
raw = raw << 3; // 9 bit resolution default
if (data[7] == 0x10) {
// "count remain" gives full 12 bit resolution
raw = (raw & 0xFFF0) + 12 - data[6];
}
} else {
byte cfg = (data[4] & 0x60);
// at lower res, the low bits are undefined, so let's zero them
if (cfg == 0x00) raw = raw & ~7; // 9 bit resolution, 93.75 ms
else if (cfg == 0x20) raw = raw & ~3; // 10 bit res, 187.5 ms
else if (cfg == 0x40) raw = raw & ~1; // 11 bit res, 375 ms
//// default is 12 bit resolution, 750 ms conversion time
}
celsius = (float)raw / 16.0;
fahrenheit = celsius * 1.8 + 32.0;
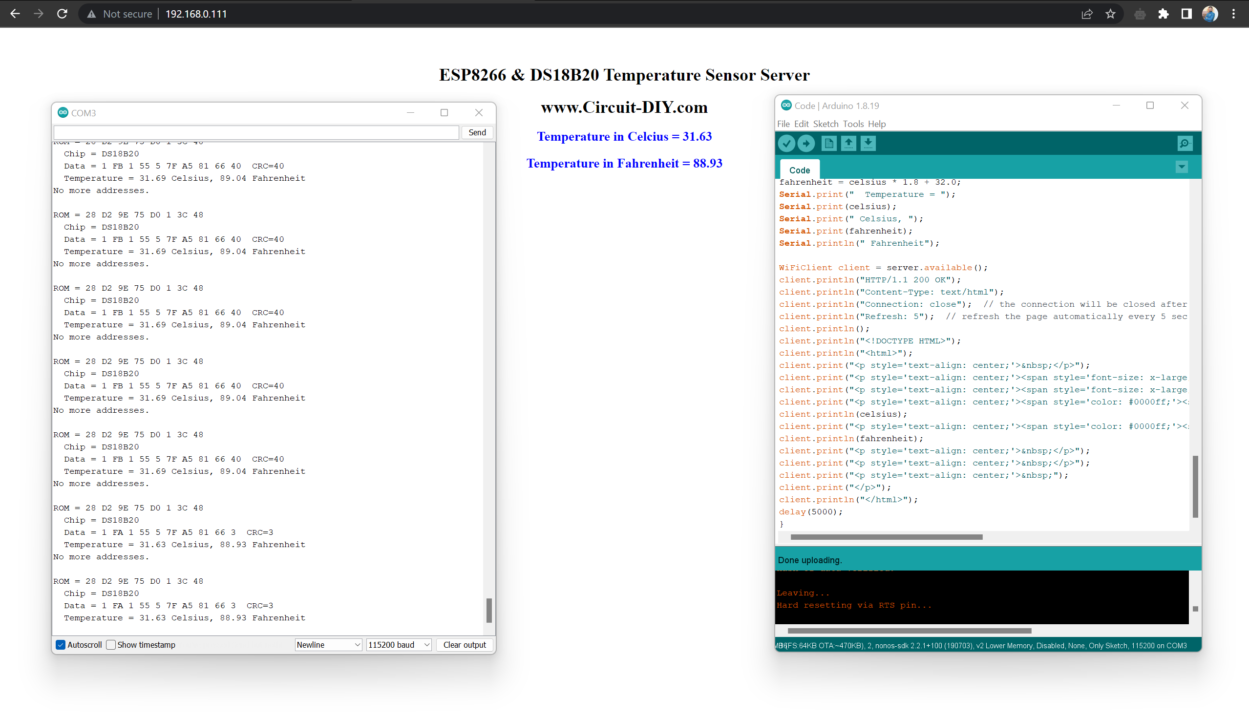
Serial.print(" Temperature = ");
Serial.print(celsius);
Serial.print(" Celsius, ");
Serial.print(fahrenheit);
Serial.println(" Fahrenheit");
WiFiClient client = server.available();
client.println("HTTP/1.1 200 OK");
client.println("Content-Type: text/html");
client.println("Connection: close"); // the connection will be closed after completion of the response
client.println("Refresh: 5"); // refresh the page automatically every 5 sec
client.println();
client.println("<!DOCTYPE HTML>");
client.println("<html>");
client.print("<p style='text-align: center;'> </p>");
client.print("<p style='text-align: center;'><span style='font-size: x-large;'><strong>ESP8266 & DS18B20 Temperature Sensor Server</strong></span></p>");
client.print("<p style='text-align: center;'><span style='font-size: x-large;'><strong>www.Circuit-DIY.com</strong></span></p>");
client.print("<p style='text-align: center;'><span style='color: #0000ff;'><strong style='font-size: large;'>Temperature in Celcius = ");
client.println(celsius);
client.print("<p style='text-align: center;'><span style='color: #0000ff;'><strong style='font-size: large;'>Temperature in Fahrenheit = ");
client.println(fahrenheit);
client.print("<p style='text-align: center;'> </p>");
client.print("<p style='text-align: center;'> </p>");
client.print("<p style='text-align: center;'> ");
client.print("</p>");
client.println("</html>");
delay(5000);
}Working Explanation
Code is simple first you will need to install OneWire Library from here https://github.com/PaulStoffregen/OneWire. Update your SSID & Password according to your network. In code, we defined a one-wire protocol at GPIO2 of ESP8266 and then created a WebServer at Port 80.
In the Setup function if we connected to wifi successfully then it will display “WiFi connected” & “Server started” on the serial monitor otherwise a loop function call, again and again, displays a dotted line.
In the loop function, we defined some variables to store data from sensor DS18B20. Sensor reading data every 1000 milliseconds and updated on these variables in Fahrenheit and Celcius. Last we broadcast readings on a webpage using the local IP assigned by the router. You can check from the serial monitor at which IP ESP8266 is broadcasting the entire webpage.
Related posts:
 Home Automation System Using Nodemcu ESP8266
 ESP8266-ESP01 Local Time Internet Clock with OLED SSD1306
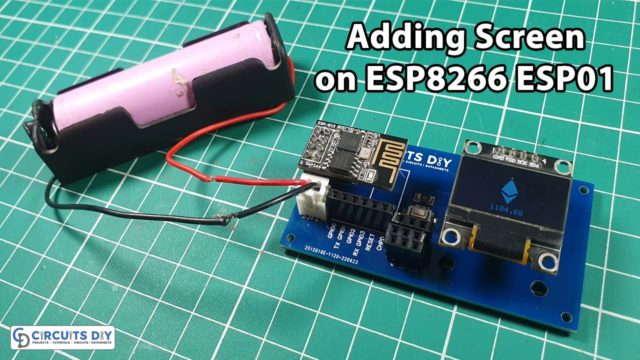 Adding an SSD1306 OLED Screen to the ESP8266 ESP-01
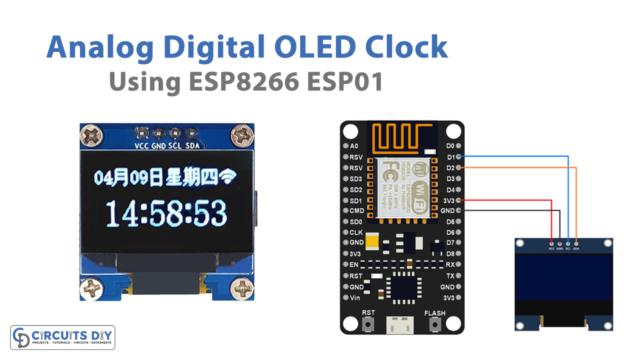 IoT-Based Analog Digital OLED Clock using ESP8266 ESP01
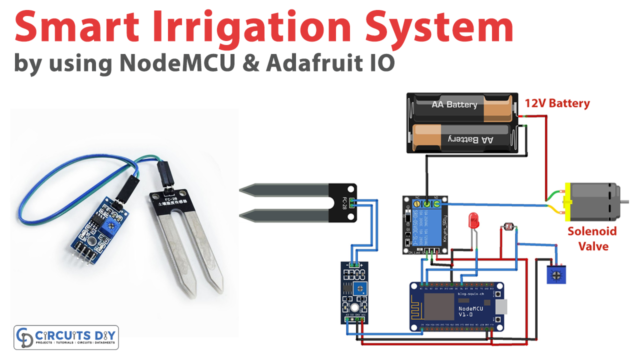 IoT Based Smart Irrigation System using NodeMCU ESP8266 & Adafruit IO
 Simple ESP8266 Weather Station with BME280


