Introduction
LCD is used in various electronic projects to exhibit the messages. It sometimes is used to notify the user by showing the messages. Moreover, it has wide applications in various devices like calculators, phones, television, etc. Therefore,
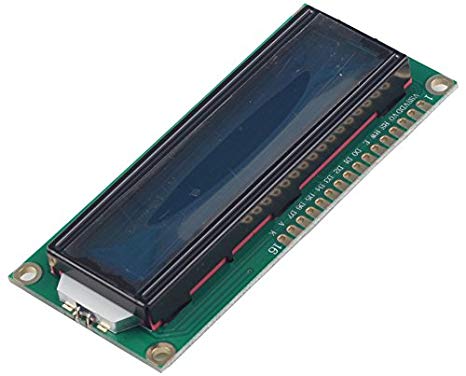
In this tutorial, we are going to interface “LED Brightness on an LCD 16×2 with Arduino UNO”. These LCDs are thinner. Also, it consumes very little power. Hence, favorable to use. Moreover, they are inexpensive and affordable. Easy to program.
Features of 16×2 LCD
- It has two rows and every row has sixteen characters
- The display can work on two modes of 4 bit and 8 bit.
- The LCD is accessible in two lights, that are blue or green.
- The LCD has an operating voltage range of 4.7V to 5.3 V.
- It draws the current of 1mA.
- It has two registers, a command register, and a data register.
Hardware Required
| S.no | Component | Value | Qty |
|---|---|---|---|
| 1. | Arduino | UNO | 1 |
| 2. | USB Cable Type A to B | – | 1 |
| 3. | Jumper Wires | – | 1 |
| 4. | LCD | 16×2 | 1 |
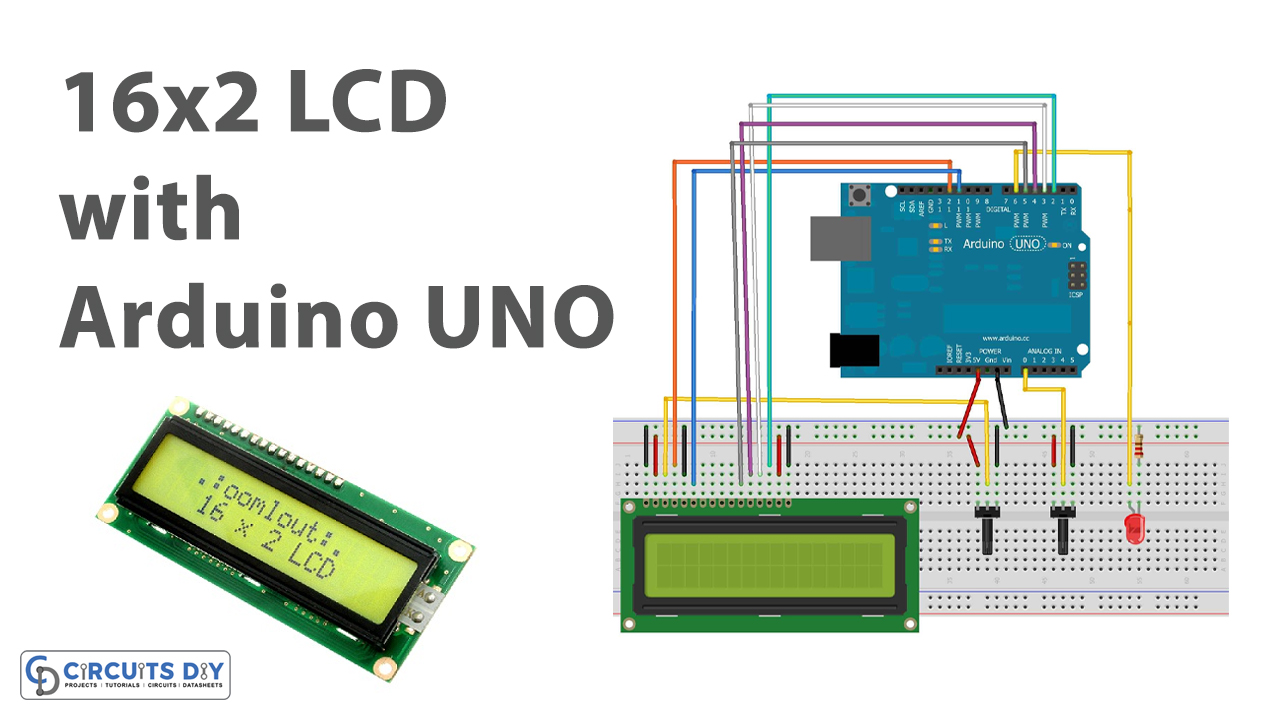
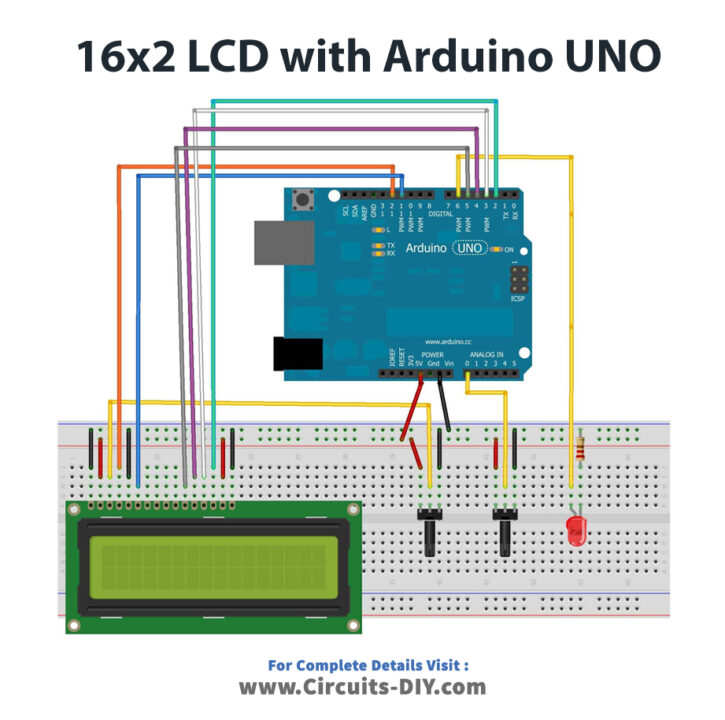
Circuit Diagram
Connection Table
| Arduino | Soil Moisture Sensor YL-69 or HL-69 |
|---|---|
Arduino Code
// Circuits DIY
 // For Complete Details Visit -> https://circuits-diy.com
// include the library code
#include <LiquidCrystal.h>

// initialize the library with the numbers of the interface pins
LiquidCrystal lcd(12, 11, 5, 4, 3, 2);
int potPin = A0;       // Analog pin 0 for the LED brightness potentiometer
int ledPin = 6;        // LED Digital Pin with PWM
int potValue = 0;      // variable to store the value coming from the potentiometer
int brightness = 0;    // converts the potValue into a brightness
int pBari = 0;         // progress bar
int i = 0;             // foor loop

//progress bar character for brightness
byte pBar[8] = {
  B11111,
  B11111,
  B11111,
  B11111,
  B11111,
  B11111,
  B11111,
};

void setup() {
  // setup our led as an OUTPUT
  pinMode(ledPin, OUTPUT);
  // set up the LCD's number of columns and rows:
  lcd.begin(16, 2);
  // Print a message to the LCD
  lcd.print(" LED Brightness");
  //Create the progress bar character
  lcd.createChar(0, pBar);
}

void loop() {
  // clears the LCD screen
  lcd.clear();
  // Print a message to the LCD
  lcd.print(" LED Brightness");
  //set the cursor to line number 2
  lcd.setCursor(0,1);
  // read the value from the potentiometer
  potValue = analogRead(potPin);
  // turns the potValue into a brightness for the LED
  brightness=map(potValue, 0, 1024, 0, 255);
  //lights up the LED according to the bightness
  analogWrite(ledPin, brightness);
  // turns the brighness into a percentage for the bar
  pBari=map(brightness, 0, 255, 0, 17);
  //prints the progress bar
  for (i=0; i < pBari; i++)
  {
    lcd.setCursor(i, 1);
    lcd.write(byte(0));
  }
  // delays 750 ms
  delay(750);
}
Working Explanation
Assemble LCD 16×2 with Arduino UNO according to the above schematic. Now, upload the above-mentioned code to your Arduino UNO. After uploading the code, adjust the potentiometer. You can see that light intensity gets changed as you regulate the potentiometer.
Code Explanation
- Download and install the liquid crystal library in your Arduino IDE. You can download the library from:
https://github.com/arduino-libraries/LiquidCrystal
- Include the library. Initialize the library with the number of pins that are used in interfacing. Define the pins that are connected with the LCD. Then, to store the 8-bit unsigned number defined the byte array.
- In the void setup, define the output pin mode. Also, initialize the LCD by defining the numbers of rows and columns. Use the function lcd. print to print the message.
- In the void loop, use LCD. clear to clear the LCD display. Utilize setCursor( ) to set the line. Use analogRead( ) to read the value from pot. Then, use analogWrite( ) to light up the LED brightness. Use the for function to print the progress bar.
Application and Uses
- Computers.
- Calculators.
- Mobile phones.
- And, other electronic devices that need a display.