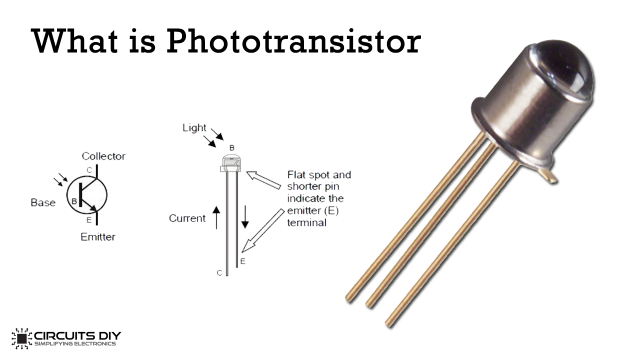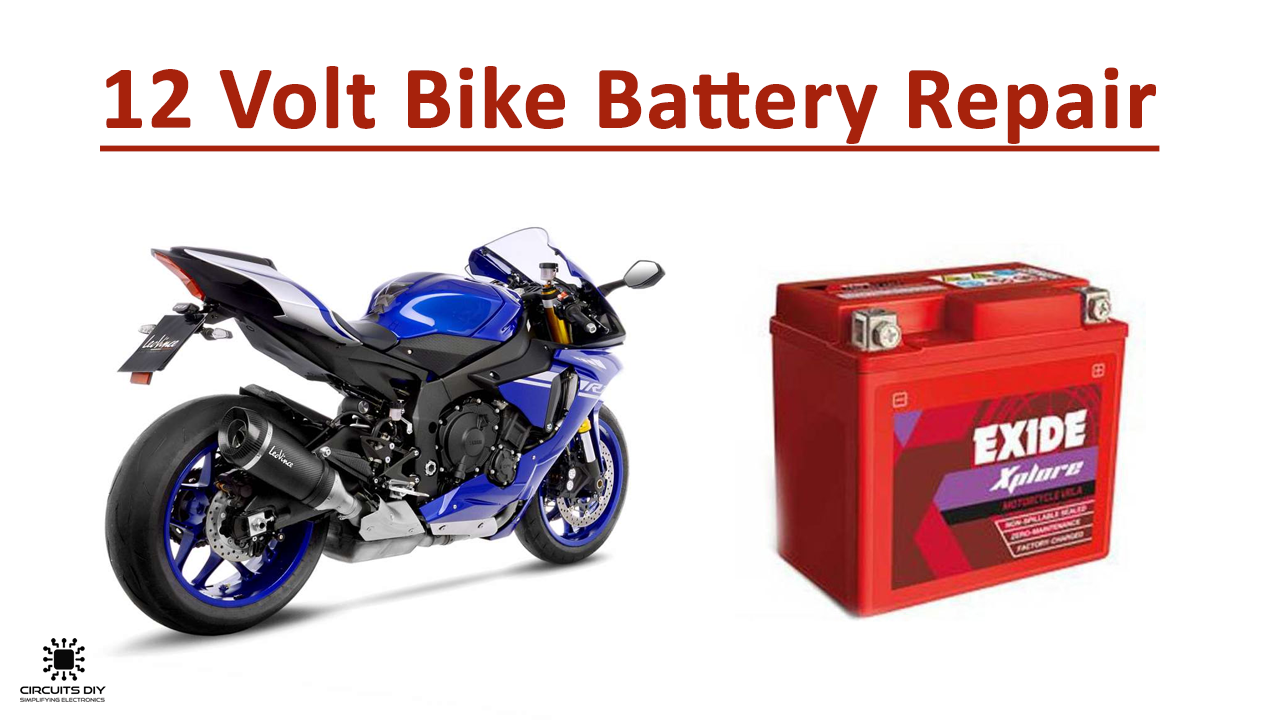
How many times has it happened that you need to replace the Bike Battery as it has discharged beyond working? Especially in these conditions of lockdown where you might not even be able to go to get a new battery?. Well, this tutorial is all geared up to fix that problem for you. So get ready to resolve a problem, save time, and save cash!
So in a jest, the main idea is to refill the battery acid liquid levels so the battery becomes replenished again, as the battery acid levels deplete over time due to usage. So let us get started!
Hardware Requirements
| S.no | Component | Value | Qty |
| 1. | Bike Battery | 12V | 1 |
| 2. | Minus Screwdriver | – | 1 |
| 3. | Battery Acid Liquid | – | 250ml |
| 4. | Battery Charger | 12V | 1 |
| 5. | Motor (Optional: with Fan) | 12V | 1 |
| 6. | Multi-Meter / Analog Voltmeter | > 2A DC Operation | 1 |
Procedure
- First test the battery by charging it:


- Now test the battery by attaching a motor to it to do a load test:

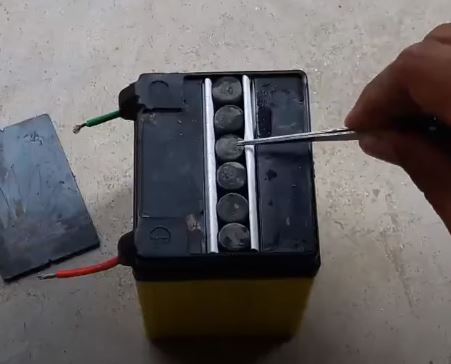
- When the battery is found to be not working, we will open the battery cover using a screwdriver and a notch that is made on its side (The notch is made specifically to pry open it):

- After opening you should be able to see something like this and we will open the the lids of the battery liquid:

- After opening it should look like the picture below. Make sure to clean the residual battery water with a cotton material or cloth:

- Now fill the holes with battery liquid using a syringe and fill it up:

- Now close the battery lids and put folder paper on the side which we replaced previously:
- Now charge the battery for 30 minutes and check voltage:


- Now attach a 12V Motor fan to see if its running.

And you are done!
Explanation
Basically when the Acid Liquid Level of the battery depletes, it causes the battery capacity to drop. By replenishing the liquid, the battery can come back to life for use.