Introduction
In many small or bigger electronic projects, you need to use a basic LCD. But, to make the project somewhat engaging, and interesting you can use an Organic emitting diode, abridged as OLED. OLED is a light-emitting innovation comprising made up of organic thin films between two conductors. Since the display requires no backlight, it this way, more proficient than the straightforward LCD. Thus, it additionally has better and developed picture quality, lower power utilization, and better strength.
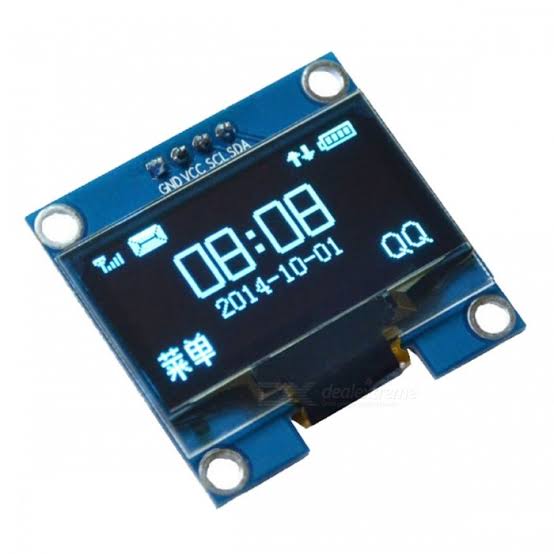
OLED module has the single-chip CMOS OLED driver SSD1306 which can associate and convey to the microcontroller utilizing a 12C or SPI interface. Surely, 12C requires more information pins than 12C, however, it is likewise quicker. The OLED show modules come in various sizes and can be swappable. Since the display requires no backlight, consequently lessens the additional power necessity and cost. OLED modules draw a normal current of 20mA. The module works from the voltage range of 1.65v to 3.3 V. Also; the module has 1KB GDDRAM, stands for graphic display data RAM, has 8 pages from 0 to 7, each has 128 segments, and every section can store 8 bits of data or information
PCBWay commits to meeting the needs of its customers from different industries in terms of quality, delivery, cost-effectiveness, and any other demanding requests. As one of the most experienced PCB manufacturers in China. They pride themselves to be your best business partners as well as good friends in every aspect of your PCB needs.
Hardware Table
| S.no | Component | Value | Qty |
|---|---|---|---|
| 1. | ATtiny85 | – | 1 |
| 2. | OLED LED | 128*64 | 1 |
| 3. | Power Switch | – | 1 |
| 4. | SMD Resistor | – | 2 |
| 5. | SMD LED | – | 1 |
| 6. | SMD Push Button | – | 1 |
| 7. | Female Header | 8 Pin | 1 |
| 8. | Battery Connector | – | 1 |
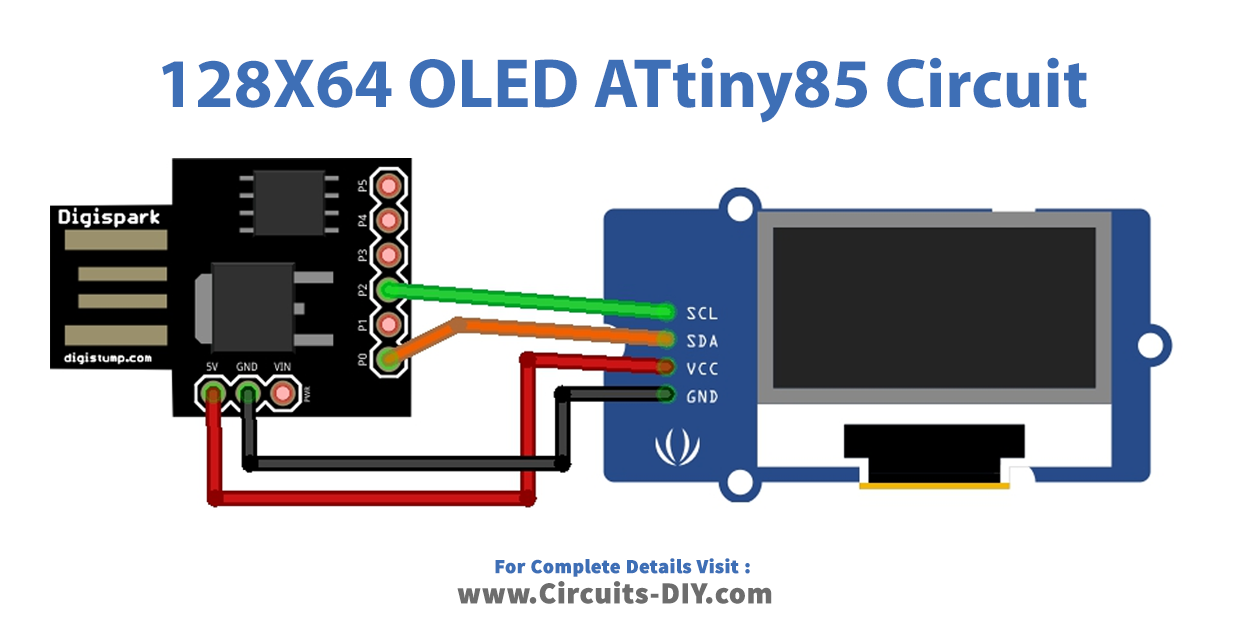
Circuit Diagram
Code
#include <Tiny8kOLED.h>   // This is the modified library
#include <Wire.h>

void setup() {
  oled.begin();
}

void loop() {
  oled.fill(0xFF); //fill screen with color
  delay(100);
  oled.clear();    //all black
  delay(100);
  oled.setFont(FONT8X16);
  oled.setCursor(0,0); //top left=oled.setCursor(X IN PIXELS, Y IN ROWS OF 8 PIXELS STARTING WITH 0);
  oled.print(F("AtTiny85")); //wrap strings in F() to save RAM!
  oled.setCursor(8,2); //top left=oled.setCursor(X IN PIXELS, Y IN ROWS OF 8 PIXELS STARTING WITH 0);
  oled.print(F("AtTiny85")); //wrap strings in F() to save RAM!
  oled.setCursor(16,4); //top left=oled.setCursor(X IN PIXELS, Y IN ROWS OF 8 PIXELS STARTING WITH 0);
  oled.print(F("AtTiny85")); //wrap strings in F() to save RAM!
  delay(3000);
  oled.clear(); //all black
  oled.setFont(FONT16X32);
  oled.setCursor(0,0);              // top-left
  oled.print(F("123456789999"));    // long number truncated to 8 digits
  // Positioning on display can be done in steps of 8 bits on the vertical axis,
  // seting in setCursor values like *.1 ... *.4.
  oled.setCursor(32,4);              // second line, from third digit on:
  oled.print(F("-23.4"));
  delay(5000);
}
Working Explanation
To Interface OLED 128×64 OLED with ATtiny85 connect the circuit according to the presented diagram. Open the Arduino IDE and write the above code. Upload it into your ATtiny85. Turn on the circuit and observe the OLED display. You will see the text on the OLED according to the programming of the code.
Code Explanation
- Include that library for OLED along with the wire library for external communication.
- In the void setup, initialize the OLED display by using the function OLED. begin( )
- In the void loop, for screen color use the command OLED.fill( ). To clear the buffer before printing the first message, use the function OLED. clear( ). Use OLED.setCursor(x, y ) to set or correct the position of text in pixels, and y in rows. Use your desired font by using OLED.setFont( ). And use OLED.print( ) to print the text.
Applications
- In digital devices, for example, computers, monitors, android devices, etc
- For gaming consoles.
- To create digital screens.
- For pocket-size devices that need digital screens.