Introduction
Are you getting bored while making intense electronic projects and do you want to make yourself relaxed by making some fun projects? We are here for you with some interesting projects of music-reactive LED strips. Nowadays, LED strips are widely used for decorating purposes. For example, you have also observed them at birthday parties, weddings, and other different events. But, do you know that you can control those LED strips with the sound of music? We are sure you have noticed the lightning that gets reactive on the sound of music. In this tutorial, we are trying to make the same thing. Hence, In this tutorial, we are going to make a “Music reactive LED Strip”. For better quality and reliable use, we suggest you make this circuit on the printed circuit board.
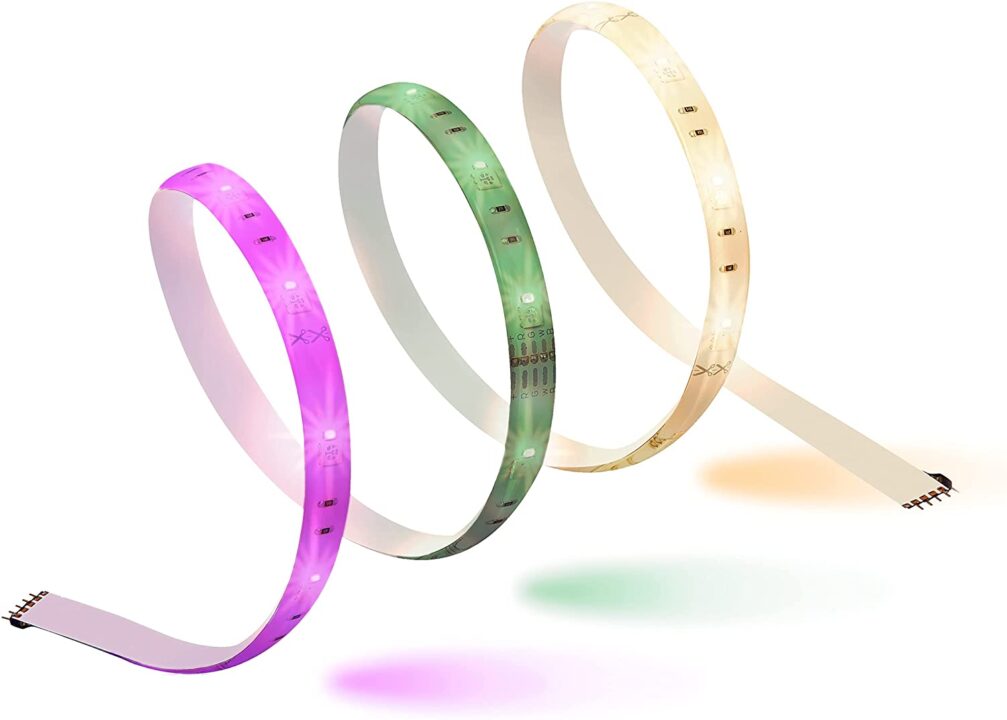
LED Strip Lights
LED strip lights are greatly used in creativity and for artistic purposes. It consists of many light-emitting diodes on a flexible printed circuit board, having a wide range of colors and brightness. Therefore, you may also have seen this in mirrors, picture frames, stairways, TV screens, decorative rooms, etc. The strip lights require very low DC voltage to operate. It has an adhesive backing that enables easy installation. Mostly offers RGB colors and is used for decorative applications. The LED strip includes the cutlines in it, located at every one or two inches far, which makes it easier for the user to cut it if needed.
Hardware Required
| S.no | Component | Value | Qty |
|---|---|---|---|
| 1. | Arduino | Nano | 1 |
| 2. | USB Cable Type A to B | – | 1 |
| 5. | PCB Board | – | 1 |
| 6. | Female Header | – | 1 |
| 7. | Heat Shrink Tube | – | 1 |
| 8. | LED | – | 1 |
| 9. | Different Values of Resistor | – | 1 |
| 10. | Screw Terminal Block | – | 1 |
| 11. | Sound Sensor | – | 1 |
| 12. | MOSFET | IRFZ44N | 1 |
| 13. | Transistor | BC547 | 1 |
| 14. | Resistor | 10K,1K | 2,1 |
| 15. | Battery | 9v | 1 |
Circuit Diagram

Connection Table
| Arduino | Module / Sensor |
|---|---|
| GND | GND |
| D13 | DO |
| 5V | VCC |
Arduino Code
int Sound_Sensor = 13;                //initialize Sound Sensor Pin
int LED_Strip = 11;                   //initialize 12V LED Strip Pin

void setup()
{
  pinMode (Sound_Sensor, INPUT);      //define Sound Sensor as input
  pinMode (LED_Strip, OUTPUT);        //define LED Strip as output
}

void loop()
{
  int Store_Data = digitalRead (Sound_Sensor);    //define variable of the Sound Sensor status
                                                  //get the value of the Sensor

  if (Store_Data == 1)                 //When Sensor gets a signal
  {
    digitalWrite(LED_Strip, HIGH);     //LED_Strip will be on
  }

  else                                //If no signal is found
  {
    digitalWrite(LED_Strip, LOW);     //LED_Strip strip will be off
  }

}
Working Explanation
Connect the Music reactive LED Strip according to the diagram given in this circuit. write the code in the Arduino IDE and upload the code in Arduino. Now, play the music on any music player or mobile phone and place it near the LED strip. The sensor connected with the Arduino detected that music. Since the sensor is wired with the Arduino, therefore, Arduino takes that signal and works according to the code. Arduino gives that signal to the transistor, which simply drives the MOSFET. As a result, the LED strip starts working accordingly.
Code Explanation
- First, the code has initialized the pins of Arduino that are connected with the sound sensor and led strips.
- In the void setup, through the pin mode command, the code has defined that the Sound sensor is an input for Arduino and the LED strip is used as an output.
- In the void loop, the variable is defined to get the sensor’s value. Then there is an if the condition that if a sensor variable gets the signals, the LED strip gets high, else the strip will be low.
Application and Uses
- It can be used in wedding festivities.
- Also, it can be utilized for birthday parties and other events
- Moreover, in clubs and restaurants.
- Further, it may be used in concerts, etc