Introduction
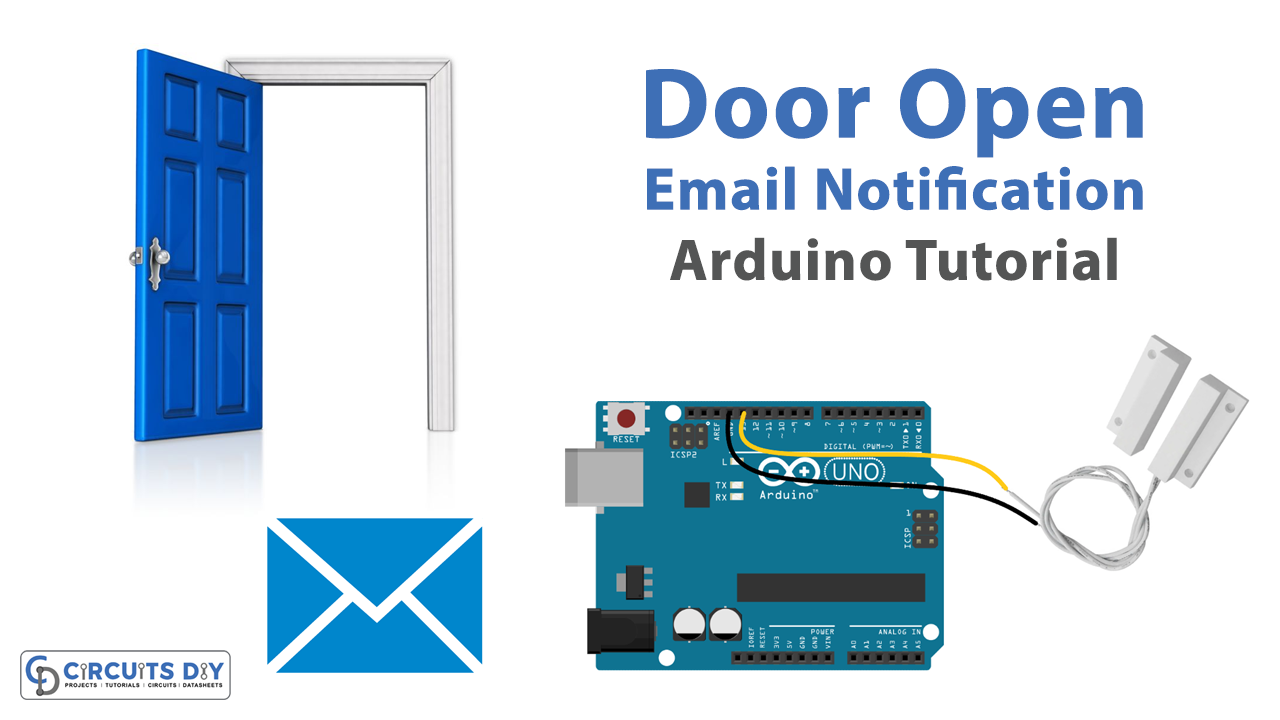
A door monitoring system is an automated system that tracks the state of a door, specifically whether it is open or closed, and sends a notification, usually in the form of an email, to a specified recipient when the door is opened. This type of system can be useful for various applications such as home security, office security, or inventory management.
The system consists of an Arduino UNO microcontroller, a magnetic reed switch door sensor, and an Ethernet shield for sending emails. The magnetic reed switch door sensor is used to detect the state of the door, while the Arduino UNO microcontroller is used to control the door sensor and communicate with the Ethernet shield. The Ethernet shield uses the IFTTT (If This Then That) service to send an email notification when the door is opened.
Hardware Components
You will require the following hardware for Door Open Send Email Notification with Arduino.
| S.no | Component | Value | Qty |
|---|---|---|---|
| 1. | Arduino UNO | – | 1 |
| 2. | USB Cable Type A to B | – | 1 |
| 3. | Door Sensor | – | 1 |
| 4. | Arduino Ethernet Shield 2 | – | 1 |
| 5. | Ethernet Cable | – | 1 |
| 6. | Power Adapter for Arduino | 9V- | 1 |
| 7. | Jumper Wires | – | 1 |
Door Open – Send Email Notification with Arduino
- The code starts by including the necessary libraries:
#include <SPI.h>
#include <Ethernet.h>
#include <ezButton.h>
2. Next, an ezButton the object is created, which is a library for handling buttons or switch inputs on the microcontroller. The object is named doorSensor and is attached to pin 13 on the microcontroller, which is connected to the door sensor’s pin:
ezButton doorSensor(13); // create ezButton object that attach to pin 13, which connected to door sensor's pin
3. The MAC address of the Ethernet shield is set:
byte mac[] = { 0xDE, 0xAD, 0xBE, 0xEF, 0xFE, 0xED };
4. In the setup() function, the serial communication is initialized and the Ethernet shield is set up using DHCP. If the Ethernet shield is not able to obtain an IP address using DHCP, an error message is displayed:
Serial.begin(9600);
Serial.println("DOOR MONITORING via EMAIL STARTED!");

// initialize the Ethernet shield using DHCP:
if (Ethernet.begin(mac) == 0) {
  Serial.println("Failed to obtaining an IP address using DHCP");
  while (true);
}

doorSensor.setDebounceTime(50); // set debounce time to 50 milliseconds
5. In the loop() function, the state of the door sensor is constantly monitored. If the door is opened (the button is released), the sendEmail() function is called:
doorSensor.loop(); // MUST call the loop() function first

if (doorSensor.isReleased()) { // LOW to HIGH
  Serial.println("The door is opened!");
  Serial.println("Arduino is sending email");
  sendEmail();
}
6. The sendEmail() function connects to the IFTTT server and sends a GET request to trigger a Webhooks event, which sends an email:
void sendEmail() {
  // connect to IFTTT server on port 80:
  if (client.connect(HOST_NAME, HTTP_PORT)) {
    // if connected:
    Serial.println("Connected to server");
    // make a HTTP request:
    // send HTTP header
    client.println("GET " + PATH_NAME + " HTTP/1.1");
    client.println("Host: " + String(HOST_NAME));
    client.println("Connection: close");
    client.println(); // end HTTP header

    while (client.connected()) {
      if (client.available()) {
        // read an incoming byte from the server and print it to serial monitor:
        char c = client.read();
        Serial.print(c);
      }
    }

    // the server's disconnected, stop the client:
    client.stop();
    Serial.println();
    Serial.println("disconnected");
  } else {// if not connected:
    Serial.println("connection failed");
  }
}
Schematic
Make connections according to the circuit diagram given below.

Wiring / Connections
| Arduino | Sensor |
|---|---|
| D13 | GIOP |
| GND | GND |
Installing Arduino IDE
First, you need to install Arduino IDE Software from its official website Arduino. Here is a simple step-by-step guide on “How to install Arduino IDE“.
Installing Libraries
Before you start uploading a code, download and unzip the following libraries at /Progam Files(x86)/Arduino/Libraries (default), in order to use the sensor with the Arduino board. Here is a simple step-by-step guide on “How to Add Libraries in Arduino IDE“.
Code
Now copy the following code and upload it to Arduino IDE Software.
#include <SPI.h>
#include <Ethernet.h>
#include <ezButton.h>

ezButton doorSensor(13);  // create ezButton object that attach to pin 13, which connected to door sensor's pin

// replace the MAC address below by the MAC address printed on a sticker on the Arduino Shield 2
byte mac[] = { 0xDE, 0xAD, 0xBE, 0xEF, 0xFE, 0xED };

EthernetClient client;

int    HTTP_PORT   = 80;
String HTTP_METHOD = "GET";
char   HOST_NAME[] = "maker.ifttt.com";
String PATH_NAME   = "/trigger/send-email/with/key/XXXXXXXXXXXXXXXXXXXXX"; // change your Webhooks key

void setup() {
  Serial.begin(9600);
  Serial.println("DOOR MONITORING via EMAIL STARTED!");

  // initialize the Ethernet shield using DHCP:
  if (Ethernet.begin(mac) == 0) {
    Serial.println("Failed to obtaining an IP address using DHCP");
    while (true);
  }

  doorSensor.setDebounceTime(50); // set debounce time to 50 milliseconds
}

void loop() {
  doorSensor.loop(); // MUST call the loop() function first

  if (doorSensor.isReleased()) { // LOW to HIGH
    Serial.println("The door is opened!");
    Serial.println("Arduino is sending email");
    sendEmail();
  }
}

void sendEmail() {
  // connect to IFTTT server on port 80:
  if (client.connect(HOST_NAME, HTTP_PORT)) {
    // if connected:
    Serial.println("Connected to server");
    // make a HTTP request:
    // send HTTP header
    client.println("GET " + PATH_NAME + " HTTP/1.1");
    client.println("Host: " + String(HOST_NAME));
    client.println("Connection: close");
    client.println(); // end HTTP header

    while (client.connected()) {
      if (client.available()) {
        // read an incoming byte from the server and print it to serial monitor:
        char c = client.read();
        Serial.print(c);
      }
    }

    // the server's disconnected, stop the client:
    client.stop();
    Serial.println();
    Serial.println("disconnected");
  } else {// if not connected:
    Serial.println("connection failed");
  }
}
Working Explanation
In the setup() function, the serial communication is started with a baud rate of 9600. The Ethernet shield is initialized and DHCP is used to obtain an IP address. The debounce time of the door sensor is set to 50 milliseconds.
In the loop() function, the doorSensor.loop() function is called first, followed by a check to see if the door sensor has been released (i.e., the door has been opened). If the door has been opened, the function sendEmail() is called to send an email. The sendEmail() function connects to the IFTTT server using the client.connect() function, and a GET request is made using the client object to send an email using IFTTT Webhooks. The response from the server is read and printed to the serial monitor.
Applications
- Warehouse inventory management
- Office access control
- Automated door lock system
- Remote monitoring of secure areas
- Access control for sensitive equipment or data
- Package delivery notification system
- Monitoring of temperature-controlled environments
- Automated greenhouse control system
Conclusion.
We hope you have found this Arduino – Door Open – Send Email Notification Circuit very useful. If you feel any difficulty in making it feel free to ask anything in the comment section.