Introduction
If you’re concerned to measure the temperature readings around your environment at an affordable price, then you’re surely on the right spot. Because in this tutorial, we are going to interface ” DS18B20 1-Wire Digital Temperature Sensor with Arduino UNO”. Since this sensor requires very few external elements or components, therefore easy to handle and interface. Moreover, it only required one digital pin of a microcontroller to develop communication.
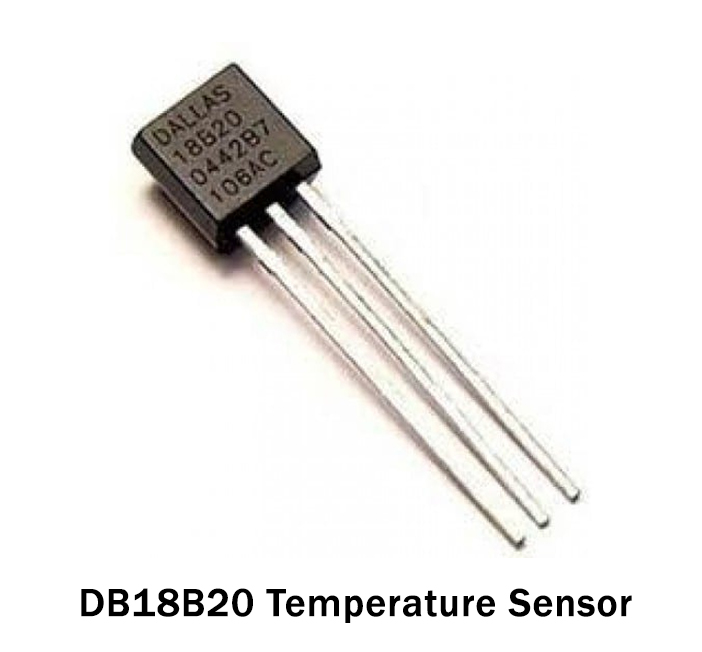
How DS18B20 Works?
The sensor works on the principle of 1 wire communication. This means it requires only one data pin to communicate. The other two pins are used for power. The pull-up resistor in the sensor is utilized to set the line high when the bus is not in use. Hence the sensor contains two bytes of register that store the measured values. To read the values from the sensor, two commands are being used. The ROM command and the function command.
Specifications about DS18B20 Sensor
- The operating voltage is from 3V to 5V.
- The sensor can bear the temperature from 55 degrees celsius to 150 degrees celsius.
- And, the sensor communicates through one wire.
Hardware Required
| S.no | Component | Value | Qty |
|---|---|---|---|
| 1. | Arduino | UNO | 1 |
| 2. | USB Cable Type A to B | – | 1 |
| 3. | Jumper Wires | – | – |
| 4. | 1-Wire Digital Temperature Sensor | DS18B20 | 1 |
Circuit Diagram
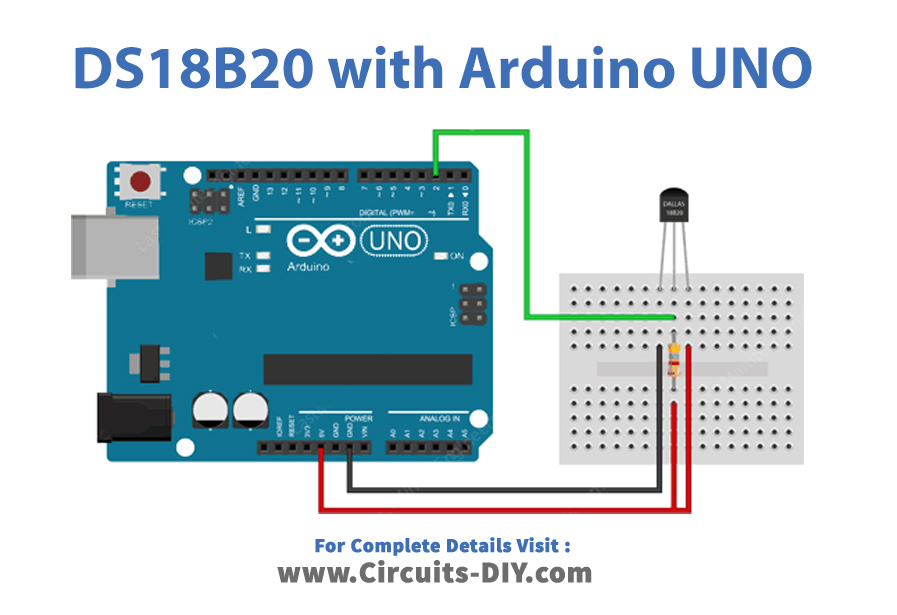
Connection Table
| Arduino | DS18B20 |
|---|---|
| GND | GND |
| D2 | DQ |
| 5V | VDD |
Arduino Code
#include <OneWire.h>
#include <DallasTemperature.h>

// Data wire is plugged into digital pin 2 on the Arduino
#define ONE_WIRE_BUS 2

// Setup a oneWire instance to communicate with any OneWire device
OneWire oneWire(ONE_WIRE_BUS);

// Pass oneWire reference to DallasTemperature library
DallasTemperature sensors(&oneWire);

void setup(void)
{
  sensors.begin();	// Start up the library
  Serial.begin(9600);
}

void loop(void)
{
  // Send the command to get temperatures
  sensors.requestTemperatures();

  //print the temperature in Celsius
  Serial.print("Temperature: ");
  Serial.print(sensors.getTempCByIndex(0));
  Serial.print((char)176);//shows degrees character
  Serial.print("C  |  ");

  //print the temperature in Fahrenheit
  Serial.print((sensors.getTempCByIndex(0) * 9.0) / 5.0 + 32.0);
  Serial.print((char)176);//shows degrees character
  Serial.println("F");

  delay(500);
}
Working Explanation
Connect the DS18B20 sensor with the Arduino according to the circuit diagram given above. Write the code that is given in this tutorial in your Arduino IDE. Upload the code in Arduino UNO. Now, observe the reading on the Serial monitor. As the temperature will change, you will see the changes in the readings on the serial monitor.
Code Explanation
- Download and install the Dallas temperature library, You can download the library from:
https://github.com/milesburton/Arduino-Temperature-Control-Library
- Include the downloaded library. Also, include the wire library to allow one-wire communication. Define the Arduino pin that is connected with the sensor’s pin. Give the command oneWire( ) to communicate with the one wire device, that is a sensor. Use the command sensor( ) to pass the one wire reference to the temperature library.
- In the void setup, initialize the sensor and the serial monitor.
- In the void loop, send the requestTemperature( ) commands to get the readings from the sensor. Print the readings in celsius. Formulate the programming to convert the readings into Fahrenheit. Give the commands to print those readings. Give some delay time to get the new readings.
Application and Uses
- To measure the temperature of the environment.
- Can also be used to measure the temperature of the liquid.