Introduction
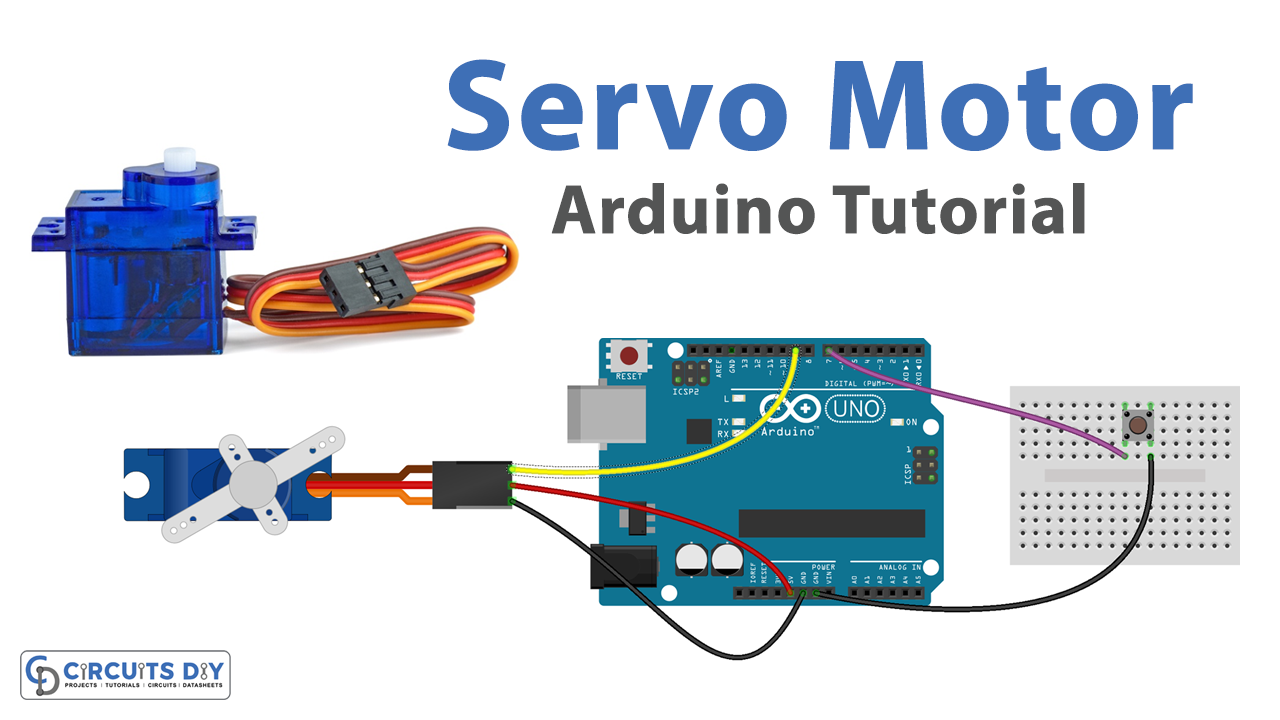
A push-button-controlled servo motor using an Arduino Uno microcontroller refers to a setup where a servo motor namely an SG51R is used for the precise positioning and control of task-sensitive applications. A Servo motor is a type of motor that is specifically designed to provide precise position and speed control.
A push button-operated servo motor can be used for a wide variety of applications, such as controlling the position of a robotic arm or operating a door or gate. It can be used to move the servo between different positions in response to different button presses.
Hardware Components
You will require the following hardware for Servo Motor Button Control with Arduino.
| S.no | Component | Value | Qty |
|---|---|---|---|
| 1. | Arduino UNO | – | 1 |
| 2. | USB Cable Type A to B | – | 1 |
| 3. | Button | – | 1 |
| 4. | Servo Motor | – | 1 |
| 5. | Power Adapter for Arduino | 9V | 1 |
| 6. | Breadboard | – | 1 |
| 7. | Jumper Wires | – | 1 |
Servo Motor with Arduino
- Import the Servo library by adding the following line at the top of your sketch:
#include <Servo.h>
This library provides functions for controlling servo motors.
- Declare a Servo object and a variable to store the servo position:
Servo myservo;
int pos = 0;
- Declare variables to store the pin numbers of the pushbutton and the servo signal wire. Assign the appropriate pin numbers according to your circuit setup.
int buttonPin = 2;  // pushbutton pin
int servoPin = 9;   // servo signal pin
- In the
setup()function, attach the servo object to the servo signal pin, and configure the pushbutton pin as an input with a pull-up resistor:
void setup() {
  myservo.attach(servoPin);
  pinMode(buttonPin, INPUT_PULLUP);
}
- In the
loop()function, read the state of the pushbutton, and move the servo based on the button state. Also, print the position of the servo on the serial monitor
void loop() {
  int buttonState = digitalRead(buttonPin);
  if (buttonState == LOW) {  // if the button is pressed
    for (pos = 0; pos <= 180; pos += 1) {  // move servo from 0 to 180 degrees
      myservo.write(pos);  // tell servo to go to position
      Serial.print("Current position of servo: ");
      Serial.println(pos);
      delay(15);  // wait 15 milliseconds for the servo to reach the position
    }
    for (pos = 180; pos >= 0; pos -= 1) {  // move servo back from 180 to 0 degrees
      myservo.write(pos);  // tell servo to go to position
      Serial.print("Current position of servo: ");
      Serial.println(pos);
      delay(15);  // wait 15 milliseconds for the servo to reach the position
    }
  }
}
- Upload the sketch to the Arduino board and open the serial monitor (at 9600 baud) to see the position of the servo being displayed while the button is pressed.
Schematic
Make connections according to the circuit diagram given below.
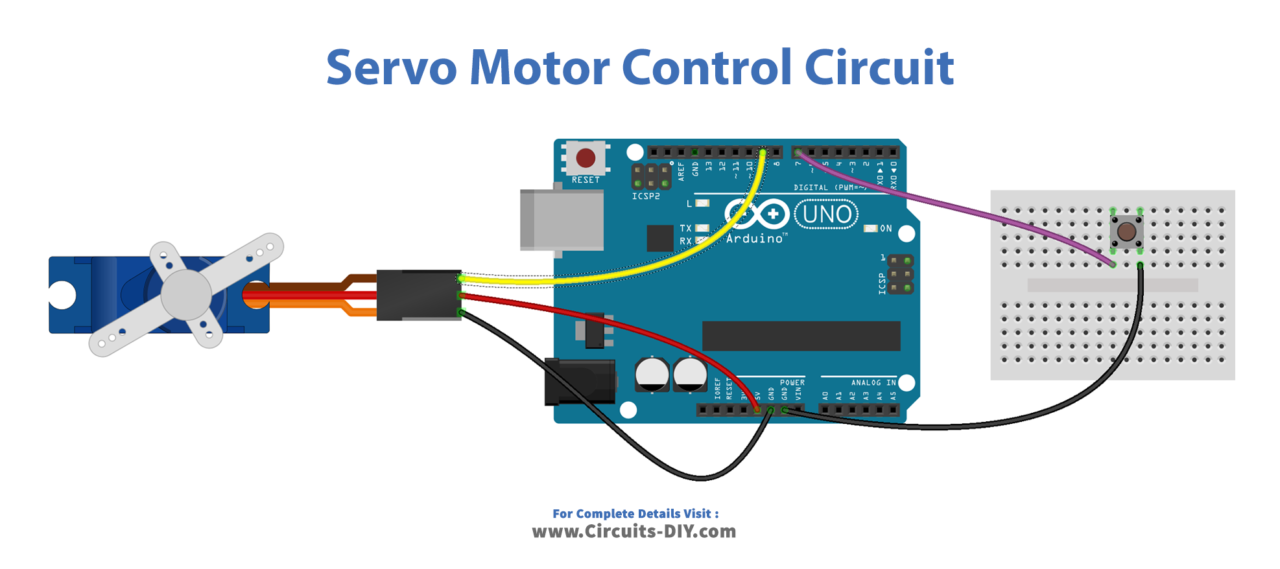
Wiring / Connections
| Arduino | Servo Motor |
|---|---|
| 5V | RED |
| GND | BLACK |
| D9 | YELLOW |
Installing Arduino IDE
First, you need to install Arduino IDE Software from its official website Arduino. Here is a simple step-by-step guide on “How to install Arduino IDE“.
Installing Libraries
Before you start uploading a code, download and unzip the following libraries at /Progam Files(x86)/Arduino/Libraries (default), in order to use the sensor with the Arduino board. Here is a simple step-by-step guide on “How to Add Libraries in Arduino IDE“.
Code
Now copy the following code and upload it to Arduino IDE Software.
Arduino Code – Button Controls Servo Motor Without Debouncing
#include <Servo.h>
const int BUTTON_PIN = 7; // Arduino pin connected to button's pin
const int SERVO_PIN  = 9; // Arduino pin connected to servo motor's pin

Servo servo; // create servo object to control a servo

// variables will change:
int angle = 0;          // the current angle of servo motor
int lastButtonState;    // the previous state of button
int currentButtonState; // the current state of button

void setup() {
  Serial.begin(9600);                // initialize serial
  pinMode(BUTTON_PIN, INPUT_PULLUP); // set arduino pin to input pull-up mode
  servo.attach(SERVO_PIN);           // attaches the servo on pin 9 to the servo object

  servo.write(angle);
  currentButtonState = digitalRead(BUTTON_PIN);
}

void loop() {
  lastButtonState    = currentButtonState;      // save the last state
  currentButtonState = digitalRead(BUTTON_PIN); // read new state

  if(lastButtonState == HIGH && currentButtonState == LOW) {
    Serial.println("The button is pressed");

    // change angle of servo motor
    if(angle == 0)
      angle = 90;
    else
    if(angle == 90)
      angle = 0;

    // control servo motor arccoding to the angle
    servo.write(angle);
  }
}
Arduino Code – Button Controls Servo Motor With Debouncing
#include <Servo.h>
#include <ezButton.h>

// constants won't change
const int BUTTON_PIN = 7; // Arduino pin connected to button's pin
const int SERVO_PIN  = 9; // Arduino pin connected to servo motor's pin

ezButton button(BUTTON_PIN); // create ezButton object that attach to pin 7;
Servo servo;                 // create servo object to control a servo

// variables will change:
int angle = 0; // the current angle of servo motor

void setup() {
  Serial.begin(9600);         // initialize serial
  button.setDebounceTime(50); // set debounce time to 50 milliseconds
  servo.attach(SERVO_PIN);    // attaches the servo on pin 9 to the servo object

  servo.write(angle);
}

void loop() {
  button.loop(); // MUST call the loop() function first

  if(button.isPressed()) {
    Serial.println("The button is pressed");

    // change angle of servo motor
    if(angle == 0)
      angle = 90;
    else
    if(angle == 90)
      angle = 0;

    // control servo motor arccoding to the angle
    servo.write(angle);
  }
}
Working Explanation
The working of a push button controlled SG51R servo motor and posting its state on the serial monitor using an Arduino Uno microcontroller involves to main parts, the void setup() part of the code and the void loop() part. In the setup() function, the servo object is attached to the servo signal pin, the pushbutton pin is configured as an input with a pull-up resistor, and the serial communication is started at a 9600 baud rate.
In the loop() function, the state of the pushbutton is read and the servo is moved based on the button state. The state of the button is read by using the digitalRead() function, and the if the statement is used to check if the button is pressed or not. When the button is pressed, the code inside the if statement is executed. This code will move the servo motor to a certain position or angle and post the current position of the servo on the serial monitor by using the Serial.print() and Serial.println() functions.
Applications
- Weather monitoring equipment
- Industrial Automation
- Home Automation
- Remote-controlled toys
- Motion Simulation
- Mechatronics
- Precision Positioning
- Industrial Process Control
- Aerospace and Defense
- Automotive
Conclusion.
We hope you have found this Servo Motor Control Circuit very useful. If you feel any difficulty in making it feel free to ask anything in the comment section.