Introduction
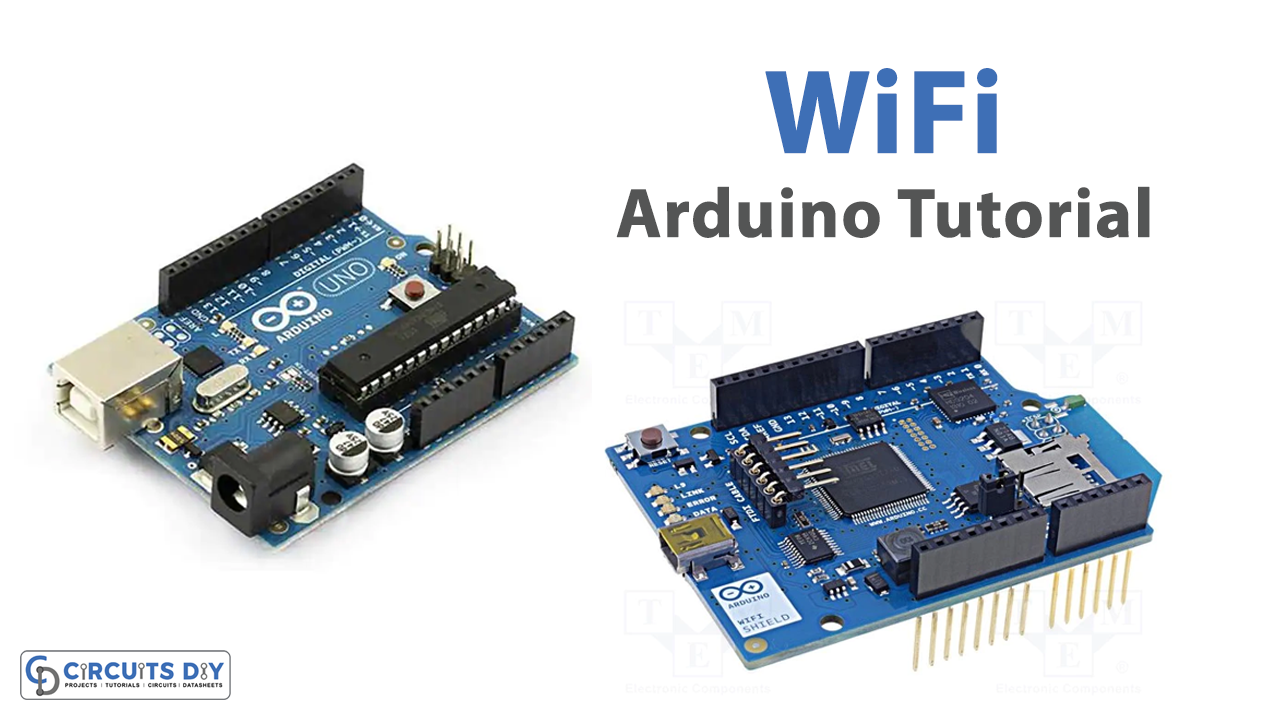
Connecting an Arduino UNO microcontroller to a WiFi network for internet access opens up a world of possibilities for IoT (Internet of Things) projects. By connecting to the internet, the Arduino can send and receive data to and from servers, web pages, and other devices. This allows for remote control, monitoring, and automation of various devices and systems, making it a key technology for smart homes, environmental monitoring, agriculture, and many other applications.
With the popularity of WiFi networks and the availability of low-cost WiFi modules, it has become easier than ever to connect an Arduino to the internet and take advantage of its capabilities. In this way, connecting an Arduino UNO to a WiFi network is a fundamental step toward creating advanced and sophisticated IoT projects.
Hardware Components
You will require the following hardware for WiFi with Arduino.
| S.no | Component | Value | Qty |
|---|---|---|---|
| 1. | Arduino UNO | – | 1 |
| 2. | USB Cable Type A to B | – | 1 |
| 3. | DC Power for Arduino | – | 1 |
| 4. | Breadboard | – | 1 |
| 5. | Jumper Wires | – | 1 |
Steps Connecting WiFi Shield with Arduino UNO
- Include the WiFi library:
#include <WiFi.h>
- Define the network credentials (SSID and password) of the WiFi network to which you want to connect:
const char* ssid = "your_network_SSID";
const char* password = "your_network_password";
- Declare a variable to store the status of the WiFi connection:
int status = WL_IDLE_STATUS;
- In the
setup()function, initialize the serial communication and attempt to connect to the WiFi network:
void setup() {
  Serial.begin(9600);

  // attempt to connect to WiFi network
  while (status != WL_CONNECTED) {
    Serial.print("Attempting to connect to network: ");
    Serial.println(ssid);
    status = WiFi.begin(ssid, password);
    delay(5000);
  }

  // print the local IP address once connected to the network
  Serial.println("Connected to WiFi network");
  Serial.print("Local IP address: ");
  Serial.println(WiFi.localIP());
}
- In the
loop()function, print the status of the WiFi connection to the serial monitor:
void loop() {
  if (WiFi.status() != WL_CONNECTED) {
    Serial.println("Disconnected from WiFi network");
  }
  delay(1000);
}
Installing Arduino IDE
First, you need to install Arduino IDE Software from its official website Arduino. Here is a simple step-by-step guide on “How to install Arduino IDE“.
Installing Libraries
Before you start uploading a code, download and unzip the following libraries at /Progam Files(x86)/Arduino/Libraries (default), in order to use the sensor with the Arduino board. Here is a simple step-by-step guide on “How to Add Libraries in Arduino IDE“.
- WiFi.h
Code
Now copy the following code and upload it to Arduino IDE Software.
#include <WiFi.h>

const char* ssid = "your_network_SSID";
const char* password = "your_network_password";
int status = WL_IDLE_STATUS;

void setup() {
  Serial.begin(9600);

  while (status != WL_CONNECTED) {
    Serial.print("Attempting to connect to network: ");
    Serial.println(ssid);
    status = WiFi.begin(ssid, password);
    delay(5000);
  }

  Serial.println("Connected to WiFi network");
  Serial.print("Local IP address: ");
  Serial.println(WiFi.localIP());
}

void loop() {
  if (WiFi.status() != WL_CONNECTED) {
    Serial.println("Disconnected from WiFi network");
  }
  delay(1000);
}
Working Explanation
In the setup function, the code initializes the Serial communication and sets the initial connection status to “WL_IDLE_STATUS”. The while loop is used to repeatedly attempt to connect to the network until a successful connection is established. Once connected, the code prints the IP address of the device to the Serial monitor.
In the loop function, the code checks the connection status and prints a message to the Serial monitor if the device is disconnected from the network. The delay function is used to slow down the loop and prevent it from running too quickly.
Applications
- Internet of Things (IoT) projects
- Weather monitoring systems
- Smart agriculture systems
- Security systems
- Robotics
- Industrial automation
- Remote control systems
- Energy management systems
Conclusion.
We hope you have found this Arduino WiFi Circuit very useful. If you feel any difficulty in making it feel free to ask anything in the comment section.
Related posts:
 Interfacing DS18B20 1-Wire Digital Temperature Sensor with Arduino UNO
 How to make YouTube Play Button - Electronics Projects
 Digital Capacitive Touch Sensor Arduino Interface
 Arduino as ISP to Burn Bootloader on AVR Microcontrollers
 Interface MPU6050 Accelerometer and Gyroscope Sensor with Arduino
 Door Lock System with Password - Arduino Tutorial