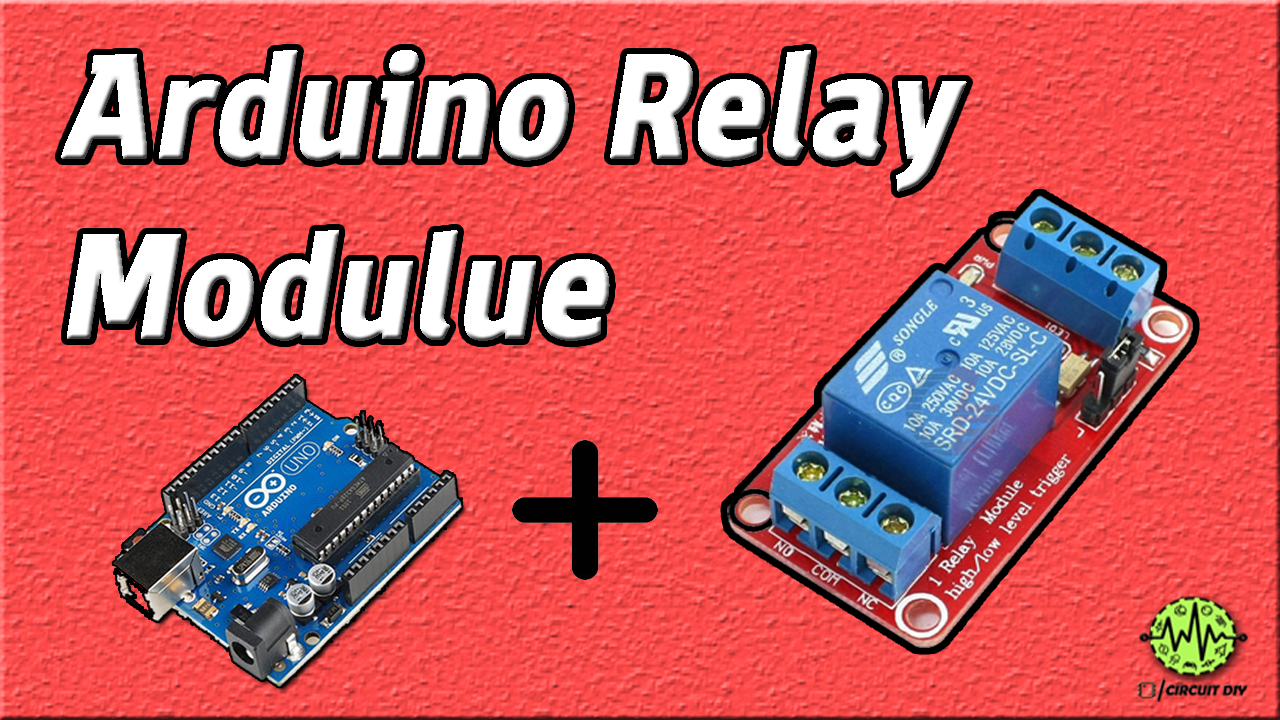
Here in this tutorial, we will learn how to interface a relay module with an Arduino. This project is a very important application of an Arduino. As here we will discuss to control the switching of different electronic and electrical components of high voltages with low voltages. Arduino operates only at 5v so it can not control high voltage electronic devices directly. For that purpose relay module is very useful as it can control 120 to 240 Voltage devices current by Arduino which gives it only 5V.
Hardware Components
The necessary hardware items required for Relay Module:
| S.NO | Component | Value | Qty |
| 1. | Arduino | Uno R3 | 1 |
| 2. | USB Cable A/B | – | 1 |
| 3. | Relay Module | 5v | 1 |
| 4. | Push Button | – | 1 |
| 5. | Breadboard | – | 1 |
| 6. | Connecting Wires | – | 1 |
Working Explanation
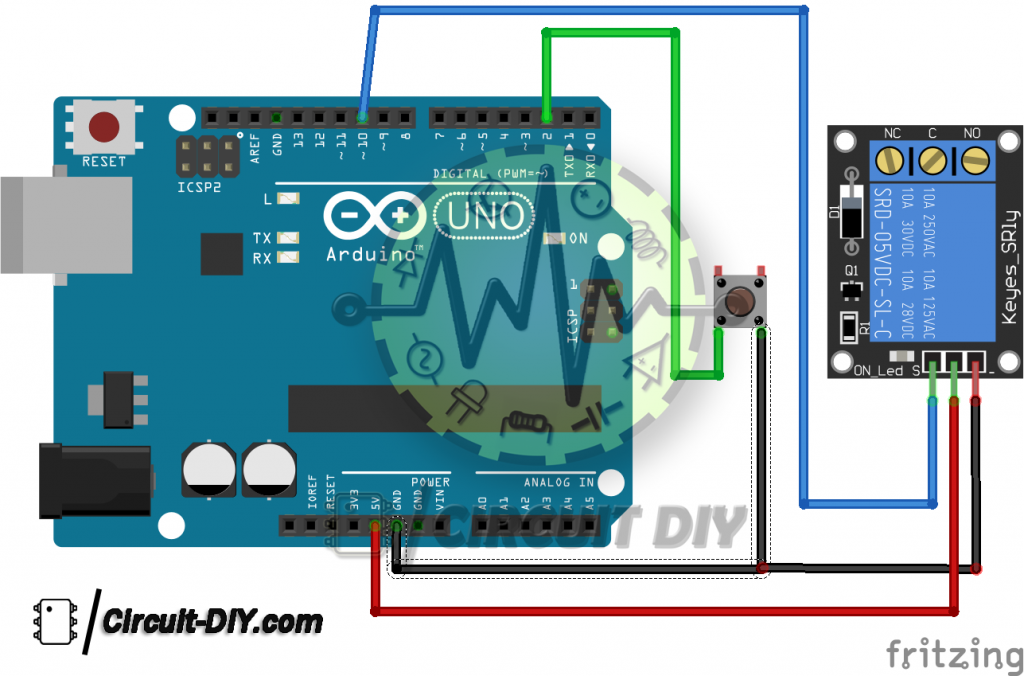
A relay is basically an electrical switch that is operated by an electromagnetic switch. It can be turned on or off allowing the current through the circuit. Arduino pins provide a low voltage which is only 5V to the relay module to control it. The relay module has three low voltage terminals i.e VCC, GND and Signal. Similarly, three high voltage pins i.e NO, NC and COM. These low voltage pins are connected with an Arduino whereas high voltage pins are connected to the device you want to control. Normally open is the pin which when receives a high signal closes a switch and ultimately allows a current to go through the circuit. This interrupts normally closed switch and breaks the switch and vice versa. Once you control the relay module with Arduino you can control any high voltage device with the help of it.
Connections
- VCC – To VCC of Arduino.
- GND – To GND of Arduino.
- IN – To D10 of Arduino.
Application
- Turning on and off the Lamps
- Controlling the temperature
- operation of the AC devices
Circuit Diagram
Arduino Relay Code
This is the Arduino code for push button to push ON and Push OFF a relay and AC bulb * the output pen 10 is connected to relay * watch video instruction on video https://youtu.be/7CCSRs5bvH0 * Be carefull working with AC is dangrous. Disconnect from AC power when working and wear protective gloves when touch the AC components. * * Written by Ahmad Nejrabi for Roboja Video, www.Robojax.com * Date: Dec 14, 2017, in Ajax, Ontario, Canada * Permission granted to share this code given that this * note is kept with the code. * Disclaimer: this code is “AS IS” and for educational purpose only. * http://robojax.com/learn/arduino/ * */ int pbuttonPin = 2;// connect output to push button int relayPin = 10;// Connected to relay (LED) int val = 0; // push value from pin 2 int lightON = 0;//light status int pushed = 0;//push status void setup() { // Robojax.com code and video tutorial for push button ON and OFF Serial.begin(9600); pinMode(pbuttonPin, INPUT_PULLUP); pinMode(relayPin, OUTPUT); } void loop() { // Robojax.com code and video tutorial for push button ON and OFF val = digitalRead(pbuttonPin);// read the push button value if(val == HIGH && lightON == LOW){ pushed = 1-pushed; delay(100); } lightON = val; if(pushed == HIGH){ Serial.println(“Light ON”); digitalWrite(relayPin, LOW); }else{ Serial.println(“Light OFF”); digitalWrite(relayPin, HIGH); } // Robojax.com code and video tutorial for push button ON and OFF delay(100); }[matched_content]
Related posts:
 Interfacing 1.8 Inch SPI TFT Color Display Module with Arduino
 Interfacing Infrared (IR) Proximity Sensor with Arduino
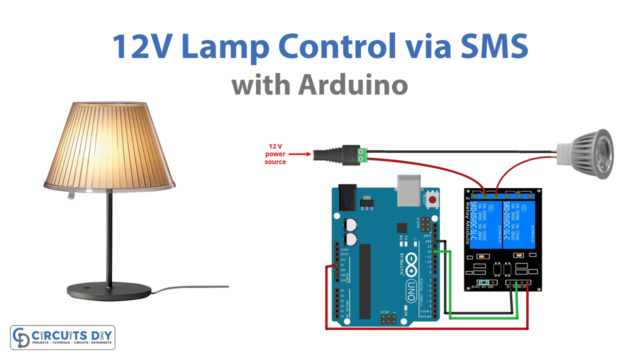 How to Control a 12V Lamp via SMS with Arduino UNO
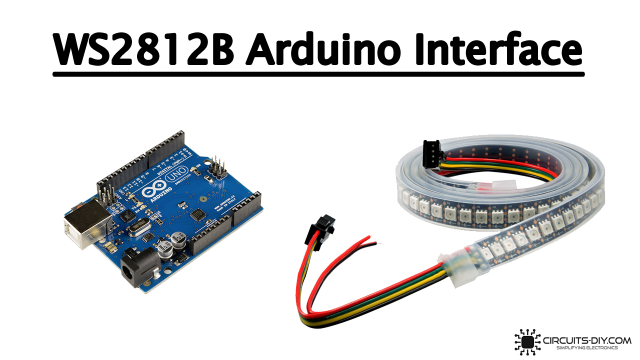 How to drive WS2812B Addressable LEDs using Arduino
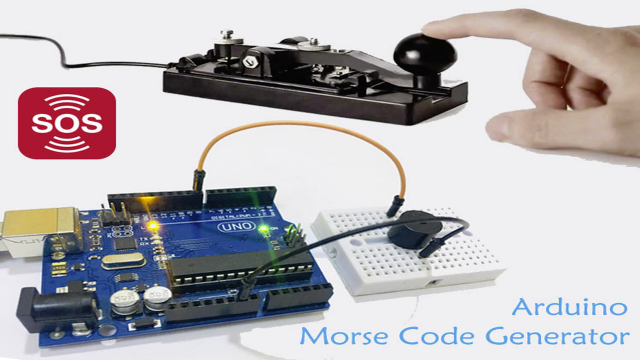 Arduino based Morse Code Generator
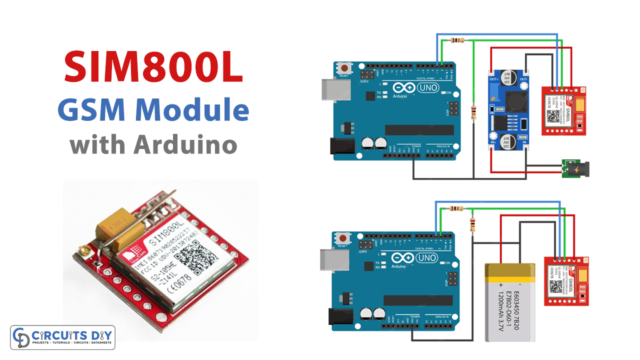 Send Receive SMS & Call with SIM800L GSM Module & Arduino