This is possibly one of the smallest and easiest DIY circuits. I am going to show you how to make a simple LED flasher circuit. This circuit is used for the purpose of flashing LEDs which means turning LEDs ON/OFF. You can make a great-looking LED flasher by using just two components, LEDs and a Battery, that’s it! I know it sounds too good to be true but you will find out in this post.
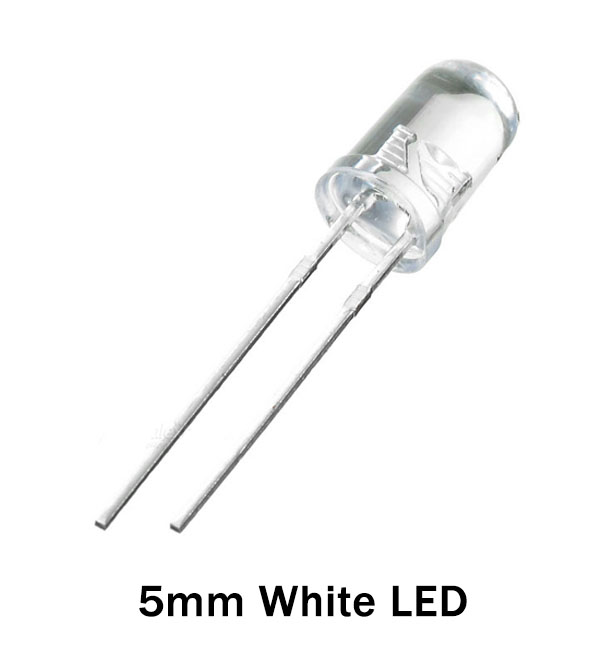
The first LED used in this circuit is a self-flashing LED. These types of LEDs have built-in circuitry therefore we don’t need to use any external components in this. It is a pulsed LED with a built-in electrical circuit powered from a fixed voltage rail, they usually have operating voltage ranging from 3.5V to 9V, you should always confirm it while buying. These LEDs are cheaper and their circuit helps them to blink so it makes the whole process a lot easier.
Hardware Components
The following components are required to make LED Flasher Circuit
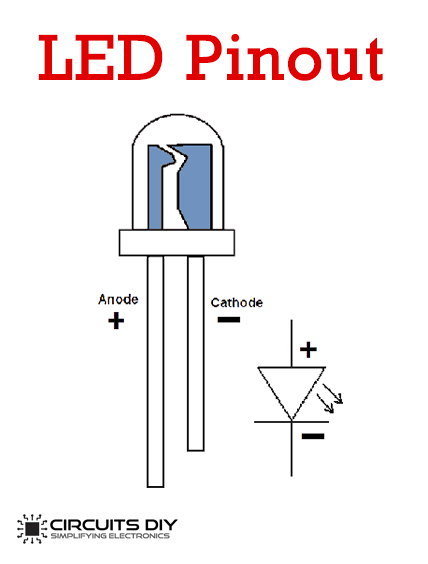
LED Pinout
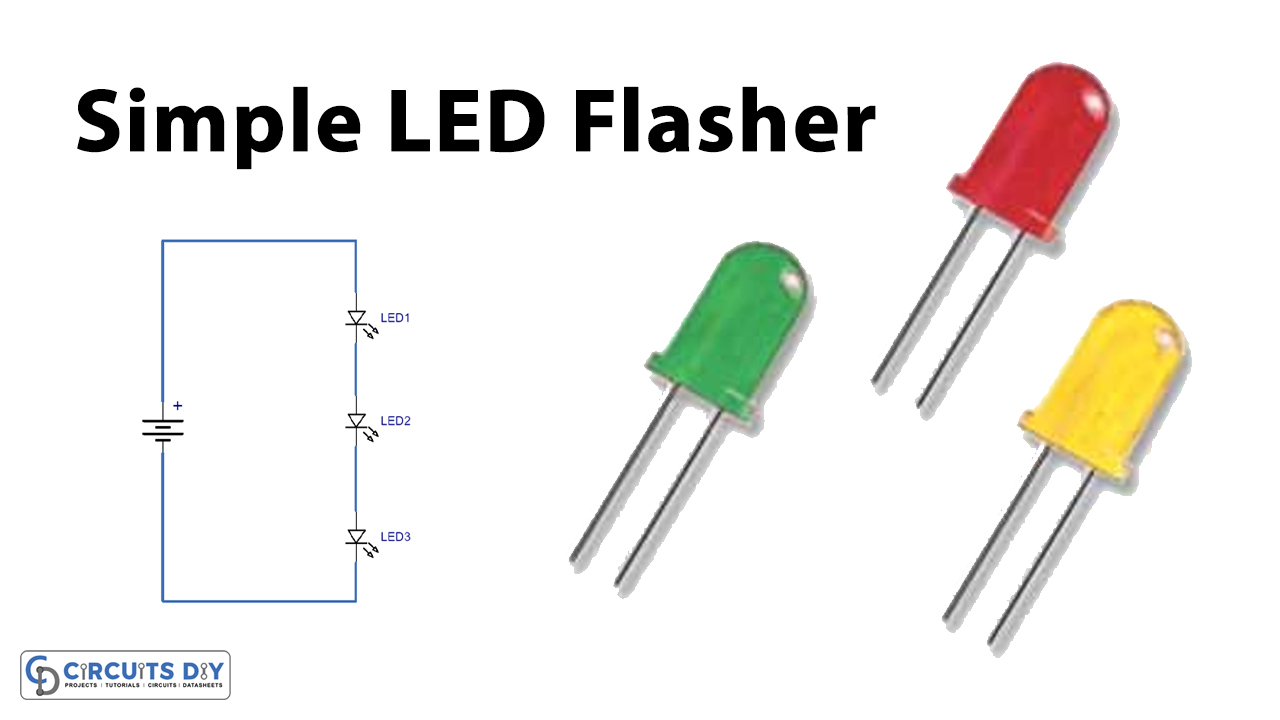
LED Flasher Circuit

Working Explanation
This circuit doesn’t have any working process it is powered by a 9V Battery. When the power is turned ON the LEDs start blinking, since LED1 is a self-flashing LED it blinks automatically on its operating voltage.
Applications and Uses
This circuit has a lot of uses and applications in your daily life as well as electronic projects, It can be used in;
- Toys
- Sirens
- Warning Devices
- Square wave Generator
- Railroad crossing signals
- Blinkers used for decorations
- Safety Blinkers