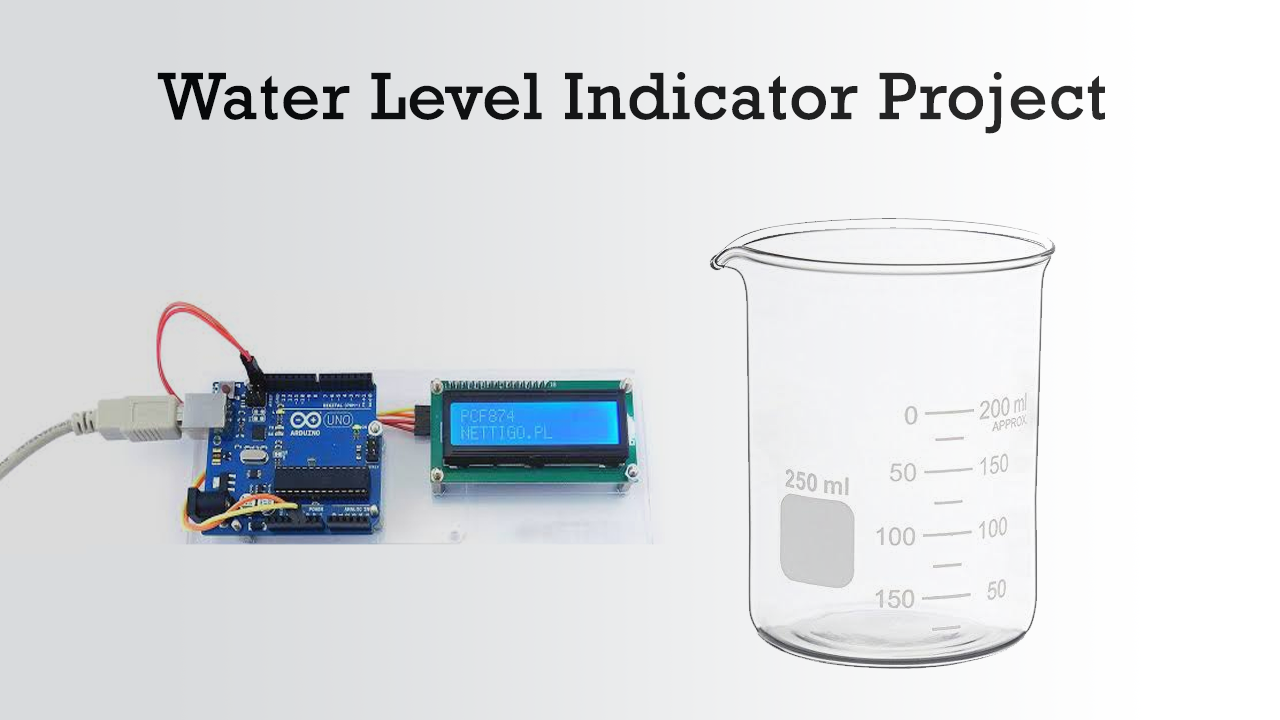
The water-level indicator project is generally used to indicate the water level in an overhead tank or any specified location, this indicator helps in controlling water overflow when required. Here, we are going to discuss, how to make a simple water level Indicator using Arduino.
Working Principle
The circuit of the water level indicator shows the water level in the tank and it switches on the motor whenever water level drops below a predetermined level. The circuit will switch off the motor automatically when the tank is full. These indications are displayed on a 16×2 LCD display.
Hardware Components
| S.NO | Component | Value | Qty |
|---|---|---|---|
| 1. | Breadboard | – | 1 |
| 2. | Connecting Wires | – | 1 |
| 3. | Arduino with a USB Cable | Uno R3 | 1 |
| 4. | LCD Display | 16×2 | 1 |
| 5. | NPN Transistor | BC547 | 2 |
| 6. | Resistors | 470, 220, 22k ohm | 3, 3, 3 |
| 7. | Relay Module | – | 1 |
| 8. | Variable Resistor | 10K | 1 |
| 9. | Diode | 1N4007 | 1 |
| 10. | LED | 5mm | 2 |
Working Explanation
- The Arduino UNO board is programmed and shows the water level in an overhead tank.
- Analog pin A0 measures the water level in an underground tank.
- Pins A1, A2, A3 and A4 measure the water level of an overhead tank.
- Digital pin D7 is used to control the alarm and it gives off an alert when the tank is full or empty.
- Pin D8 controls the Relay that switches ON or OFF the motor.
- Digital pins D2,D3,D4,D5,D11 and D12 are connected to 16 X2 LCD display.
- The external 9V battery source is connected to the control circuit.
Circuit Diagram of Water Level Indicator Project

Code
#includeint ugnd=A0; int quarter=A1; int half=A2; int threfrth=A3; int full=A4; int relay=8; int buzzer=7; int i; //relay status flag int v=100; //comparison variable and give some adjustment for to get proper value int b=0; //buzzerzer flag int m=0; //relay flag int c=0; //ugnd flag int s; int q; int h; int t; int f; LiquidCrystal lcd(12, 11, 5, 4, 3, 2); void setup() { pinMode(quarter,INPUT); pinMode(half,INPUT); pinMode(quarter,INPUT); pinMode(full,INPUT); pinMode(ugnd,INPUT); pinMode(relay,OUTPUT); pinMode(buzzer,OUTPUT); lcd.begin(16, 2); digitalWrite(buzzer,LOW); } void loop() { i=digitalRead(relay); s=analogRead(ugnd); q=analogRead(quarter); h=analogRead(half); t=analogRead(threfrth); f=analogRead(full); lcd.clear(); if(f>v && t>v && h>v && q>v ) //Statement to compare water levels from Arduino Analog pins { lcd.setCursor(0,0); lcd.print(char(219)); lcd.print(char(219)); lcd.print(char(219)); lcd.print(char(219)); lcd.setCursor(5,0); lcd.print("fullL"); m=0; b=0; } else { if(f v && h>v && q>v)//Statement to compare water levels from Arduino Analog pins { lcd.setCursor(0,0); lcd.print(char(219)); lcd.print(char(219)); lcd.print(char(219)); lcd.print("_"); lcd.setCursor(5,0); lcd.print("3/4th"); b=0; } else { if(f v && q>v)//Statement to compare water levels from Arduino Analog pins { lcd.setCursor(0,0); lcd.print(char(219)); lcd.print(char(219)); lcd.print("_"); lcd.print("_"); lcd.setCursor(5,0); lcd.print("HALF"); m=1; b=0; } else if(f v)//Statement to compare water levels from Arduino Analog pins { lcd.setCursor(0,0); lcd.print(char(219)); lcd.print("_"); lcd.print("_"); lcd.print("_"); lcd.setCursor(5,0); lcd.print("1/4th"); b=0; } else { if(f v && m==1)//Statement to compare water levels from Arduino Analog pins { digitalWrite(relay,HIGH); } if(s v) { c=0; } if(m==0) { digitalWrite(relay,LOW); } if(b==1 || c==1)//Statement to compare water levels from Arduino Analog pins { digitalWrite(buzzer,HIGH); delay(500); digitalWrite(buzzer,LOW); } else { digitalWrite(buzzer,LOW); } delay(100); lcd.clear(); }
Applications
- Overhead tank
- Source tank