

First of all, thanks for landing this post, if you are searching for “Home Automation Using NodeMCU |
In this tutorial, we are going to make the Home Automation Control System step by step. So, let’s start with the initial steps by watching this video:
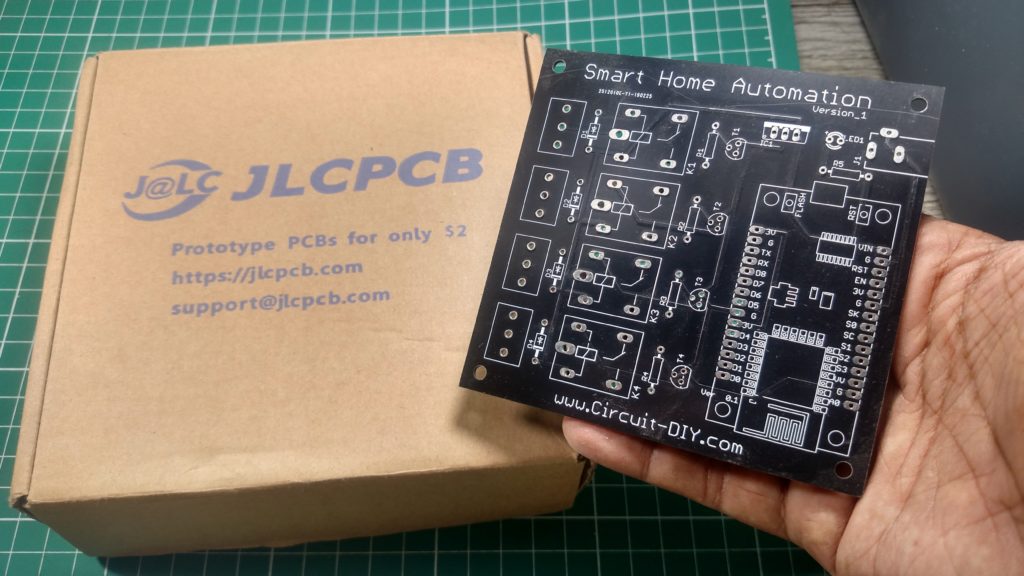
JLCPCB is the foremost PCB prototype & manufacturing company in china, providing us with the best service we have ever experienced regarding (Quality, Price Service & Time).
Hardware Components
The following are the necessary hardware items required for making a home automation system.
| S. No | Component | Value | Qty |
|---|---|---|---|
| 1. | PCB of Home Automation Circuit | – | 1 |
| 2. | Nodemcu | ESP8266 | 1 |
| 3. | Diode | 1N4006 | 4 |
| 4. | Resistors | 330 ohm | 5 |
| 5. | NPN Transistor | BC547 | 1 |
| 6. | Regulator IC | 5V | 1 |
| 7. | Terminal Block | 5mm | 4 |
| 8. | Power LED | – | 1 |
| 9. | DC Power Jack | – | 1 |
Useful Steps
Follow all steps carefully from the video tutorial at the end of this post (Highly Recommended).
- STEP # 1 ( Solder All Components )
- STEP # 2 ( setting up Arduino IDE )
- The download is given library and include it in Arduino ide
- STEP # 3 ( setting up Firebase )
- Login to firebase add project copy database URL and authentication code and update to Arduino code
- STEP # 4 ( Make App from MIT App Inventor2 )
- Make changes to the app by importing ai file and update URL and Authentication code here too
- STEP # 5 ( Let’s Try )
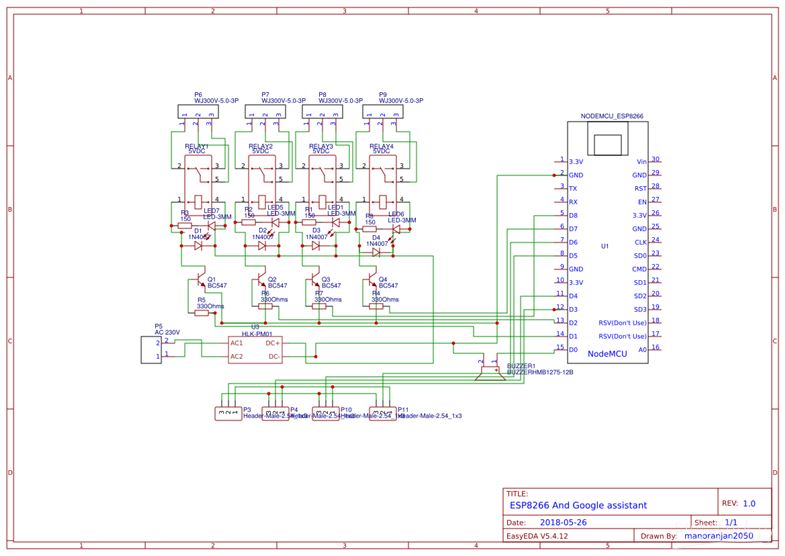
Circuit Diagram
For Gerber File, Home Automation PCB Ordering, click the link below.
Related posts:
 DIY 12 Volt Soldering Iron - Homemade
 Simple Water Level Indicator Circuit - Electronics Projects
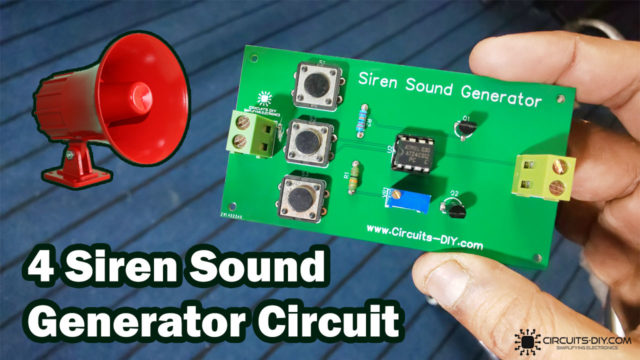 4 Siren Sound Generator using UM3561 - Police Ambulance Sound
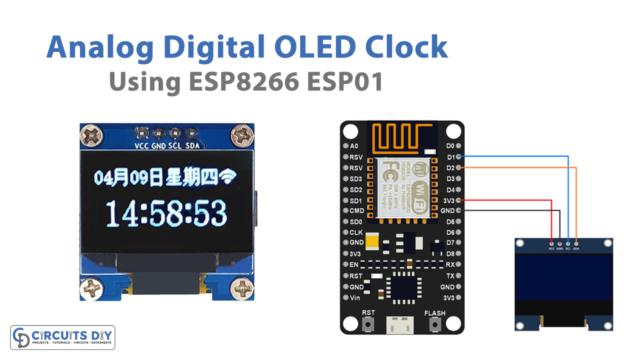 IoT-Based Analog Digital OLED Clock using ESP8266 ESP01
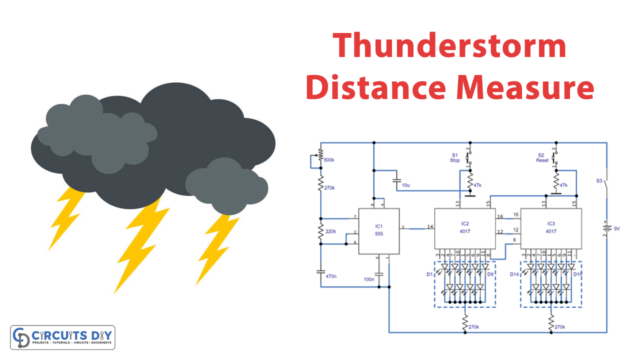 Measuring Thunderstorm Distance using an Electronic Circuit
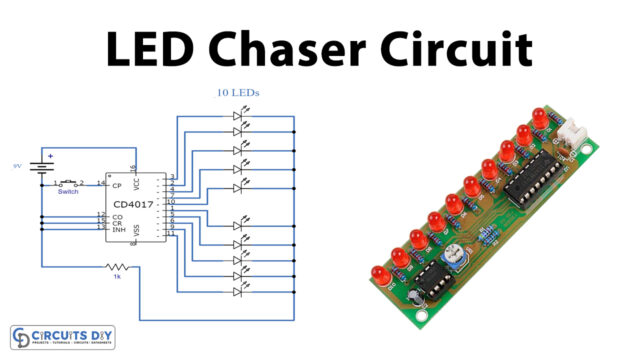 LED Chaser Circuit Using CD4017 Decade Counter IC


