Introduction
Are you bored by making those projects that don’t grab your interest? And, that’s why feeling demotivated? And are you looking for some interesting project that excites and motivates you? You’re in the right spot. Because, In this tutorial, we’ll interface “Nokia 5110 LCD with Arduino UNO” The Nokia 5110 LCD is one of the devices that are used to display words, numbers, images, etc. The reason to use Nokia LCD is that it’s inexpensive and easily get interfaced with Arduino.
An Overview about Nokia 5110 LCD
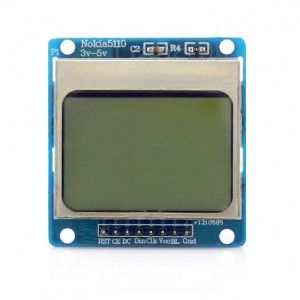
Nokia 5110 is a simple graphic LCD. Initially, it was made to use as a mobile phone screen. The LCD contains the PCD8544 controller in it. Practically, it’s a low-powered controller. This controller was designed to display 48 rows and 84 cols on an LCD screen. The LCD is easy to solder and mount on board. Also, it’s easy to interface with any microcontroller.
Hardware Required
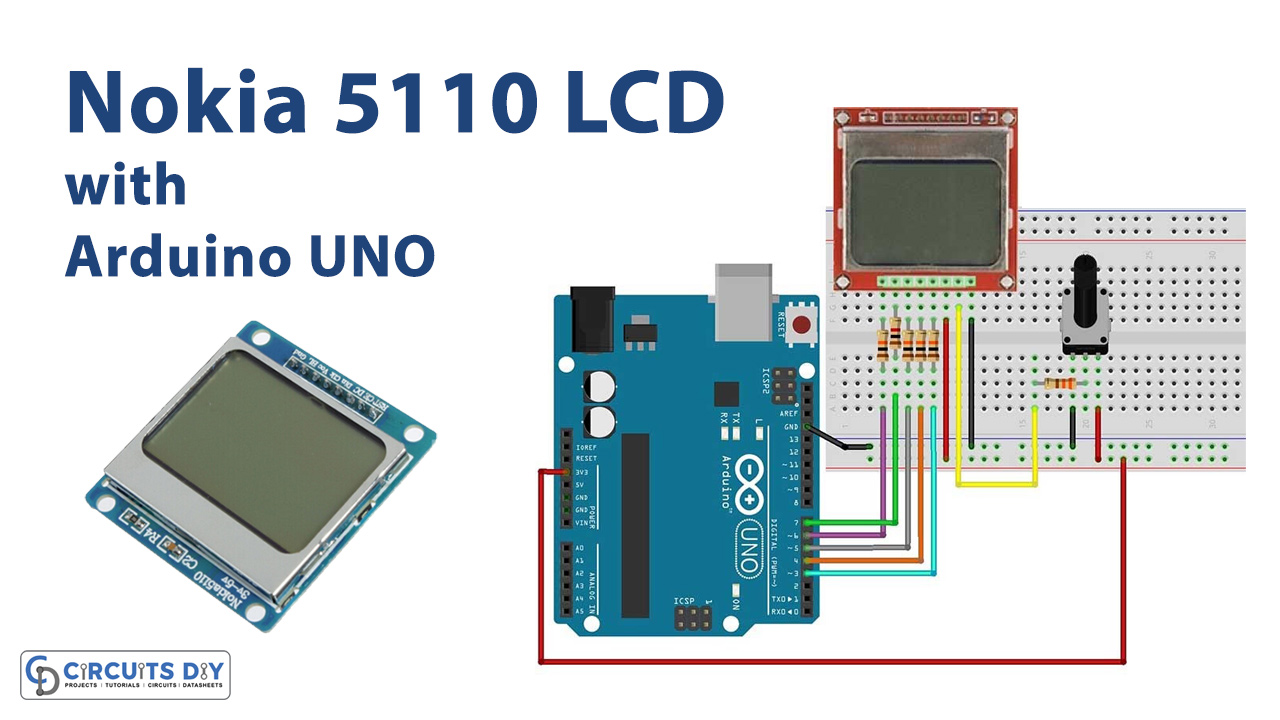
Circuit Diagram

Arduino Code
 // Circuits DIY
 // For Complete Details Visit -> https://circuits-diy.com
 * Pin 1 -> +3.3V (rightmost, when facing the display head-on)
 * Pin 2 -> Arduino digital pin 3
 * Pin 3 -> Arduino digital pin 4
 * Pin 4 -> Arduino digital pin 5
 * Pin 5 -> Arduino digital pin 7
 * Pin 6 -> Ground
 * Pin 7 -> 10uF capacitor -> Ground
 * Pin 8 -> Arduino digital pin 6
 *
 * Since these LCDs are +3.3V devices, you have to add extra components to
 * connect it to the digital pins of the Arduino (not necessary if you are
 * using a 3.3V variant of the Arduino, such as Sparkfun's Arduino Pro).
 */

#include <PCD8544.h>

// A custom glyph (a smiley)...
static const byte glyph[] = { B00010000, B00110100, B00110000, B00110100, B00010000 };

static PCD8544 lcd;

void setup() {
  // PCD8544-compatible displays may have a different resolution...
  lcd.begin(84, 48);

  // Add the smiley to position "0" of the ASCII table...
  lcd.createChar(0, glyph);
}


void loop() {
  // Just to show the program is alive...
  static int counter = 0;

  // Write a piece of text on the first line...
  lcd.setCursor(0, 0);
  lcd.print("Hello, World!");

  // Write the counter on the second line...
  lcd.setCursor(0, 1);
  lcd.print(counter, DEC);
  lcd.write(' ');
  lcd.write(0);  // write the smiley

  // Use a potentiometer to set the LCD contrast...
  // short level = map(analogRead(A0), 0, 1023, 0, 127);
  // lcd.setContrast(level);

  delay(200);
  counter++;
}
Working Explanation
Assemble the circuit to interface “Nokia 5110 LCD with Arduino UNO” according to the above-given diagram. Upload the code in Arduino. When you upload the code in it, the Arduino transfers it to the LCD through wires/buses. And, you will see that LCD will display “Hello World”. Use the potentiometer to increase or decrease the light intensity.
Code Explanation
- First, you need to install PCD8544 the library in your Arduino IDE. You can download the library from:
https://www.arduino.cc/reference/en/libraries/adafruit-pcd8544-nokia-5110-lcd-library/
- Include the library in your code.
- In the void setup, initialize the LCD by Lcd.begin(84, 48). Remember, that this 84 and 48 is the dimension of LCD. Then createchar( ) is used to create the character fonts for the LED matrices.
- In the void loop, we have formulated the counter. The setcursor( ) is used to set the location at which the text would be written on the LCD.
Application and Uses
It is used to display statements, print designs, illustrate images. Hence, any device that wants these aspects can use this circuit.