Introduction
Flame sensing systems with buzzer and LED using Arduino UNO and an Arduino LDR module are becoming increasingly popular for detecting and alerting individuals of potential fire hazards in a variety of settings, such as homes, offices, and factories. These systems are designed to detect the presence of flames and provide an immediate warning through the use of a buzzer and LED indicator. By using an Arduino UNO board and an LDR module, it is possible to create a reliable and cost-effective flame-sensing system that can help prevent potentially catastrophic fires.
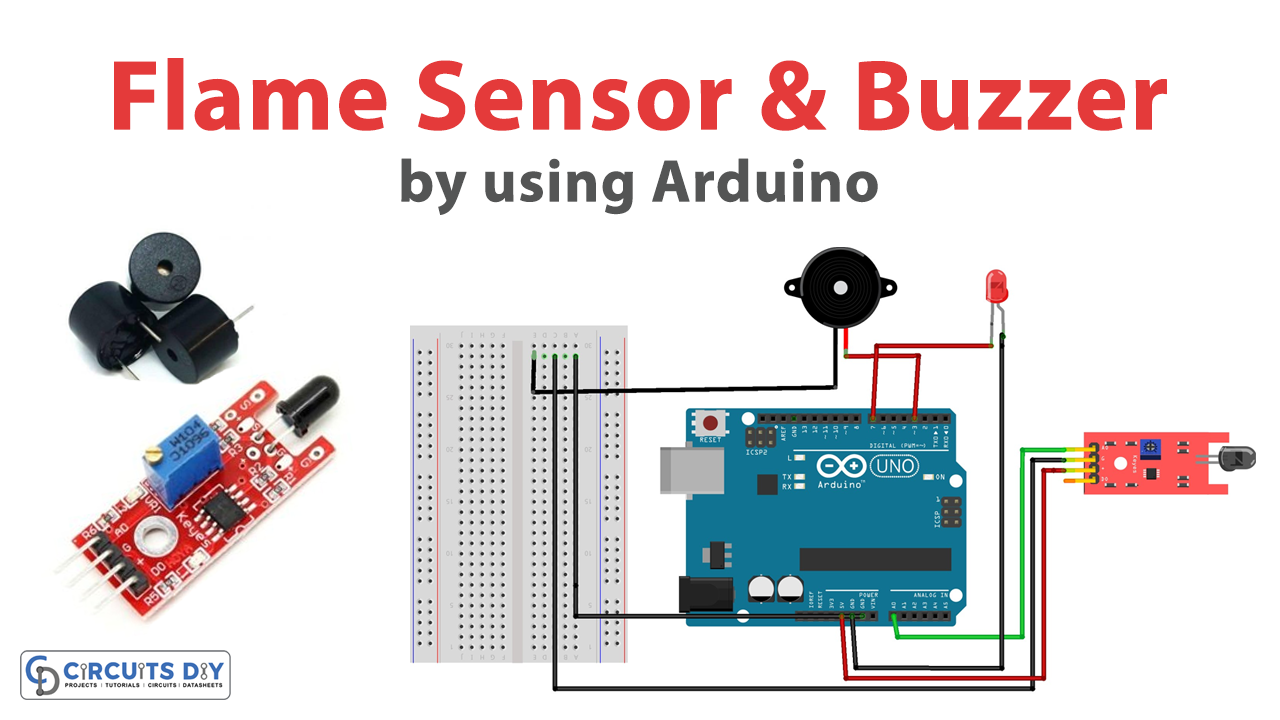
In this project, we will go through the steps to create a flame-sensing system with a buzzer and LED using Arduino UNO and an Arduino LDR module, allowing you to detect potential fire hazards and take action before it’s too late.
Hardware Components
You will require the following hardware for Flame Sensor with Buzzer.
| Components | Value | Qty |
|---|---|---|
| Arduino UNO | – | 1 |
| Flame Sensor | – | 1 |
| Buzzer | – | 1 |
| LED | – | 1 |
| Breadboard | – | 1 |
| Jumper Wires | – | 1 |
Arduino Code
- Include the SoftwareSerial library:
#include <SoftwareSerial.h>
- Define the input pin for the LDR and initialize the sensorValue variable:
int sensorPin = A0;
int sensorValue = 0;
- Define the output pins for the LED and Buzzer:
int led = 9;
int buzzer = 12;
- Set the pinMode() of the LED and Buzzer pins as OUTPUT:
pinMode(led, OUTPUT);
pinMode(buzzer, OUTPUT);
- Initialize the serial communication with a baud rate of 9600:
Serial.begin(9600);
- In the loop() function, print a welcome message to the serial monitor:
Serial.println("Welcome to TechPonder Flame Sensor Tutorial");
- Read the analog value from the LDR using analogRead() and store it in the sensorValue variable:
sensorValue = analogRead(sensorPin);- Print the analog value to the serial monitor:
Serial.println(sensorValue);
- If the sensorValue is less than 100, turn on the LED and Buzzer pins for 1 second:
if (sensorValue < 100) {
    digitalWrite(led, HIGH);
    digitalWrite(buzzer, HIGH);
    delay(1000);
}
- Turn off the LED and Buzzer pins:
digitalWrite(led, LOW);
digitalWrite(buzzer, LOW);
- Create a delay proportional to the sensorValue:
delay(sensorValue);Schematic
Make connections according to the circuit diagram given below.
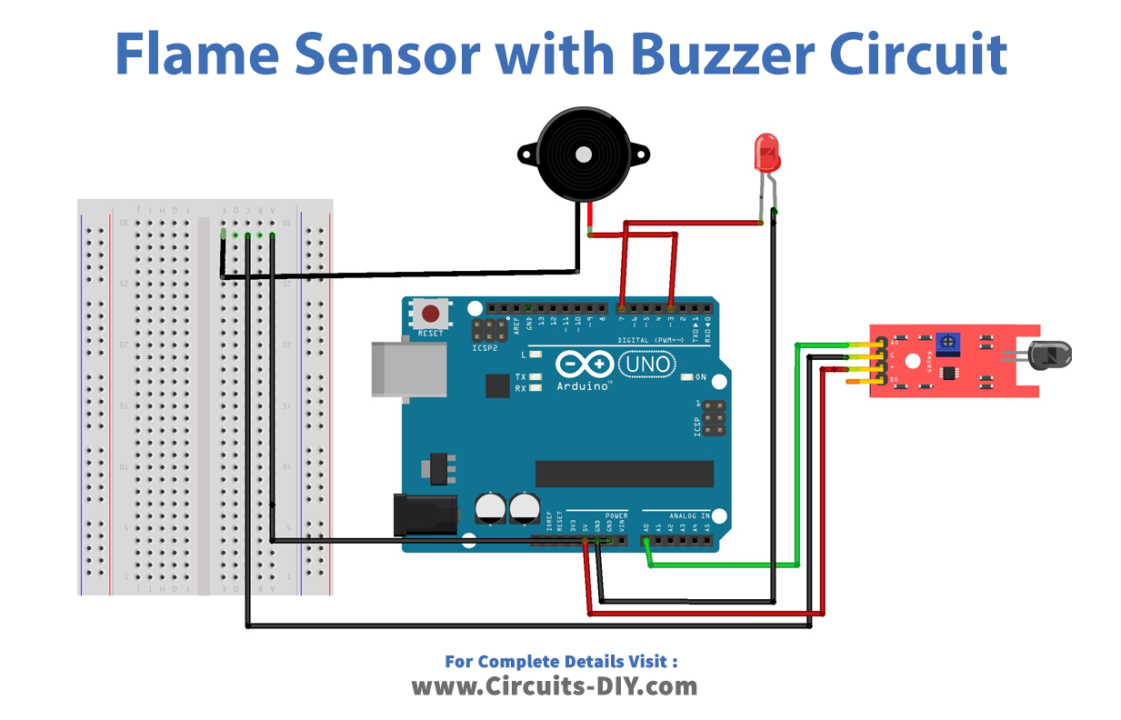
Wiring / Connections
| Arduino | Flame Sensor | Buzzer | LED |
|---|---|---|---|
| 5V | 5v | ||
| GND | GND | Negative (-) | Negative (-) |
| A0 | A0 | ||
| D3 | Positive (+) | ||
| D7 | Positive (+) |
Installing Arduino IDE
First, you need to install Arduino IDE Software from its official website Arduino. Here is a simple step-by-step guide on “How to install Arduino IDE“.
Installing Libraries
Before you start uploading a code, download and unzip the following libraries at /Progam Files(x86)/Arduino/Libraries (default), in order to use the sensor with the Arduino board. Here is a simple step-by-step guide on “How to Add Libraries in Arduino IDE“.
Code
Now copy the following code and upload it to Arduino IDE Software.
#include <SoftwareSerial.h>

int sensorPin = A0;
int sensorValue = 0;
int led = 9;
int buzzer = 12;

void setup() {
  pinMode(led, OUTPUT);
  pinMode(buzzer, OUTPUT);
  Serial.begin(9600);
}

void loop() {
  Serial.println("Welcome to Circuits DIY Flame Sensor Tutorial");
  sensorValue = analogRead(sensorPin);
  Serial.println(sensorValue);
  if (sensorValue < 100) {
    digitalWrite(led, HIGH);
    digitalWrite(buzzer, HIGH);
    delay(1000);
  }
  digitalWrite(led, LOW);
  digitalWrite(buzzer, LOW);
  delay(sensorValue);
}
Working Explanation
In the setup() function, the LED and buzzer pins are set as outputs and the serial communication is initialized.
The main logic of the code is in the loop() function. First, a message is printed to the serial monitor to indicate that the code is running. Then, the analog value of the flame sensor is read and printed to the serial monitor. If the sensor value is below a certain threshold (in this case, 100), the LED and buzzer are turned on for one second. If the sensor value is above the threshold, the LED and buzzer are turned off. Finally, there is a delay before the loop starts over again, with the duration of the delay determined by the sensor value.
Applications
- Home Safety
- Industrial safety
- Firefighting
- Automobile safety
- Energy management