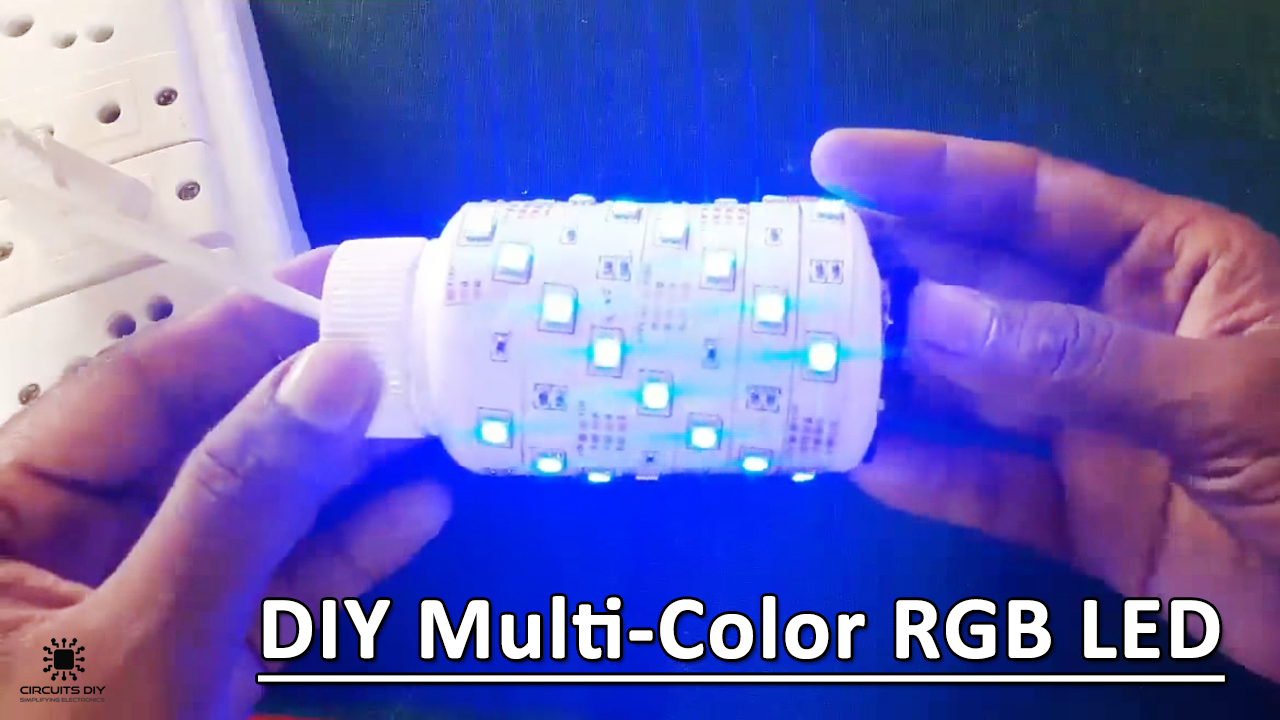
What is a Multi-Color RGB LED?
RGB LEDs are electronic light fixtures generally used for decorative & advertising purposes. The applications of RGB lighting in today’s world are many. You can use them for accent lighting in your house, task lighting in your office, or ambient lighting in your industrial space. They are cheap, reliable & are relatively easy to build at home using a small number of parts. So, in this article, we will go over a step-by-step process on how to make a Multi-Color RGB LED Light At home using RGB LED lighting strips.
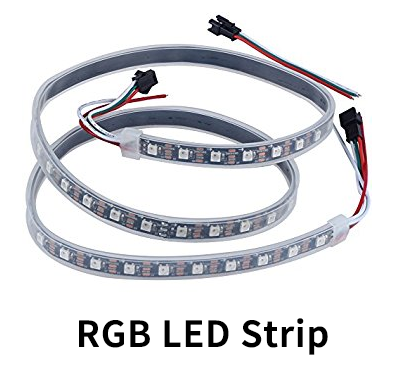
Standard RGB LED strip uses a 3-in-1 LED chip made up of red, green, and blue chips. It can produce a wide range of colors by mixing the three and looks almost white with all three at full brightness. They are easy to install & can be easily replaced in case of a fault. the color orientation of RGB LED strips can easily be controlled by using a number of different controllers such as Inline controllers & DMX controllers.
Hardware Components
The following components are required to make RGB LED Circuit
| S.no | Component | Value | Qty |
|---|---|---|---|
| 1. | RGB LED strips | 12V-24V/1.2A | 1 |
| 2. | Empty Plastic Bottle w/ Cap | – | 1 |
| 3. | LED driver mini power supply | 220V/12V/6W | 1 |
| 4. | Buttons | – | 3 |
| 5. | 2- pin AC power cord w/ plug | 220V AC | 1 |
| 6. | Soldering Iron | 45W – 60W | 1 |
| 7. | Soldering wire & flux | – | 1 |
| 8. | Electrical insulating tape | – | 1 |
| 9. | Scotch Tape | – | 1 |
| 10. | Jumper wires | – | As per need |
Useful Steps
Follow the steps on How To Make Multi-Color RGB LED.
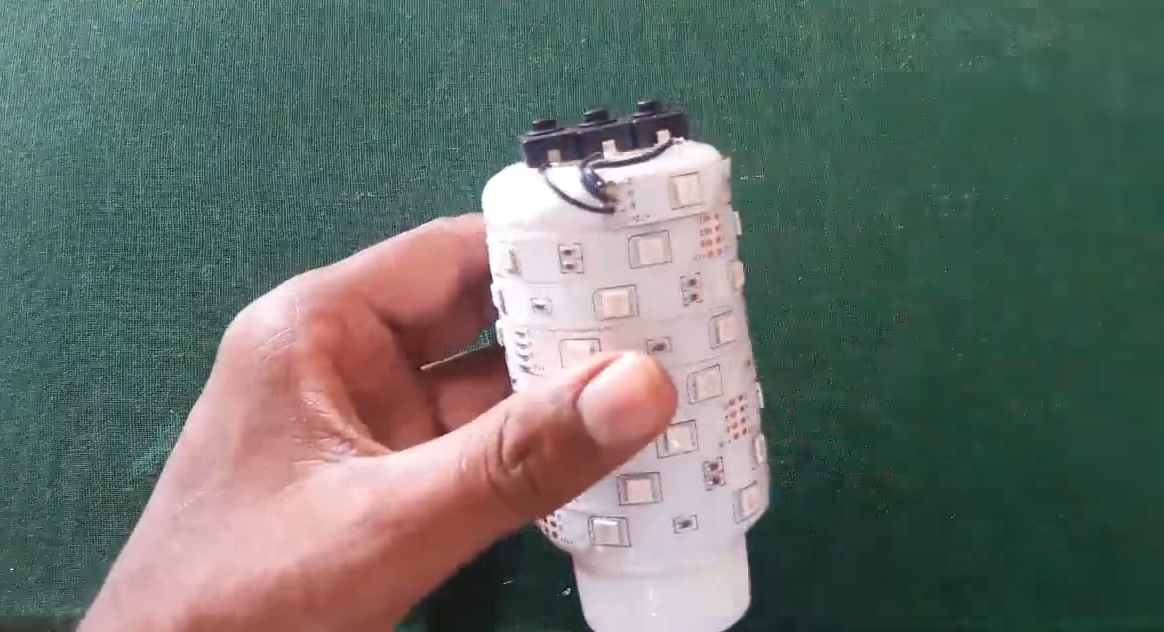
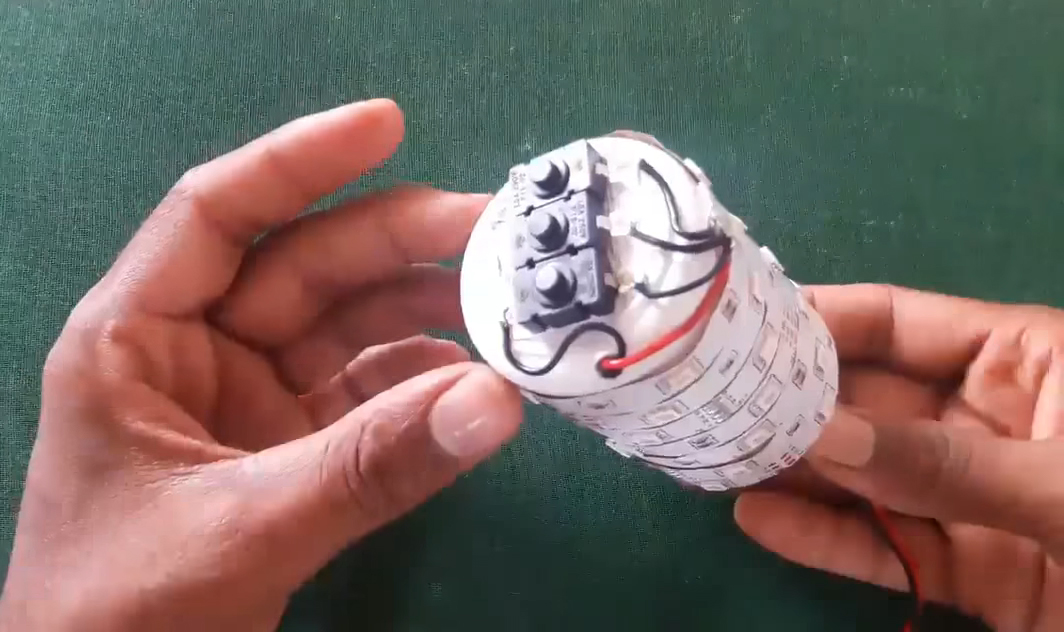
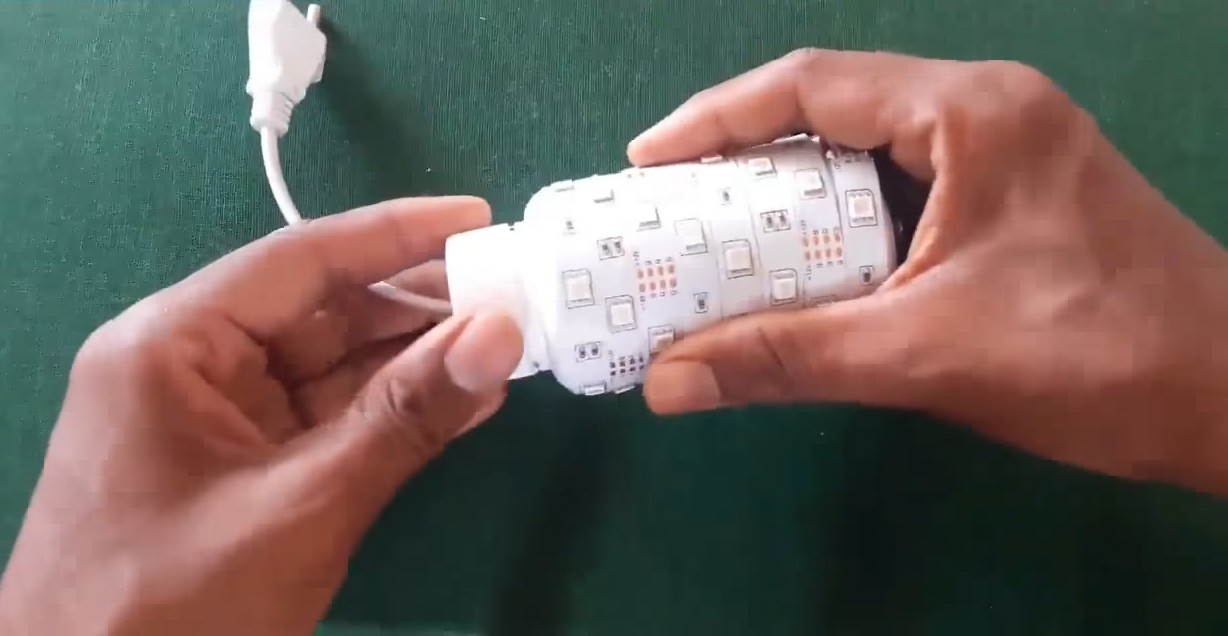
1) Stick one end of the RGB led strip on the empty plastic bottle & roll the led strip over the entire bottle, sticking the other end using double-sided tape.

2) Stick the tape on the bottom flat side of the empty plastic bottle using double-sided tape

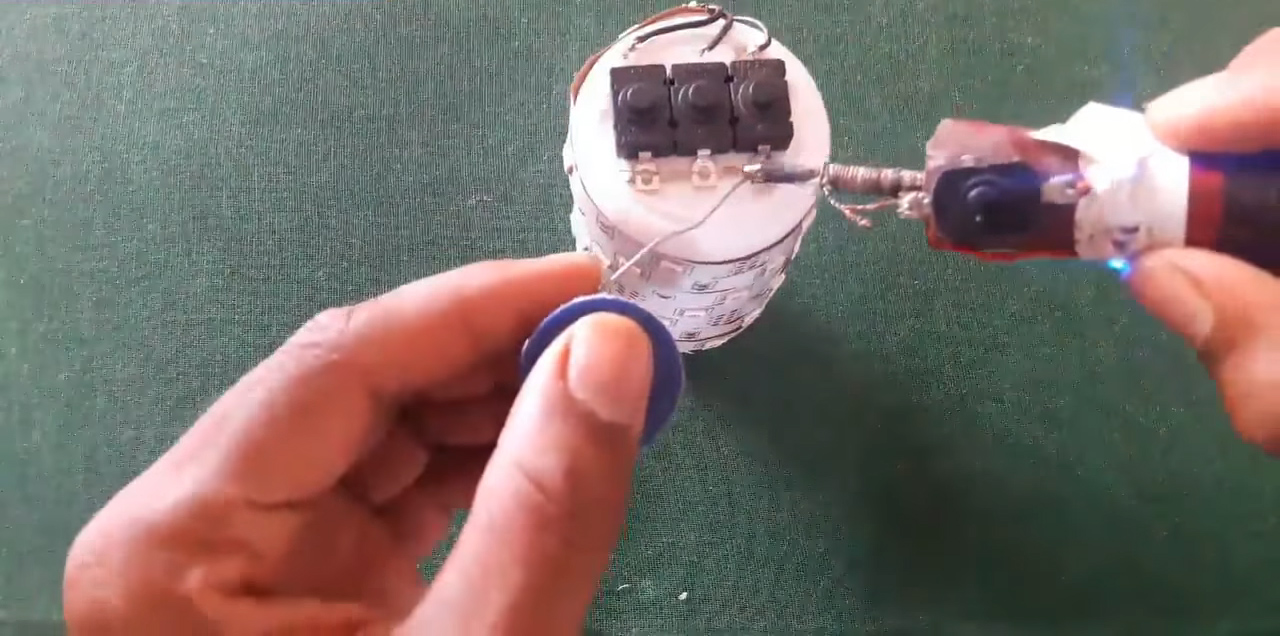
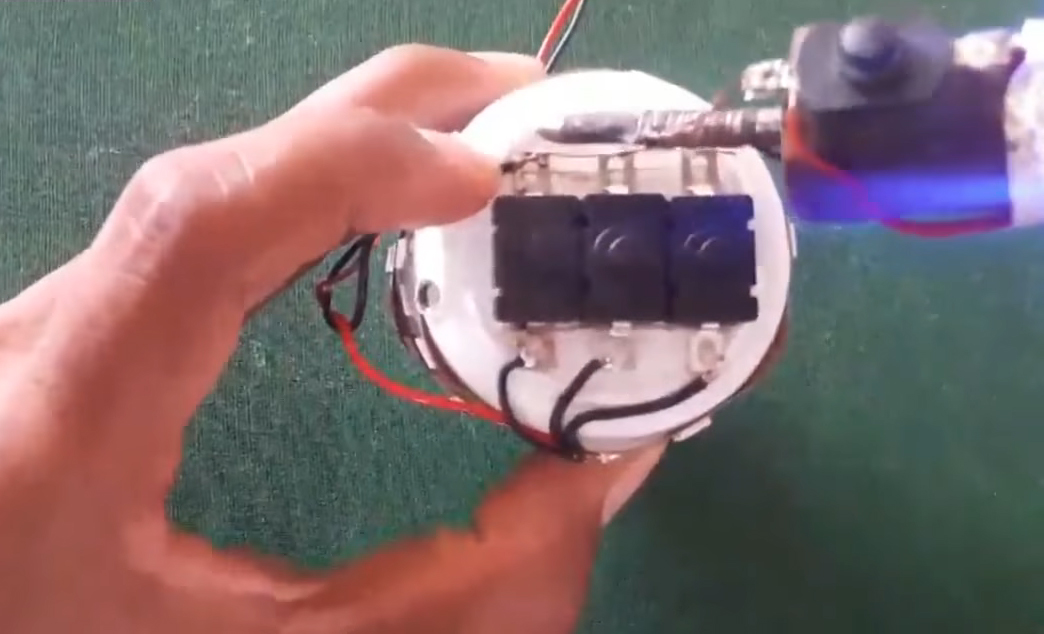
3) Solder the positive terminal of the Pushbuttons to the R, B & G terminal of the LED strip.
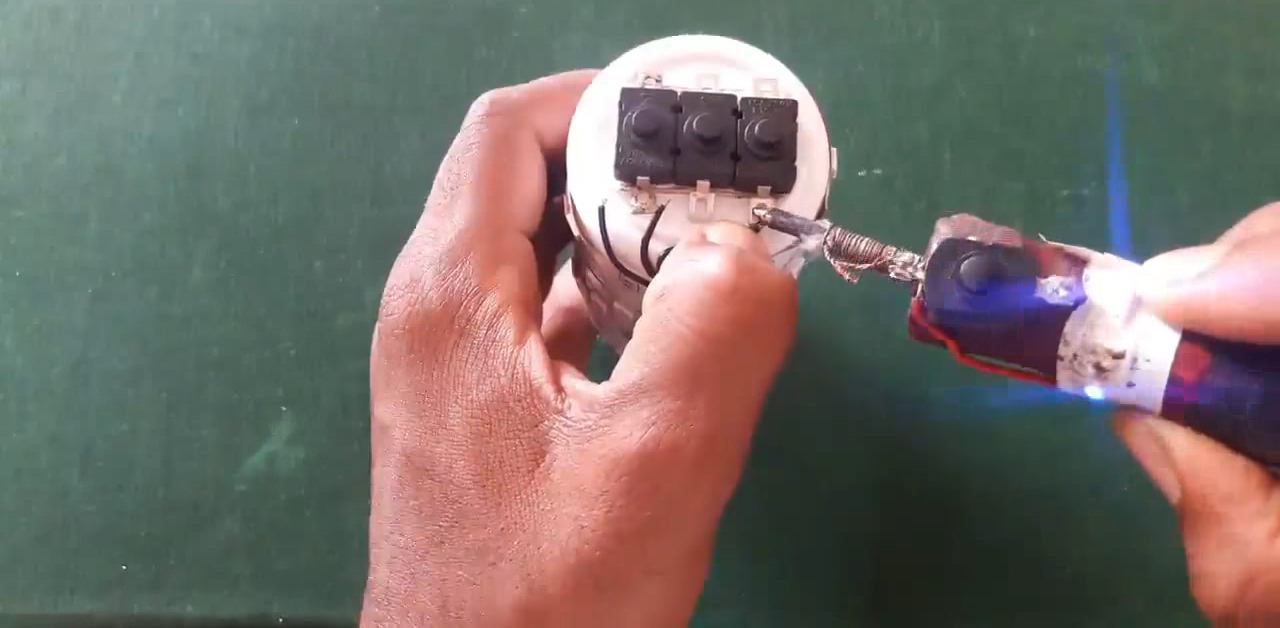
4) Solder all the -ve terminals of the pushbutton together.
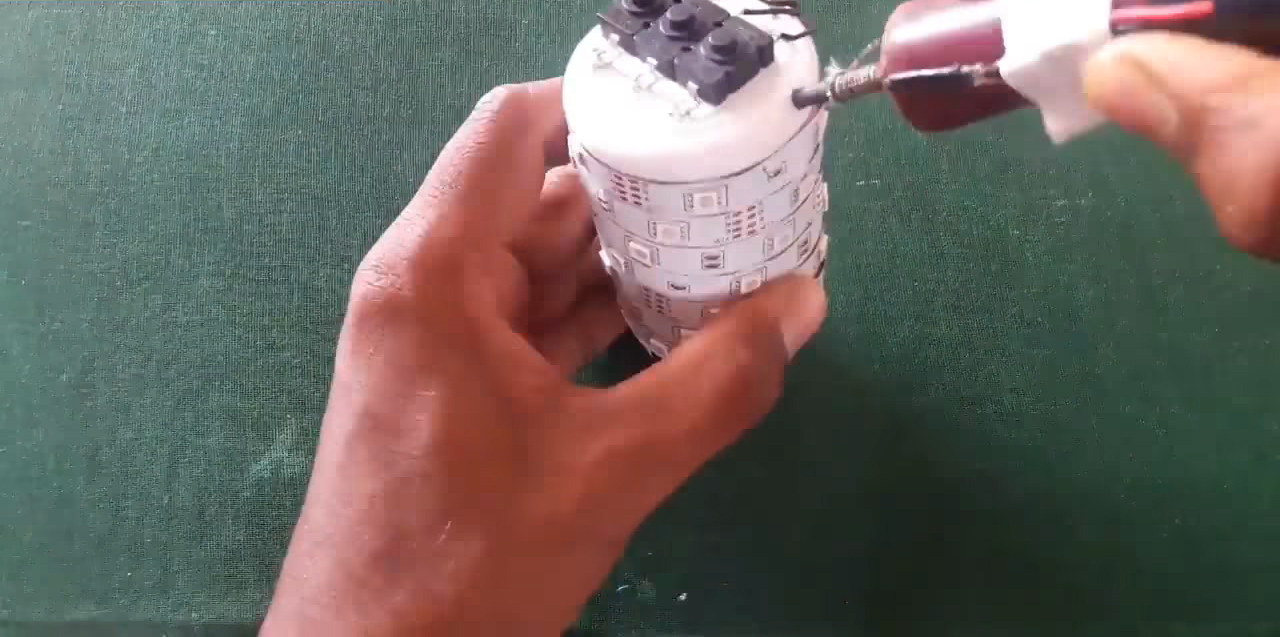
5) Burn a Hole on the bottom side of the empty plastic bottle using the soldering iron.
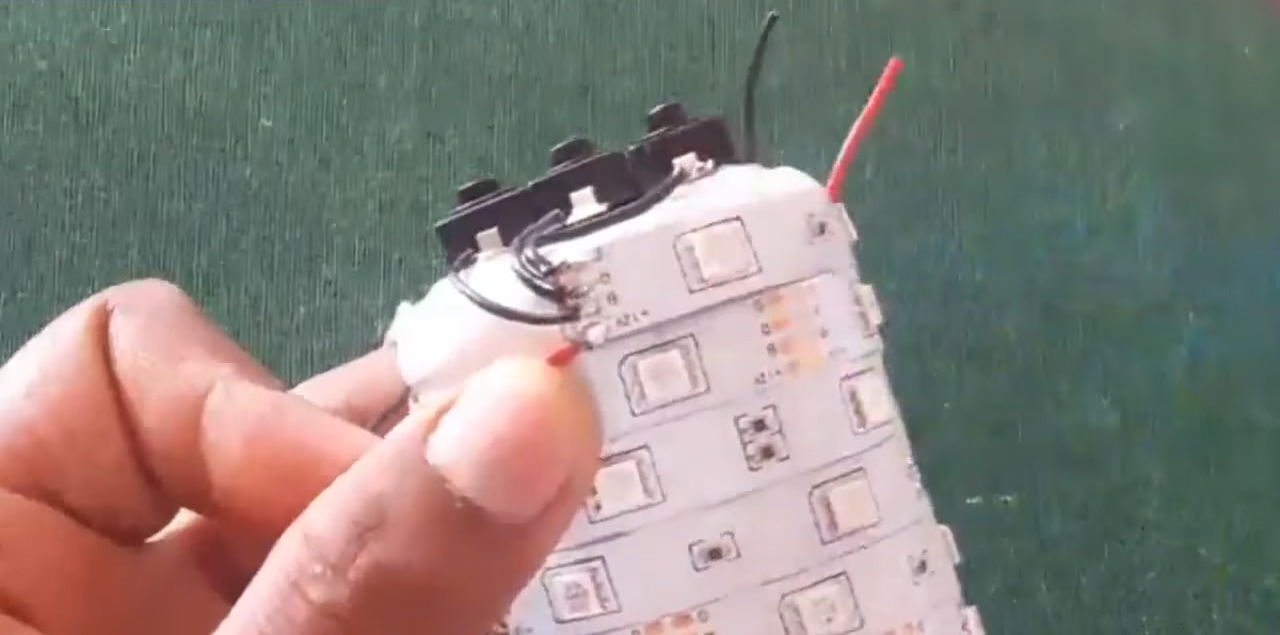
6) Solder a connecting wire to the +ve terminal of the RGB strip & another to the -ve terminal of the push buttons.
7) Push the supply wires through the hole you just made to keep the circuit within the plastic bottle.
8) Connect the output terminals of the 12V DC LED driver to the +ve & -ve terminals of the RGB circuit, covering the exposed terminals with insulating tape.

9) Resolder the input terminal of the power cord (through the Cap of the empty bottle) to the input of the 12V LED Driver.

10) Put the LED Driver within the empty plastic bottle & secure the bottle cap.
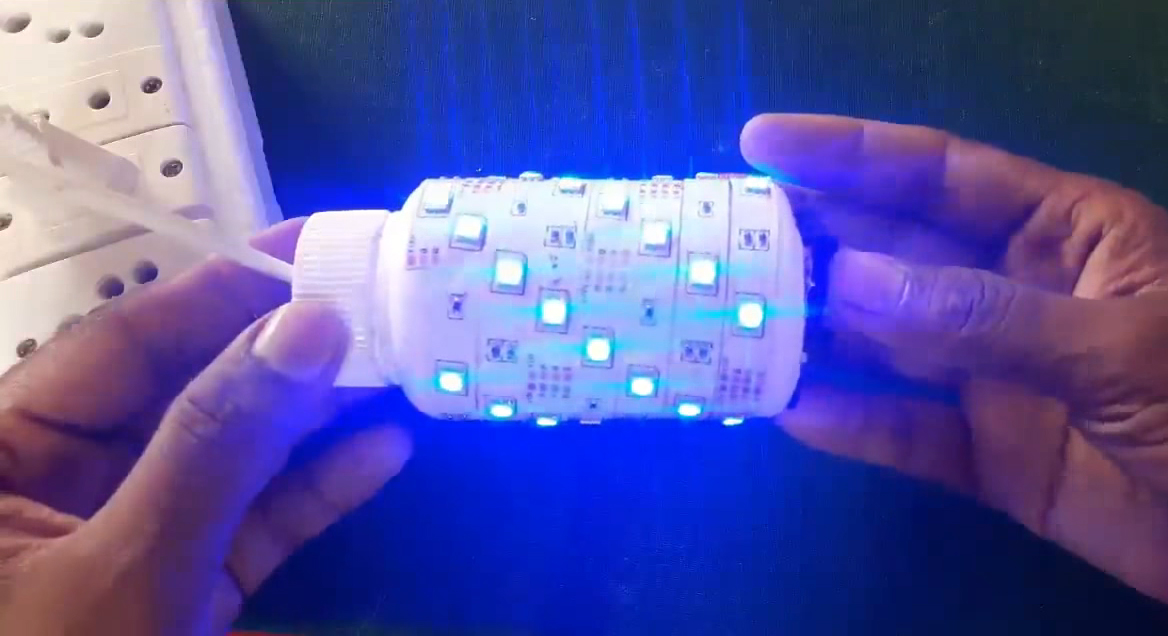
11) Plug in the circuit to a 220V AC wall outlet & test the circuit.
Working Explanation
The working of this circuit is very simple. A 12V LED driver steps down the 220V AC signal to a 12V DC. from here the DC signal is linked to 3 push buttons A, B &C. Pushbutton ‘A’ is connected to the R terminal of the LED strip, while B & C are connected to B & G respectively.
On pressing push button ‘A’ the LED strip glows red, while it glows green & blue on pressing B & C respectively.
Applications
- Usually used for decorative purposes in places such as ceremonies, events & community halls, etc.