Introduction
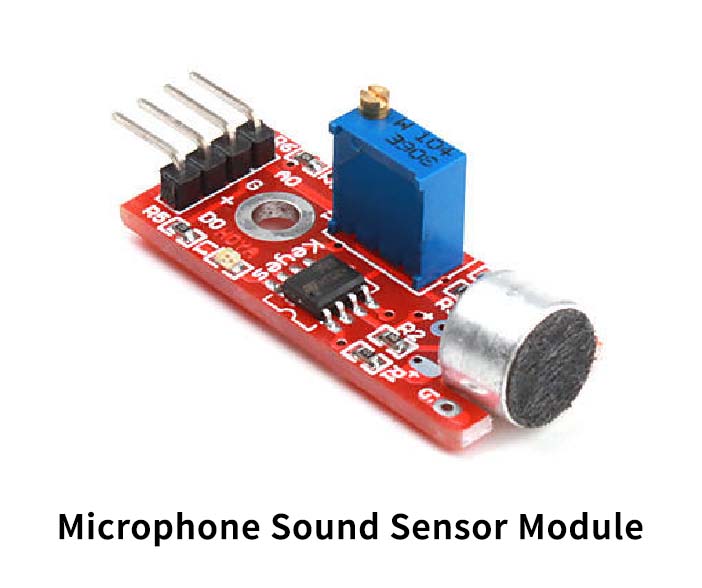
Are you getting bored and in the search of some interesting projects.? So, we are here with a fascinating project of clap switch. The project basically uses a sound sensor. In this tutorial, we are going to interface “Sound Sensor with Arduino UNO”. The sound sensor has a microphone in it which detects the intensity of the sound. Inside the microphone, there is a diaphragm. When the clap sound or voice strikes the diaphragm, it vibrates and changes the capacitance. With the changing of capacitance, voltage changes and that’s how the module works.
Calibration of Sound Sensor
To get a better reading, it is preferable to first calibrate the sensor. For this purpose, use the potentiometer given on the module. Set the threshold value by using that potentiometer. Clap in front of the module and adjust the potentiometer until you discern the blinking of an LED. Now, once you see the blinking, the calibration has been done and your module is ready to use.
Hardware Required
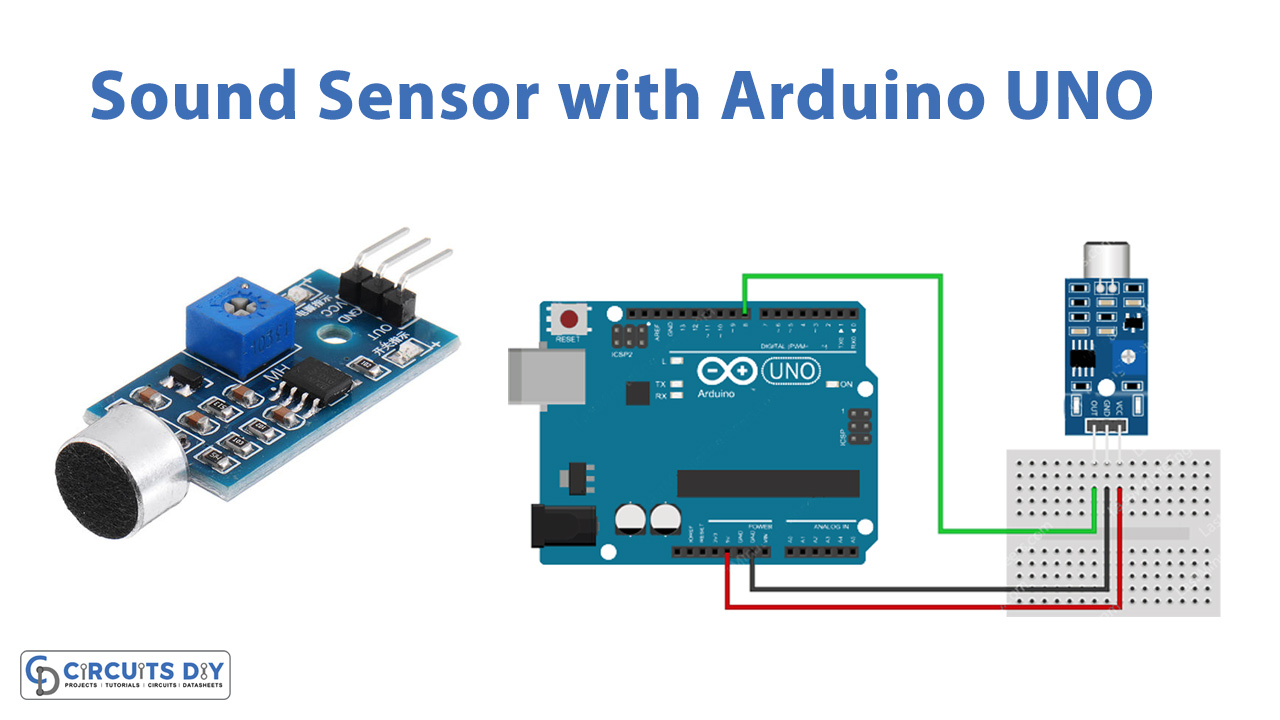
Circuit Diagram
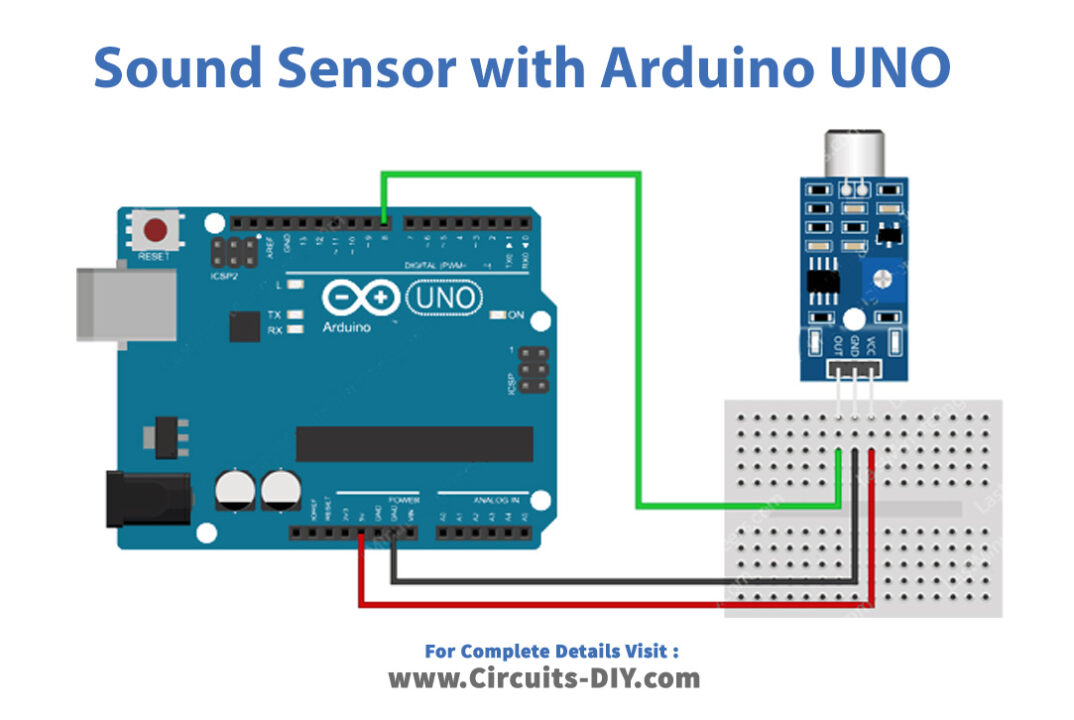
Connection Table
| Arduino | Sound Sensor |
|---|---|
| D8 | OUT |
| GND | GND |
| 5V | VCC |
Arduino Code
#define sensorPin 7

// Variable to store the time when last event happened
unsigned long lastEvent = 0;

void setup() {
	pinMode(sensorPin, INPUT);	// Set sensor pin as an INPUT
	Serial.begin(9600);
}

void loop() {
	// Read Sound sensor
	int sensorData = digitalRead(sensorPin);

	// If pin goes LOW, sound is detected
	if (sensorData == LOW) {

		// If 25ms have passed since last LOW state, it means that
		// the clap is detected and not due to any spurious sounds
		if (millis() - lastEvent > 25) {
			Serial.println("Clap detected!");
		}

		// Remember when last event happened
		lastEvent = millis();
	}
}
Working Explanation
To Interface Sound Sensor with Arduino UNO, first, follow the circuit diagram to build the hardware. After that write the code in the Arduino software. After that upload the code in Arduino. Now, clap in front of the circuit. And, see the message on the Serial monitor.
Code Explanation
- First, define the sensor out pin that is connected with the pin of Arduino. Now declare the unsigned variable LastEvent to store the time of when the clap is detected.
- In the void setup, declare that the sensor pin is connected to the input of an Arduino. After that, initialize the monitor by serial. begin( ).
- In the void loop, read the sensor by giving the function digitalRead( ). Then, define the condition that is the clap sound is greater than the threshold, the monitor shows the message that clap is detected.
Application and Uses
- In hearing aid devices.
- In tape recorders.
- Speech recognition devices.
- Sound-sensitive LED lights.