Introduction
We no longer live in a time when individuals read maps on their own and completely rely on the routes they choose. We are born in a technological age when things are easier than they used to be; we now have GPS systems to read and decide our path. GPS is most commonly used in navigation systems. When combined with this, it becomes a strong tool for road vehicles.
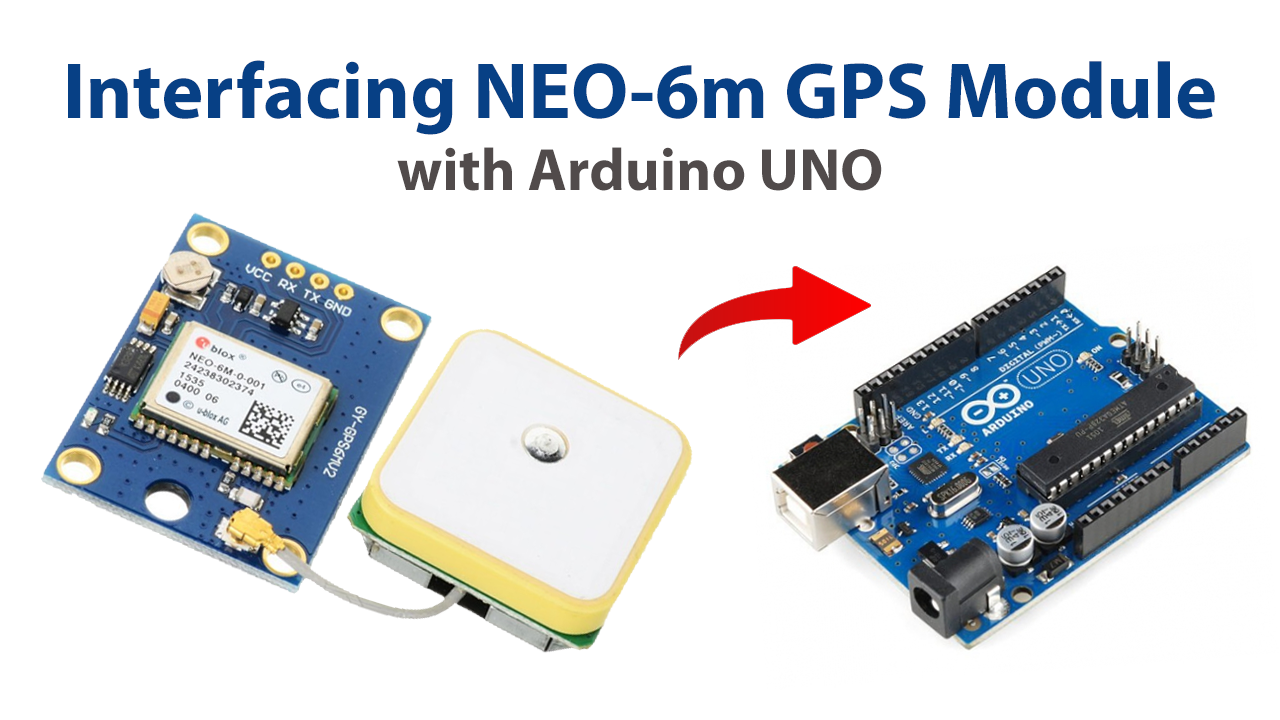
The GPS signal is available all around the world. As a result, users will not be denied access to it in any way. GPS can be utilized everywhere in the globe since it is powered by global satellites and can be accessed from anywhere. In this tutorial, we are going to interface the “NEO-6m GPS Module” with Arduino UNO.
What is GPS?
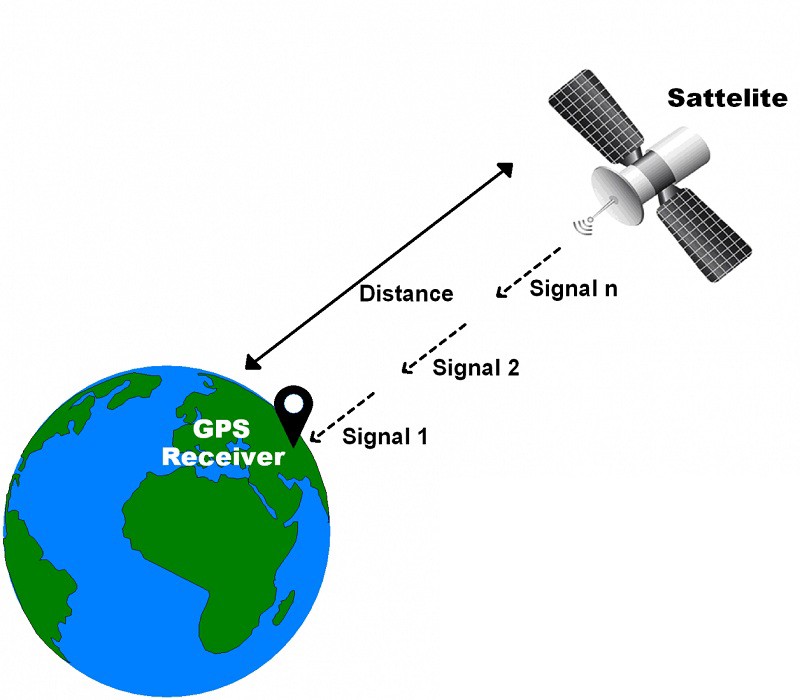
Global Positioning System is known as GPS. The technology uses signals from satellites in orbit to locate a gadget precisely and track any movement over time. Because of the capabilities of GPS, the current transportation system has been streamlined, and determining the position of any site is no longer difficult. It may be used for a wide range of purposes, including monitoring, navigation, surveying, and more.
Working of GPS
GPS satellites orbit the Earth in a precise orbit twice a day. Each satellite broadcasts a signal and orbital characteristics that GPS devices can decode and compute the satellite’s precise position. GPS receivers used the data and trilateration to determine a user’s precise position. The GPS receiver calculates the distance to each satellite by measuring the time it takes to receive a broadcast signal. With distance readings from a couple of additional satellites, the receiver calculates and shows a user’s position.
Hardware Components
You will require the following hardware to interface NEO-6m GPS Module with Arduino.
| S.no | Component | Value | Qty |
|---|---|---|---|
| 1. | Arduino | UNO- | 1 |
| 2. | GPS module | NEO-6M | 1 |
| 3. | RGB Backlight LED | 16×2 | 1 |
| 4. | Potentiometer | 10K | 1 |
| 5. | Resistor | 1K | 1 |
| 6. | Breadboard | – | 1 |
| 7. | Jumper Wires | – | 1 |
Steps Interfacing NEO-6m GPS with Arduino
Here, we’re doing the simplest possible Interfacing NEO-6m GPS Module with Arduino. All you need is an Arduino, a GPS sensor, an LCD, and a few easily available basic electronic components. Follow the steps to build a circuit.
Schematic
Make connections according to the circuit diagram given below.
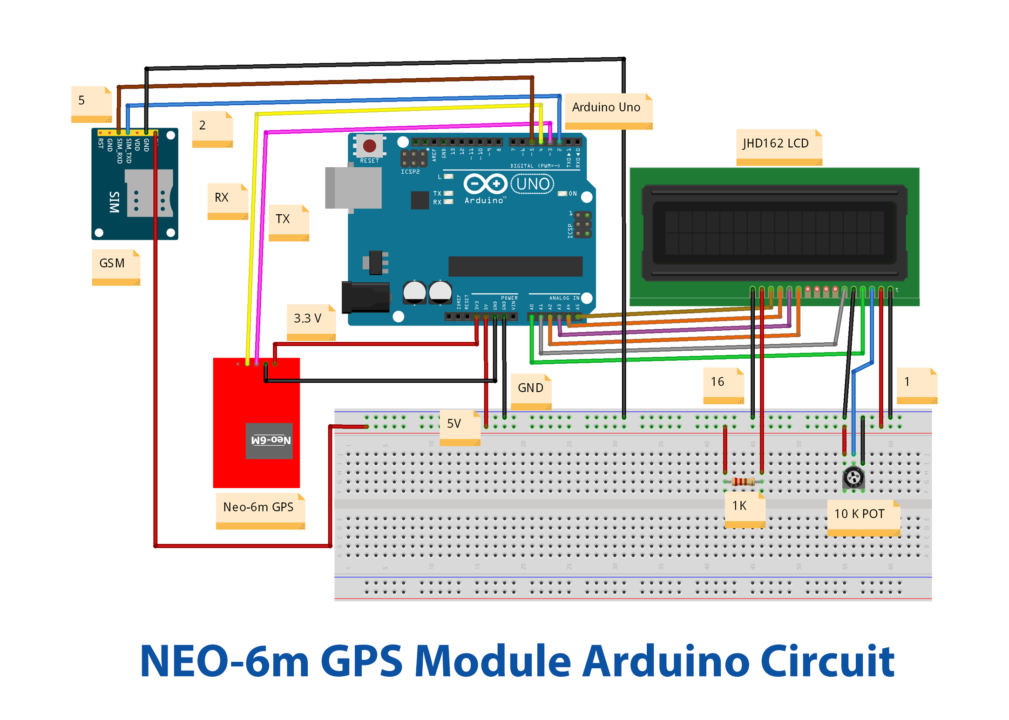
Wiring / Connections
| Arduino | GPS module | LCD – 16×2 |
|---|---|---|
| 5V | VCC | VDD & LED +ve |
| GND | GND | VSS & LED -ve |
| D3 | TX | |
| D4 | RX | |
| A5 | RS | |
| A4 | RW | |
| A3 | VE | |
| A2 | EN | |
| A1 | D4 | |
| A0 | D6 |
Installing Arduino IDE
First, you need to install Arduino IDE Software from its official website Arduino. Here is a simple step-by-step guide on “How to install Arduino IDE“.
Installing Libraries
Before you start uploading a code, download and unzip the following libraries at /Progam Files(x86)/Arduino/Libraries (default), to use the sensor with the Arduino board. Here is a simple step-by-step guide on “How to Add Libraries in Arduino IDE“.
Code
Now copy the following code and upload it to Arduino IDE Software.
#include <LiquidCrystal.h>
#include <SoftwareSerial.h>
#include <TinyGPS.h>
//long   lat,lon; // create variable for latitude and longitude object
float lat = 28.5458,lon = 77.1703; // create variable for latitude and longitude object
SoftwareSerial gpsSerial(3,4);//rx,tx
LiquidCrystal lcd(A0,A1,A2,A3,A4,A5);
TinyGPS gps; // create gps object
void setup(){
Serial.begin(9600); // connect serial
//Serial.println("The GPS Received Signal:");
gpsSerial.begin(9600); // connect gps sensor
lcd.begin(16,2);
}

void loop(){
    while(gpsSerial.available()){ // check for gps data
    if(gps.encode(gpsSerial.read()))// encode gps data
    {
    gps.f_get_position(&lat,&lon); // get latitude and longitude
    // display position
    lcd.clear();
    lcd.setCursor(1,0);
    lcd.print("GPS Signal");
    //Serial.print("Position: ");
    //Serial.print("Latitude:");
    //Serial.print(lat,6);
    //Serial.print(";");
    //Serial.print("Longitude:");
    //Serial.println(lon,6);
    lcd.setCursor(1,0);
    lcd.print("LAT:");
    lcd.setCursor(5,0);
    lcd.print(lat);
    //Serial.print(lat);
    //Serial.print(" ");

    lcd.setCursor(0,1);
    lcd.print(",LON:");
    lcd.setCursor(5,1);
    lcd.print(lon);

   }
  }

    String latitude = String(lat,6);
    String longitude = String(lon,6);
  Serial.println(latitude+";"+longitude);
  delay(1000);
}
Let’s Test It
Now that the code has been uploaded, it’s time to put the device through its runs. At this stage, we’ll switch on Arduino and test the circuit. When you turn it on, you’ll see the LCD show messages and data coming into your serial monitor.
Working Explanation
The working of the circuit is relying on the code, so let’s understand the explanation of code:
- First, we have included the required libraries. Then we created the variables for latitude and longitude objects. Thus we stored some floating values in them. Then we connected the RX and TX pins. These will be passed as parameters to the SoftwareSerial. instance called gpsSerial(). After that, we make an object for LCD to display the results on the LCD. We then also created the GPS object
- In the void setup, we initialize the serial monitor and print the message by giving Serial.println function. We then initialize the GPS sensor and lcd by giving gpsSerial.begin and lcd.begin functions respectively.
- We read the GPS port and output the data on the serial monitor within the void loop. To check the data we provide the while loop and within the while loop, we give the if condition. Inside the condition we provides a function to encode the read data. We give the gps.encode to encode. gps.f_get_position is given to read the longitudinal and latitudinal data. We then display the readings on the serial monitor and messages on LCD. On the serial monitor, we also print the string values longitude and latitude by giving the string() function.
Applications
- Tracking devices.
- For mobile phone applications
- vehicles and automobiles.
Conclusion.
We hope you have found this Interfacing GPS Module (NEO-6m) with Arduino Circuit very useful. If you feel any difficulty in making it feel free to ask anything in the comment section.