Introduction
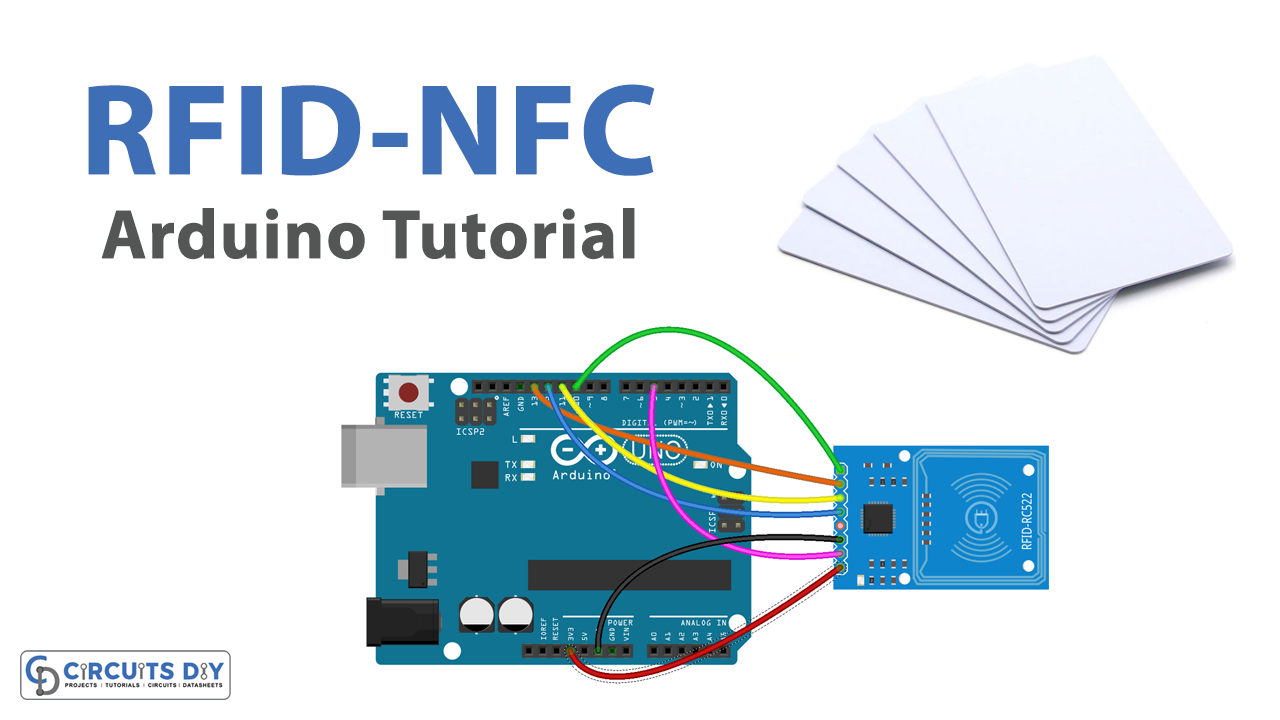
Interfacing an RFID/NFC card reader with an Arduino UNO is the process of connecting the RFID/NFC module to the Arduino board in order to enable the Arduino to read data from an RFID/NFC tag. This technology has a wide range of applications, such as access control systems, attendance tracking systems, and payment systems. By connecting an RFID/NFC module to an Arduino UNO, one can build a variety of projects that require the identification and tracking of objects or individuals.
The MRC522 is a 13.56 MHz contactless smart card reader module, commonly used in access control systems, transportation systems, and other applications where contactless communication is needed. The module operates based on the ISO/IEC 14443 Type A standard and can communicate with various types of contactless cards and tags, including MIFARE Classic, MIFARE Ultralight, NTAG203, and more.
Hardware Components
You will require the following hardware for Interfacing RFID NFC Card Reader with Arduino.
| S.no | Component | Value | Qty |
|---|---|---|---|
| 1. | Arduino UNO | – | 1 |
| 2. | USB Cable Type A to B | – | 1 |
| 3. | RFID/NFC Kit (reader + tags) | RC522 | 1 |
| 4. | Power Adapter for Arduino | 9V | 1 |
| 5. | Jumper Wires | – | 1 |
Steps Interfacing RFID NFC with Arduino UNO
- The first step is to include two libraries, “SPI.h” and “MFRC522.h”.
#include <SPI.h>
#include <MFRC522.h>
- Define the pin numbers for the SS and RST pins of the RFID reader module.
#define SS_PIN 10
#define RST_PIN 5
- Create an instance of the “MFRC522” class by passing the SS and RST pin numbers to its constructor.
MFRC522 rfid(SS_PIN, RST_PIN);
- In the setup function, initialize the serial communication at a baud rate of 9600, initialize the SPI bus, and call the “PCD_Init” function of the MFRC522 object to initialize the module.
void setup() {
  Serial.begin(9600);
  SPI.begin(); // init SPI bus
  rfid.PCD_Init(); // init MFRC522
  Serial.println("Tap RFID/NFC Tag on reader");
}
- In the loop function, check if a new RFID tag is present by calling the “PICC_IsNewCardPresent” function of the MFRC522 object.
void loop() {
  if (rfid.PICC_IsNewCardPresent()) { // new tag is available
- If a tag is present, read its serial number by calling the “PICC_ReadCardSerial” function of the MFRC522 object.
if (rfid.PICC_ReadCardSerial()) { // NUID has been readed
- Get the type of the RFID tag by calling the “PICC_GetType” function of the MFRC522 object, and store it in a variable called “piccType”.
MFRC522::PICC_Type piccType = rfid.PICC_GetType(rfid.uid.sak);
- Print the UID of the tag to the serial monitor.
Serial.print("UID:");
for (int i = 0; i < rfid.uid.size; i++) {
  Serial.print(rfid.uid.uidByte[i] < 0x10 ? " 0" : " ");
  Serial.print(rfid.uid.uidByte[i], HEX);
}
Serial.println();
- Halt the tag by calling the “PICC_HaltA” function of the MFRC522 object, and stop the encryption on the PCD by calling the “PCD_StopCrypto1” function.
rfid.PICC_HaltA(); // halt PICC
rfid.PCD_StopCrypto1(); // stop encryption on PCD
Schematic
Make connections according to the circuit diagram given below.

Wiring / Connections
| Arduino | RFID/NFC |
|---|---|
| 5V | VCC |
| GND | GND |
| D10 | SS |
| D13 | SCK |
| D11 | MOSI |
| D12 | MISO |
| D5 | RST |
Installing Arduino IDE
First, you need to install Arduino IDE Software from its official website Arduino. Here is a simple step-by-step guide on “How to install Arduino IDE“.
Installing Libraries
Before you start uploading a code, download and unzip the following libraries at /Progam Files(x86)/Arduino/Libraries (default), in order to use the sensor with the Arduino board. Here is a simple step-by-step guide on “How to Add Libraries in Arduino IDE“.
Code
Now copy the following code and upload it to Arduino IDE Software.
#include <SPI.h>
#include <MFRC522.h>

#define SS_PIN 10
#define RST_PIN 5

MFRC522 rfid(SS_PIN, RST_PIN);

void setup() {
  Serial.begin(9600);
  SPI.begin(); // init SPI bus
  rfid.PCD_Init(); // init MFRC522

  Serial.println("Tap RFID/NFC Tag on reader");
}

void loop() {
  if (rfid.PICC_IsNewCardPresent()) { // new tag is available
    if (rfid.PICC_ReadCardSerial()) { // NUID has been readed
      MFRC522::PICC_Type piccType = rfid.PICC_GetType(rfid.uid.sak);
      //Serial.print("RFID/NFC Tag Type: ");
      //Serial.println(rfid.PICC_GetTypeName(piccType));

      // print NUID in Serial Monitor in the hex format
      Serial.print("UID:");
      for (int i = 0; i < rfid.uid.size; i++) {
        Serial.print(rfid.uid.uidByte[i] < 0x10 ? " 0" : " ");
        Serial.print(rfid.uid.uidByte[i], HEX);
      }
      Serial.println();

      rfid.PICC_HaltA(); // halt PICC
      rfid.PCD_StopCrypto1(); // stop encryption on PCD
    }
  }
}
Working Explanation
In the setup() function, the serial communication is initialized and the SPI bus and the MFRC522 module are also initialized. A message is printed to the serial monitor instructing the user to tap an RFID/NFC tag on the reader.
In the loop() function, the code checks if a new tag is present. If so, it reads the tag serial number and stores it in the uid variable. The UID is then printed to the serial monitor in hexadecimal format. Finally, the code halts the tag’s communication and stops the encryption on the microcontroller side. The loop() function then continues to run and waits for a new tag to be presented to the reader.
Applications
- Access control systems
- Attendance systems
- Inventory management systems
- Smart payment systems
- Library management systems
- Baggage tracking systems in airports
- Animal tracking systems
Conclusion.
We hope you have found this Arduino – RFID NFC Circuit very useful. If you feel any difficulty in making it feel free to ask anything in the comment section.
Related posts:
 Interfacing DS3231 Precision RTC Module with Arduino
 Arduino as ISP to Burn Bootloader on AVR Microcontrollers
 Arduino - Cooling System using DS18B20 Temperature Sensor
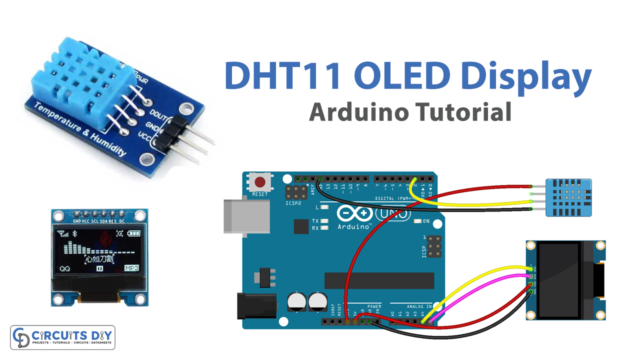 Temperature Humidity Sensor with OLED - Arduino Tutorial
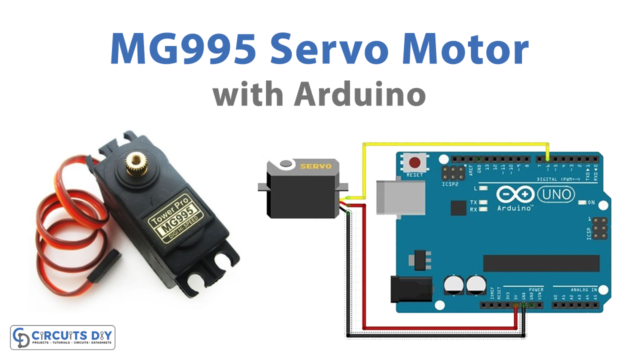 Interface MG995 Servo Motor with Arduino
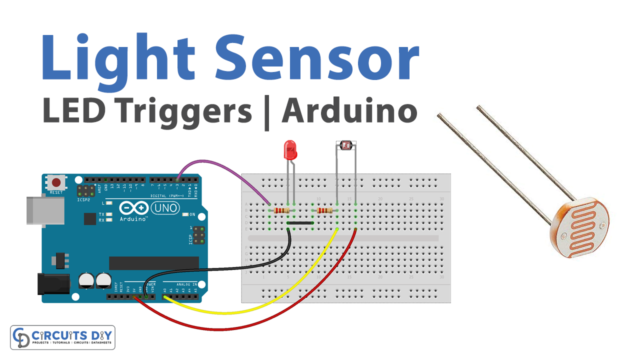 Light Sensor Triggers LED - Arduino Tutorial