Introduction
What do you do if you want to check the surface of anything that is leveled or not? Or what would you do if you want to estimate the bend angle of anything? Obviously, you need any device for the measurement. For this purpose, flex sensors are used. So, In this tutorial, we are going to interface “Flex Sensor with Arduino UNO”.
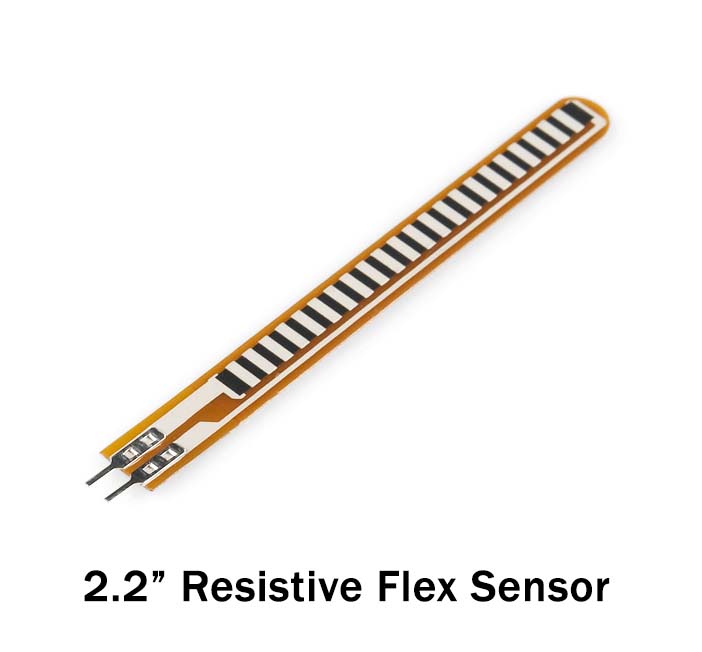
The sensor comes in two sizes of 2.2 inches and 4.5 inches. However, there are also some different sizes based on the low, medium, and high resistance. One can use any type according to its device application.
Some features of Flex Sensor
- The operating voltage is from 0 to 5v. Hence, it can operate non very low voltages.
- The operating temperature range is from-45 degrees to 80 degrees.
- It has a flat resistance of 25KOHMS.
- It has a bend resistance of 45 k to 125 k ohms, depending on the bend angle.
Hardware Required
| S.no | Component | Value | Qty |
|---|---|---|---|
| 1. | Arduino | UNO | 1 |
| 2. | USB Cable Type A to B | – | 1 |
| 3. | Jumper Wires | – | 1 |
| 4. | Flex Sensor | – | 1 |
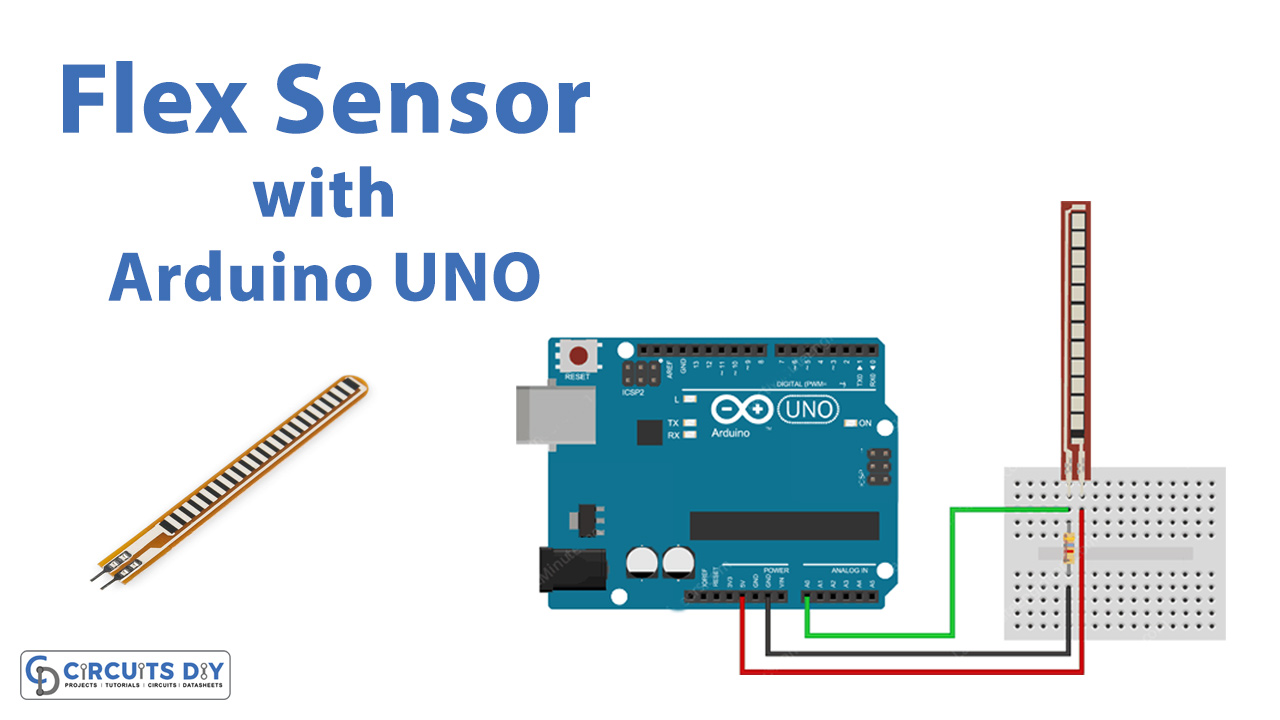
Circuit Diagram
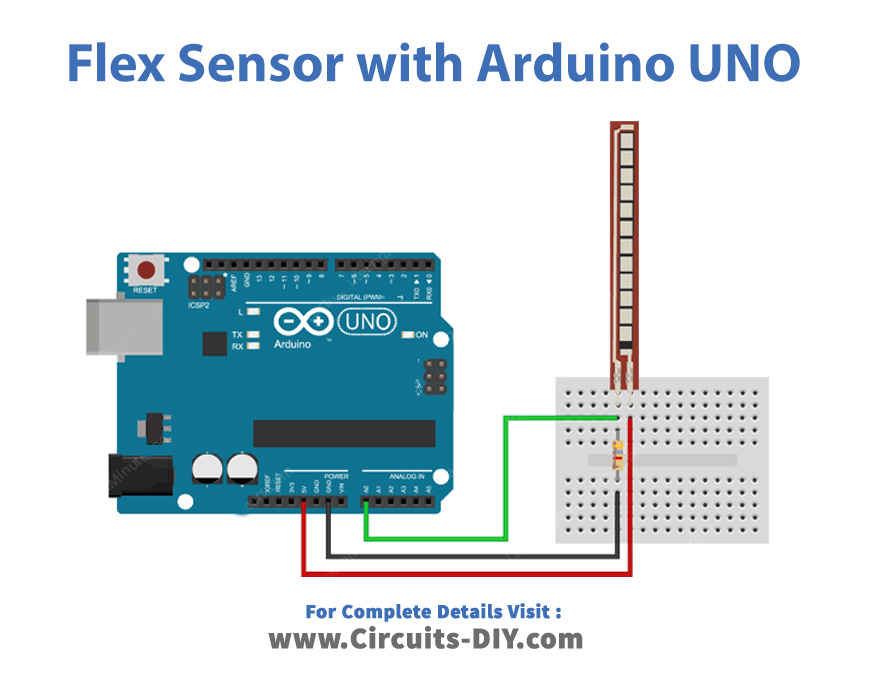
Connection Table
| Arduino | Flex Sensor |
|---|---|
| 5V | P1 |
| GND | P2 |
| A0 | P2 |
Arduino Code
const int flexPin = A0;			// Pin connected to voltage divider output

// Change these constants according to your project's design
const float VCC = 5;			// voltage at Ardunio 5V line
const float R_DIV = 47000.0;	// resistor used to create a voltage divider
const float flatResistance = 25000.0;	// resistance when flat
const float bendResistance = 100000.0;	// resistance at 90 deg

void setup() {
	Serial.begin(9600);
	pinMode(flexPin, INPUT);
}

void loop() {
	// Read the ADC, and calculate voltage and resistance from it
	int ADCflex = analogRead(flexPin);
	float Vflex = ADCflex * VCC / 1023.0;
	float Rflex = R_DIV * (VCC / Vflex - 1.0);
	Serial.println("Resistance: " + String(Rflex) + " ohms");

	// Use the calculated resistance to estimate the sensor's bend angle:
	float angle = map(Rflex, flatResistance, bendResistance, 0, 90.0);
	Serial.println("Bend: " + String(angle) + " degrees");
	Serial.println();

	delay(500);
}
Working Explanation
To interface flex sensor with Arduino UNO connect the components according to the circuit diagram. After that, write the above-mentioned code in your Arduino software. Upload the code in the Arduino UNO. Bend the sensor with different angles and observe the readings of resistance and angle on the Serial monitor.
Code Explanation
- Start the code by defining the flex pin that is connected with the pin of an Arduino. Define the given voltage as the Vcc. Define the voltage dividing resistance as R_DIV, flat and band resistance as flatResistance, BandResistance at 90 degrees. Make sure to measure and define these values accurately.
- In the void setup, initialize the serial monitor by using Serial. begin ( ). define the sensor pin mode as the input of an Arduino.
- In the void loop, read the readings from the flex pin of the sensor by using the function analogRead. Formulate a program to convert the readings into 10-bit numbers from 0 to 1023. Now, calculate the resistance using the formula and print the readings using Serial. println. Use the map angle to convert the resistance into a bend angle. Print the angle using Serial. println. Give some delay for the next measurement.
Application and Uses
- It has an application in the Robotics industry.
- It can be used in medical applications.
- In gaming industry.
- Also, in computer peripherals.