Introduction
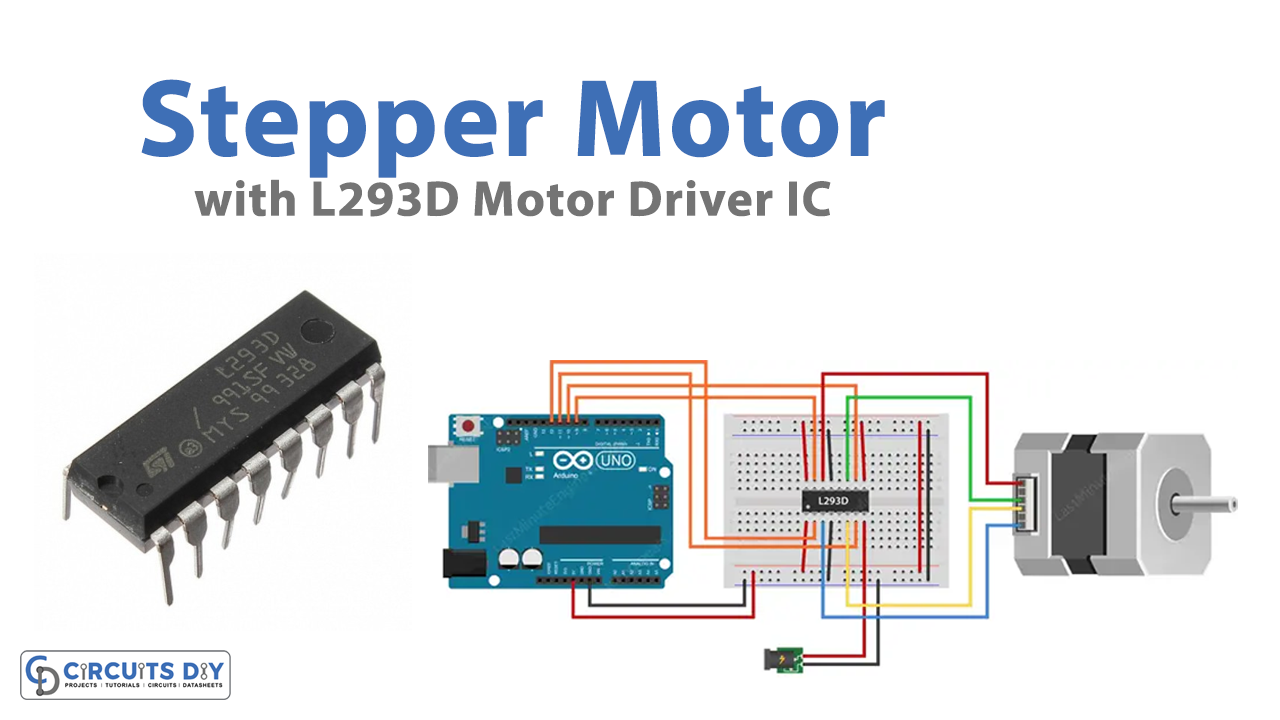
Stepper motors are used in a variety of industries. Stepper motors are utilized in textile machines, printing presses, medical imaging machines, CNC machines, and many other machines. Controlling Stepper motors, on the other hand, requires a thorough understanding because each machine must be developed and controlled differently. As a result, numerous driver ICs are available that, with the help of microcontrollers like Arduino, can better and more precisely control DC motors. As a result, in this article, we’ll Control Stepper Motor with L293D Motor Driver IC & Arduino.
The L293d is a motor driver IC that can control a bipolar stepper motor. To regulate the direction, we employ microcontrollers in connection with this IC. This motor driver IC is capable of driving motors with voltages lower than 36V. Furthermore, the IC can control the motors in both clockwise and anti-clockwise directions.
Hardware Required
| S.no | Component | Value | Qty |
|---|---|---|---|
| 1. | Arduino UNO | – | 1 |
| 2. | USB Cable Type A to B | – | 1 |
| 3. | Jumper Wires | – | – |
| 4. | Motor Driver IC | L293D | 1 |
| 5. | Bread Board | – | 1 |
| 6. | Adapter | 12v | 1 |
Circuit Diagram

Connection Table
| Arduino | Relay Module |
|---|---|
| VCC | VCC |
| GND | GND |
| D12 | pin 2 |
| D11 | pin 7 |
| D10 | pin 10 |
| D9 | pin 15 |
Arduino Code
// Include the Arduino Stepper Library
#include <Stepper.h>

// Number of steps per output rotation
const int stepsPerRevolution = 200;

// Create Instance of Stepper library
Stepper myStepper(stepsPerRevolution, 12, 11, 10, 9);


void setup()
{
	// set the speed at 20 rpm:
	myStepper.setSpeed(20);
	// initialize the serial port:
	Serial.begin(9600);
}

void loop()
{
	// step one revolution in one direction:
	Serial.println("clockwise");
	myStepper.step(stepsPerRevolution);
	delay(500);

	// step one revolution in the other direction:
	Serial.println("counterclockwise");
	myStepper.step(-stepsPerRevolution);
	delay(500);
}
Working Explanation
To Control Stepper Motor with L293D Motor Driver IC & Arduino. Then, using your Arduino IDE, create the provided code and upload it to your Arduino. When you turn on the power to the circuit, the motor begins to rotate in accordance with the commands in the code. For example, it first takes 200 number steps per revolution clockwise, then it takes 200 steps per revolution in the anti-clockwise direction.
Code Explanation
- First, we have included the stepper motor library. After that, we assigned the variable stepsPerRevolution to declare the number of steps required per revolution that our motor is rated at. Then we created the stepper library which uses the motor’s steps per rotation as a parameter, as well as the Arduino pin connections.
- In the void setup, we call the setSpeed() function to set the speed. Then we initialize the serial port by Serial. begin.
- In the void loop, we have called the step() function which controls the motor at a certain speed and at a prescribed number of steps.
Application and Uses
- In industries, it is employed in automated production equipment.
- They are also used in textile machines, printing presses, medical imaging machines, and CNC machines.
- In consumer electronics, they are used in automatic digital cameras.
Related posts:
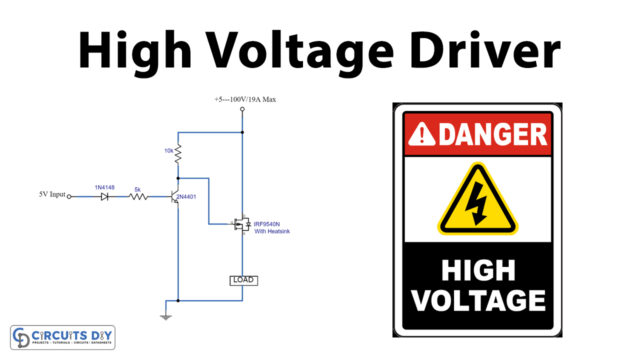 Arduino High Voltage Driver Circuit Using IRF9540 Power MOSFET
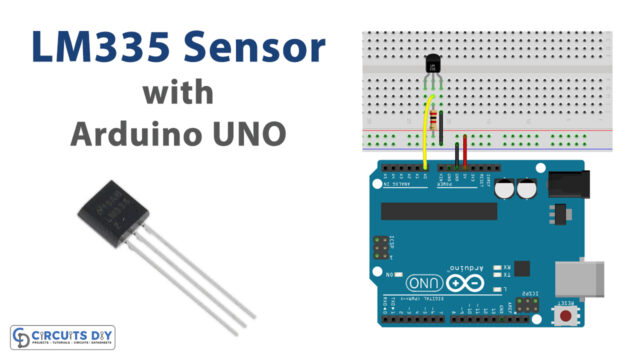 How to Interface LM335 Temperature Sensor with Arduino UNO
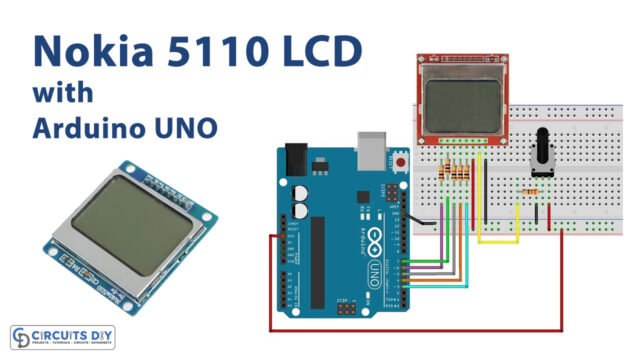 How to Interface Nokia 5110 LCD with Arduino UNO
 How to Interface I2C OLED Display with Arduino UNO
 Send Receive SMS & Call with SIM800L GSM Module & Arduino
 Servo Motor Control with Button - Arduino Tutorial


