Introduction
Measurement of the temperature is crucial. Higher and lower temperatures both are not effective for the environment. Both can cause harm. So, to measure the temperature, the designers have designed different kinds of temperature sensors. Practically, they measure the heat energy or the coldness of the surroundings or objects. To sum up, these devices convert temperature information into electronic data. This means they monitor the changes that occur in the temperature. Moreover, sometimes they are connected in different circuits to drive the loads according to the temperature readings.
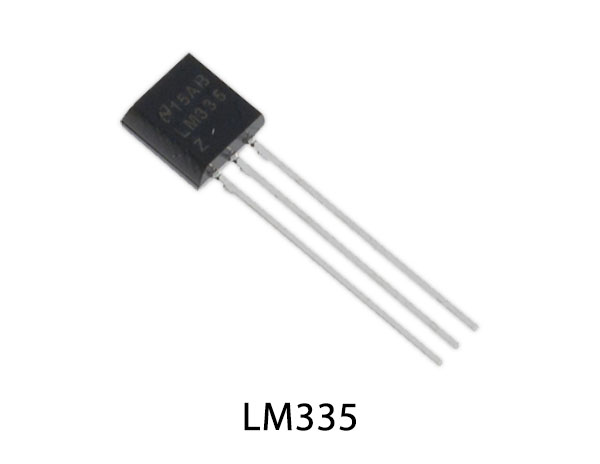
Hence, effective to use. Thus, In this tutorial, we are going to interface LM335 Temperature Sensor with Arduino UNOThere are numerous types of temperature sensors in the electronic industry. Thermistors, thermocouples, thermometers, RTDs are some of them. The internal structure of these sensors converts heat energy into electrical energy. Some analog chips are also used for this purpose. LM353 is one of the sensors. This temperature sensor provides the analog readings at the output.
How to calibrate LM335
For the calibration, connect the ADJ pin to the potentiometer of 100k and adjust. When the sensor is at 25 degrees, the impedance would be less than one degree. Now, it provides the linear output.
Specification of LM335 Temperature Sensor
- The sensor draws the reverse current of 15mA. While forward current of 10mA.
- The sensor has a voltage range from 2.9v to 3.01V.
- It has a thermal resistance of 202 degrees Celsius per Watt.
- It has a temperature range from -40 degrees to 100 degrees.
- the storage temperature range is from -60 degrees to 150 degrees.
Some Features of LM335 Temperature Sensor
- The sensor can directly be calibrated to the kelvin temperature scale.
- The dynamic impedance of the sensor is less than one.
- The sensor is inexpensive, promising, and affordable.
Hardware Required
| S.no | Component | Value | Qty |
|---|---|---|---|
| 1. | Arduino | UNO | 1 |
| 2. | USB Cable Type A to B | – | 1 |
| 3. | Jumper Wires | – | 1 |
| 4. | Temperature Sensor | LM335 | 1 |
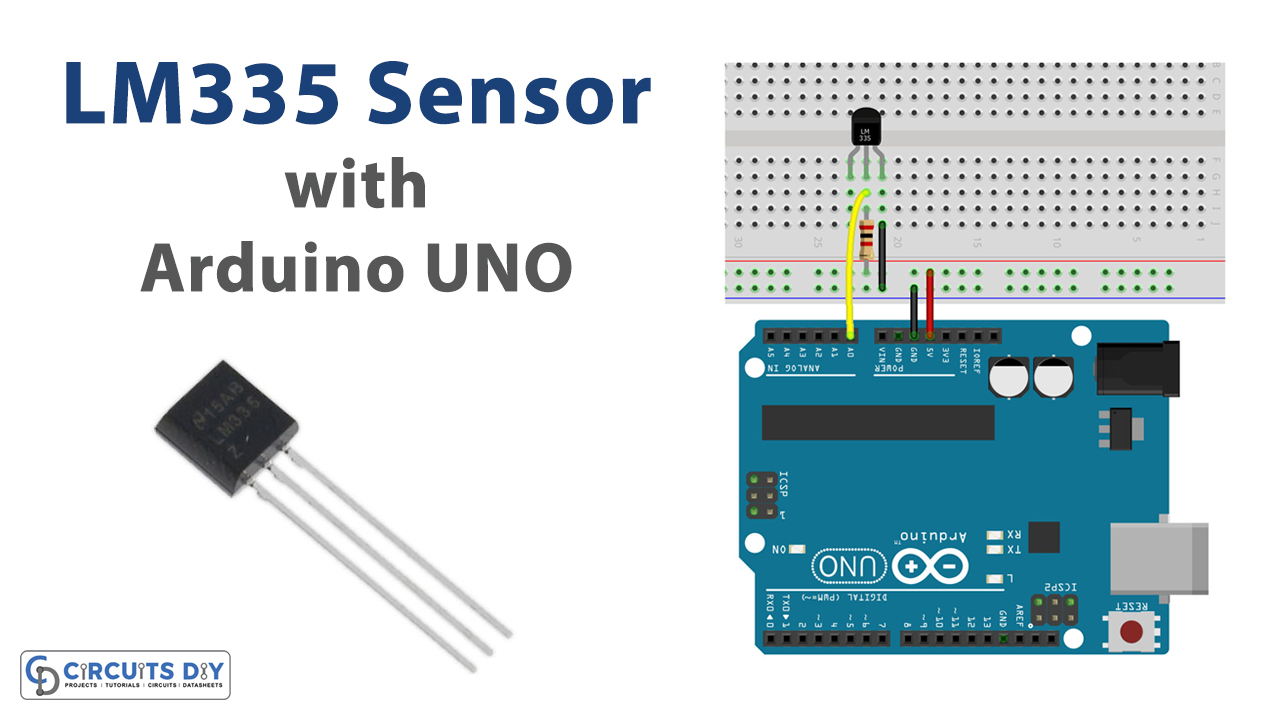
Circuit Diagram
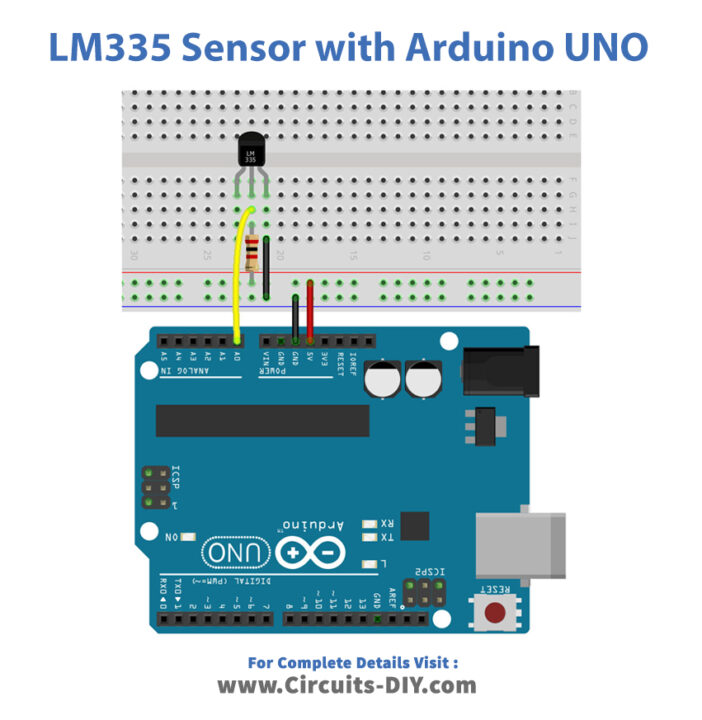
Connection Table
| Arduino | LM335 |
|---|---|
| Not Connected | ADJ |
| Analog Pin(with 2k Ohm resistor) | Vout |
| GND | GND |
Arduino Code
// Circuits DIY
// For Complete Details Visit -> https://circuits-diy.com
const int sensorPin = A0;
float sensorValue;
float voltageOut;

float temperatureC;
float temperatureF;

// uncomment if using LM335
//float temperatureK;

void setup() {
  pinMode(sensorPin, INPUT);
  Serial.begin(9600);
}

void loop() {
  sensorValue = analogRead(sensorPin);
  voltageOut = (sensorValue * 5000) / 1024;
   // calculate temperature for LM335
 //temperatureK = voltageOut / 10;
//temperatureC = temperatureK - 273;
//temperatureF = (temperatureC * 1.8) + 32;
  Serial.print("Temperature(ºC): ");
  Serial.print(temperatureC);
 Serial.print("  Temperature(ºF): ");
   Serial.print(temperatureF);
 Serial.print("  Voltage(mV): ");
  Serial.println(voltageOut);
  delay(1000);
}
Working Explanation
Assemble LM335 Temperature Sensor with Arduino UNO in a way given in the schematic above. Copy and paste the above-mentioned code into your Arduino IDE. Upload the code in the Arduino UNO. Open the Serial Monitor. You can see the reading of temperatures in Fahrenheit and Celsius. Also, you can see the voltage reading. Take the circuit in a warm or cold place to see the drastic changes in the readings.
Code Explanation
- In the code, first, we have defined the pin that is connected with the sensor using variable sensorPin. Then, we have given the variable sensorValue to hold the value of the sensor. Then, the variable voltageout has given to store the actual sensor value. temperatureC and temperatureF are given to store Celsius and Fahrenheit values respectively. Since the value can be in float, therefore, we have defined them as float variables.
- In the void setup, we have defined the sensor pin as the input pin of an Arduino. then, we have initialized the serial monitor by using Serial.begin to see the sensor readings.
- In the void loop, to read and get the sensor readings we have given the function analogRead( ) for the sensor pin. then, we have formulated the program to get the output voltage as voltageout. After that, we have formulated the programs to get temperatures in Celsius and Fahrenheit. Finally, we have printed the temperatures and voltage by using Serial. print.
Application and Uses
- Firstly, it can be used in weather stations.
- Moreover, in the HVAC systems.
- Also, in power supplies.
- Further, one can use this in home automation devices.