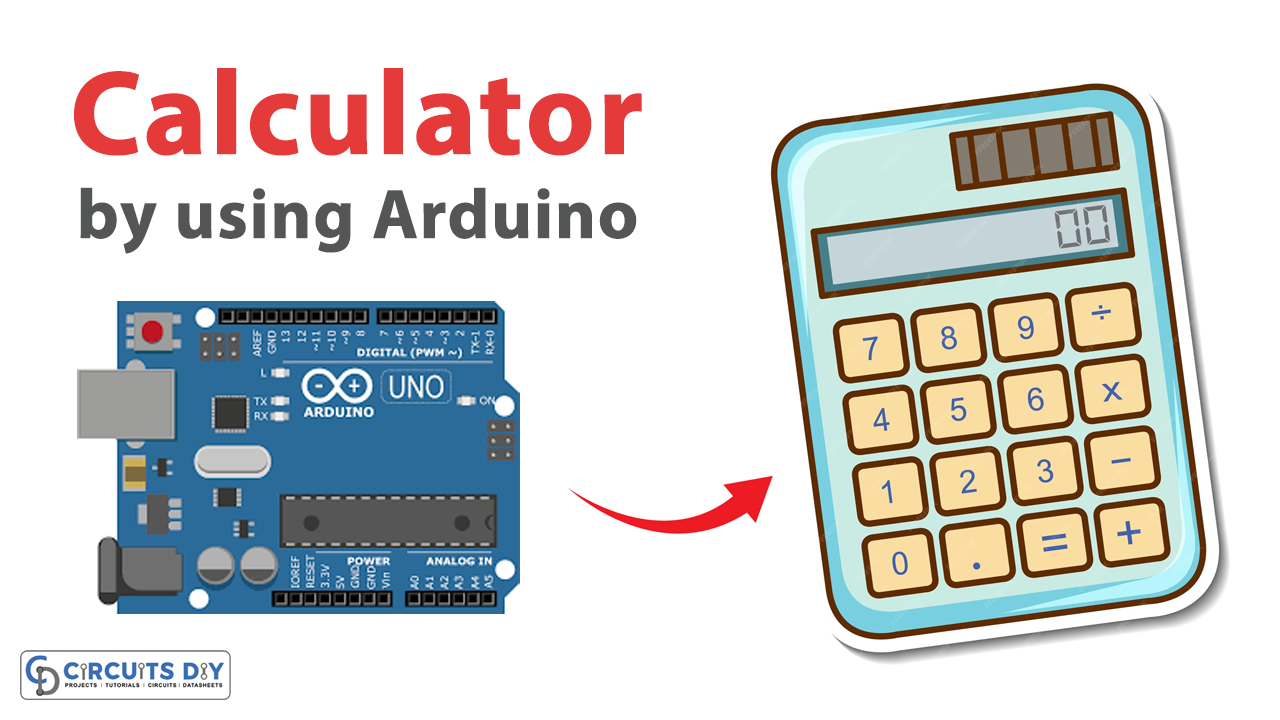
Introduction
The Arduino Calculator program is a simple and effective way to use an Arduino microcontroller for performing basic arithmetic operations. This program allows users to input numerical values and arithmetic operations through a keypad or set of buttons and calculates the result using the math.h library. The result can be displayed on an output device such as an LCD display or the Serial Monitor. With the flexibility and versatility of the Arduino platform, users can easily customize the program to suit their specific requirements and even extend it to perform more advanced calculations.
This program is an excellent example of the practical applications of Arduino microcontrollers and is widely used in educational, scientific, and engineering settings to demonstrate the power of this technology.
Arduino Calculator Code
- Include the necessary library for mathematical operations. In this case, we need
math.hlibrary.
#include <math.h>
- Declare the necessary variables for the mathematical operations. In this case, we need two floating-point variables
aandbto store the values of500and105.33, respectively. We also need four more floating-point variablesadd,sub,mul, anddivideto store the results of the mathematical operations.
float a = 500;
float b = 105.33;
float add;
float sub;
float mul;
float divide;
- In the
setup()function, initialize the serial communication with a baud rate of9600. Then, print a message to the serial monitor to indicate that the program is a simple Arduino calculator. Print the initial values ofaandbto the serial monitor.
void setup()
{
  Serial.begin(9600);
  Serial.println("Simple Arduino Calculator:");
  Serial.println("\n");
  Serial.print("a = ");
  Serial.println(a);
  Serial.print("b = ");
  Serial.println(b);
  Serial.println("\n");
}
- Calculate the result of addition of
aandband store it in theaddvariable. Print the result to the serial monitor.
add = a + b;
Serial.print("Addition: ");
Serial.print("a + b = ");
Serial.println(add);
- Calculate the result of multiplication of
aandband store it in themulvariable. Print the result to the serial monitor.
mul = a * b;
Serial.print("Multiplication: ");
Serial.print("a * b = ");
Serial.println(mul);
- Calculate the result of division of
abyband store it in thedividevariable. Print the result to the serial monitor.
divide = a / b;
Serial.print("Division: ");
Serial.print("a / b = ");
Serial.println(divide);
- Calculate the result of subtraction of
bfromaand store it in thesubvariable. Print the result to the serial monitor.
sub = a - b;
Serial.print("Subtraction: ");
Serial.print("a - b = ");
Serial.println(sub);
- In the
loop()function, do nothing because we don’t need to perform any action continuously.
void loop()
{
  // do nothing
}
Full Code
Now copy the following code and upload it to Arduino IDE Software.
#include <math.h>

float a = 500;
float b = 105.33;
float add;
float sub;
float mul;
float divide;

void setup()
{
  Serial.begin(9600);
  Serial.println("Simple Arduino Calculator:");
  Serial.println("\n");
  Serial.print("a = ");
  Serial.println(a);
  Serial.print("b = ");
  Serial.println(b);
  Serial.println("\n");

  add = a + b;
  Serial.print("Addition: ");
  Serial.print("a + b = ");
  Serial.println(add);

  mul = a * b;
  Serial.print("Multiplication: ");
  Serial.print("a * b = ");
  Serial.println(mul);

  divide = a / b;
  Serial.print("Division: ");
  Serial.print("a / b = ");
  Serial.println(divide);

  sub = a - b;
  Serial.print("Subtraction: ");
  Serial.print("a - b = ");
  Serial.println(sub);
}

void loop()
{
  // do nothing
}
Working Explanation
The program initializes Serial communication and prints the initial values of a and b to the Serial Monitor. The program performs four arithmetic operations (addition, subtraction, multiplication, and division) on a and b and prints the results to the Serial Monitor.
The loop() function is empty as we do not need to perform any continuous action in this program. When the program is uploaded to the Arduino board and run, the results of the arithmetic operations are printed to the Serial Monitor for debugging and testing purposes.
Applications
- Education
- Engineering
- Science
- Technology
Conclusion
We hope you have found this Arduino Calculator Circuit very useful. If you feel any difficulty in making it feel free to ask anything in the comment section.