Introduction
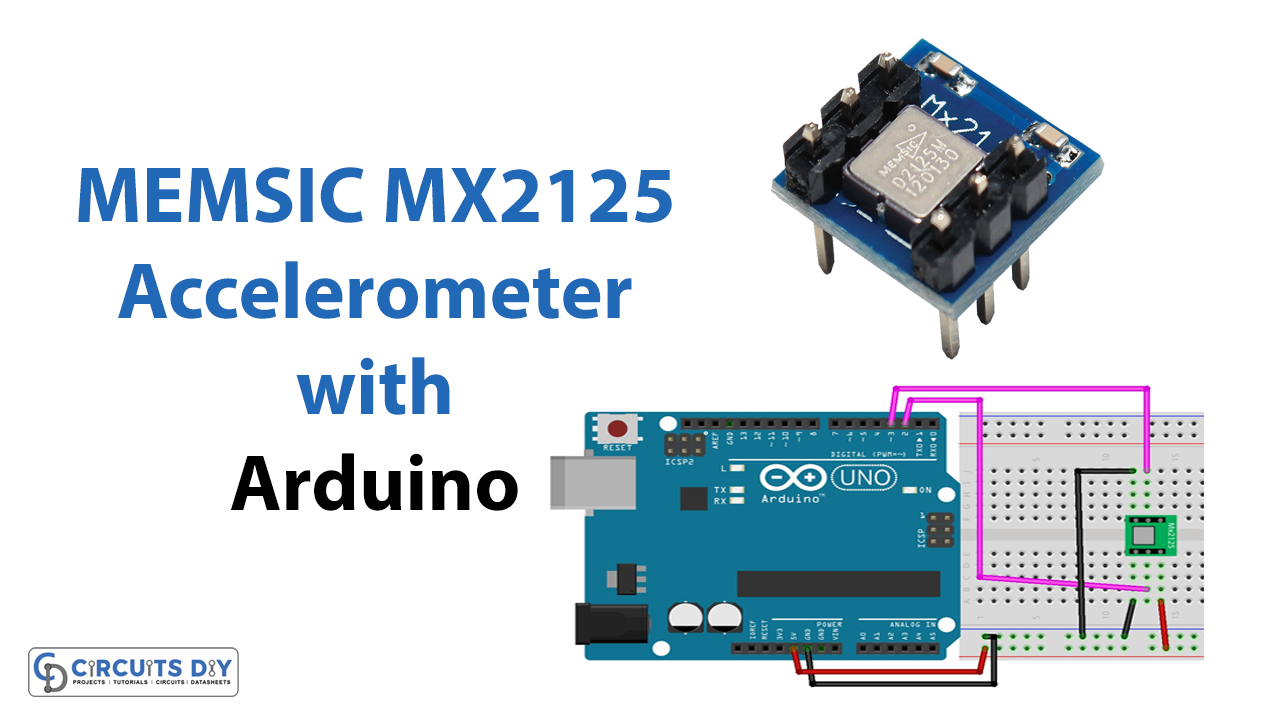
These days, accelerometers are a common component of electronics and are utilized for a broad variety of purposes. Most of the time, this simple sensor goes unnoticed, and chances are you already have one in use. For example; the accelerometer in your mobile phone; depending on how you use the phone, helps your smartphone rotate its display between portrait and landscape modes. So, Here in this article, we will interface Memsic2125 Accelerometer (Mx2125) with Arduino
There are several types of accelerometers. The MEMSIC 2125 is an inexpensive dual-axis thermal accelerometer that comes with all Input/Output connectors, making it simple to attach it to a breadboard
What is Accelerometer?
An electromechanical device that is used to measure acceleration forces is called an accelerometer. These forces might be dynamic, as in the case of mobile devices, or they could be static, like the force of gravity.

Hardware Components
You will require the following hardware for interfacing Memsic 2125 Accelerometer (Mx2125) with Arduino.
| S.no | Component | Value | Qty |
|---|---|---|---|
| 1. | Arduino UNO | – | 1 |
| 2. | Memsic | MX2125 | 1 |
| 3. | Breadboard | – | 1 |
| 4. | Jumper Wires | – | 1 |
Steps Interfacing Memsic MX2125 Accelerometer with Arduino
For interfacing Memsic2125 Accelerometer (Mx2125) with Arduino, you need nothing except the defined sensor, Arduino, breadboard, and some wires. Once you get them; follow the given steps:
Schematic
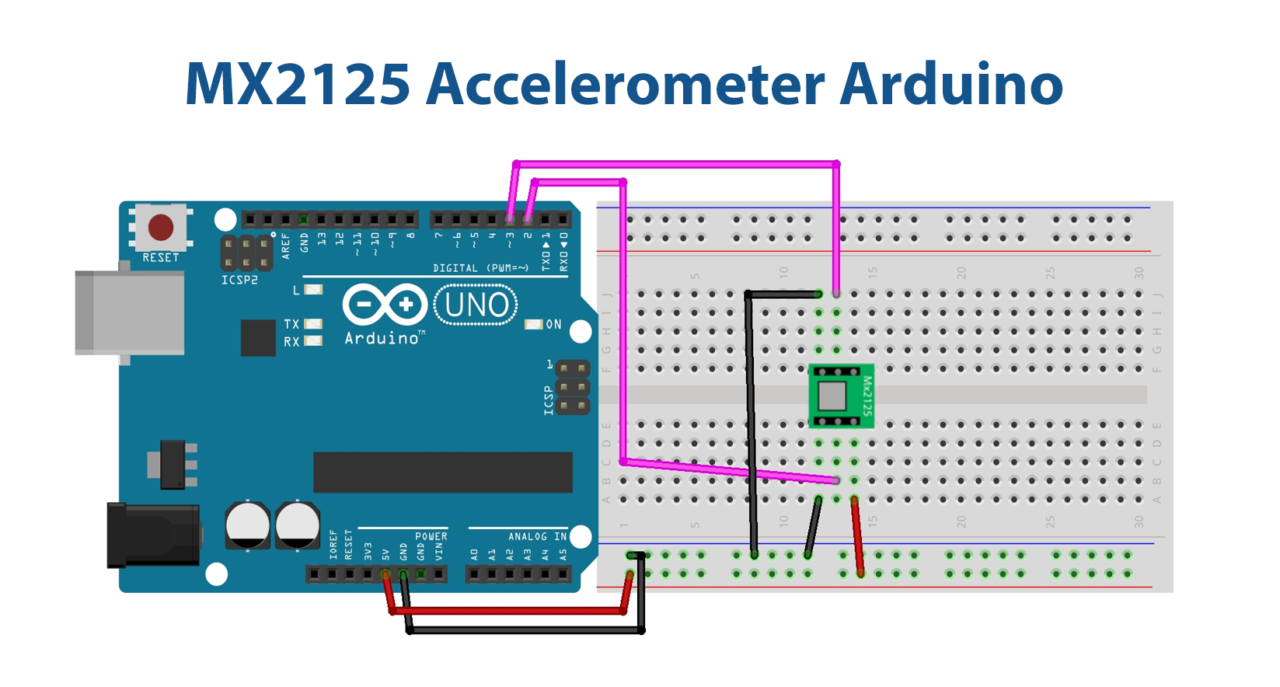
Make connections according to the circuit diagram given below.
Wiring / Connections
| Arduino | Memsic 2125 |
|---|---|
| 5V | VCC |
| GND | GND1, GND2 |
| D2 | X-axis |
| D3 | Y-axis |
Installing Arduino IDE
First, you need to install Arduino IDE Software from its official website Arduino. Here is a simple step-by-step guide on “How to install Arduino IDE“.
Code
Now copy the following code and upload it to Arduino IDE Software.
const int xP = 11;
const int yP = 12;

void setup() {
  // put your setup code here, to run once:
  Serial.begin(9600);

  pinMode(xP, INPUT);
  pinMode(yP, INPUT);

}

void loop() {
  // put your main code here, to run repeatedly:
  int px, py;
  int ax, ay;

  px = pulseIn(xP, HIGH);
  py = pulseIn(yP, HIGH);

  ax = ((px / 10) - 500) * 8;
  ay = ((py / 10) - 500) * 8;

  Serial.print(ax);
  Serial.print("\t");
  Serial.print(ay);
  Serial.println();

  delay(100);

}
Let’s Test It
It’s now time to test the circuit. Once you power up the Arduino, the readings will start appearing on the serial monitor. Tilt or change the direction of the sensor, and you will observe the changes in the readings.
Working Explanation
You must comprehend coding to fully understand how a circuit operates. The Mx2125 can be programmed extremely easily. Let’s explore that:
- first, we define the variables which are the names of Arduino pins connected to the sensor.
- In the void setup, initialize the monitor and set the pinMode of the pins connected to the x/y-axis.
- In the void loop, obtain input from the module using pulseIn; then, convert the input into Milli-g using a brief equation.
- Give some delay to get the new reading.
Applications
- For remote controllers, tilt sensing.
- Navigation of autonomous robots.
- Rotating position detection.
- Hobby initiatives projects
Conclusion.
We hope you have found this Memsic2125 Accelerometer (Mx2125) Circuit very useful. If you feel any difficulty in making it feel free to ask anything in the comment section.