Introduction
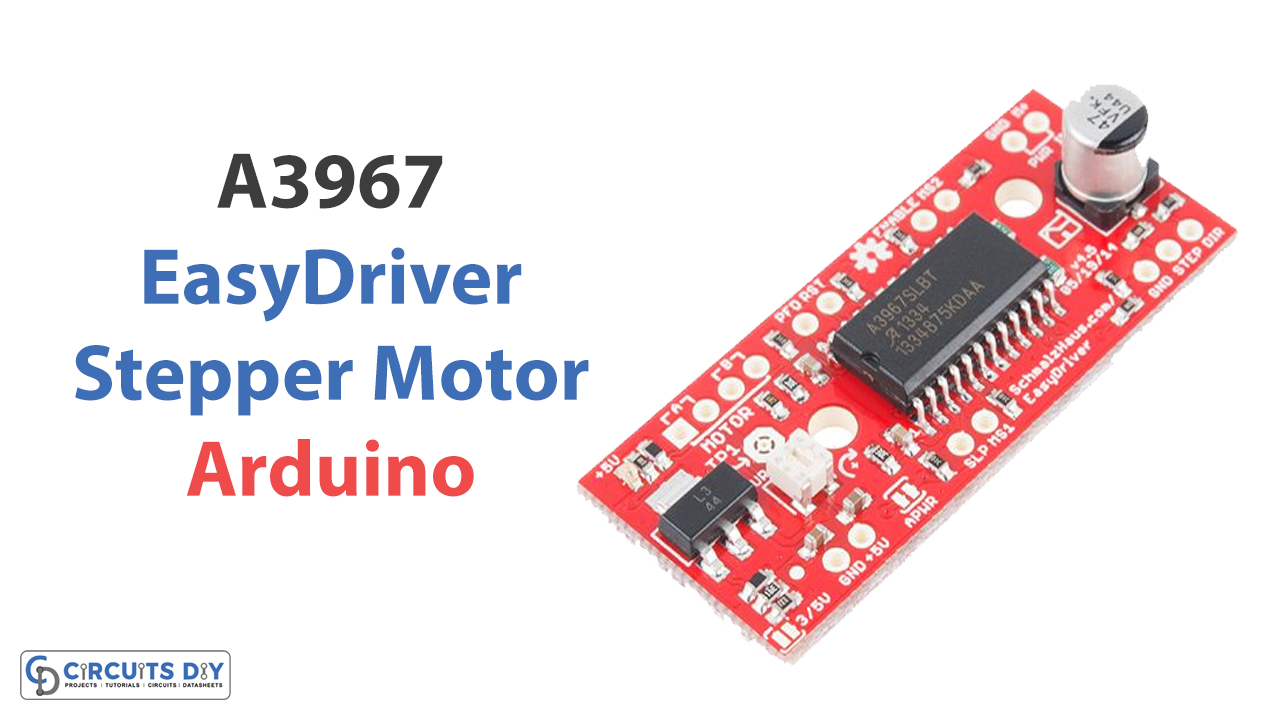
Stepper motors are used in many systems that must be controlled precisely. If you connect them to an Arduino microcontroller, you can add many more options to your next project. The A3967 EasyDriver is a simple yet powerful stepper motor driver that easily controls a wide range of stepper motors with your Arduino. This article will explore how to interface the A3967 EasyDriver with an Arduino and show you how to control a stepper motor with just a few lines of code.
The world of precision machinery is exciting, and with the A3967 EasyDriver stepper motor driver, you can take control of stepper motors with your Arduino microcontroller. Whether you’re building a robot, a CNC machine, or just a cool gadget, the EasyDriver easily controls stepper motors with accuracy. So, let’s dive in and see how it’s done!
What is A3967 EasyDriver Stepper Motor Driver?
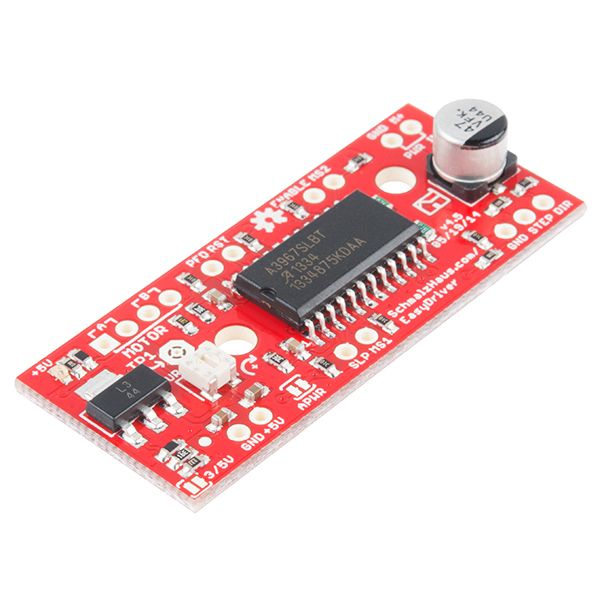
Stepper motor drivers are small devices that take pulse signals from the controller and convert them into motor motion to achieve accurate positioning. The EasyDriver is a user-friendly stepper motor driver compatible with any device capable of producing a digital pulse ranging from 0 to 5V.
Hardware Components
You will require the following hardware for Interfacing EasyDriver – Stepper Motor Driver with Arduino.
| S.no | Component | Value | Qty |
|---|---|---|---|
| 1. | Arduino UNO | – | 1 |
| 2. | EasyDriver Stepper Motor Driver Board | – | 1 |
| 3. | Stepper Motor | BYGH403 1.65A | 1 |
| 4. | Breadboard | – | 1 |
| 5. | Jumper Wires | – | 1 |
A3967 EasyDriver Stepper Motor Driver with Arduino
Now that you understand the EasyDriver stepper motor, its now time to interface it with Arduino. For this, you need to follow the given steps:
Schematic
Make connections according to the circuit diagram given below.
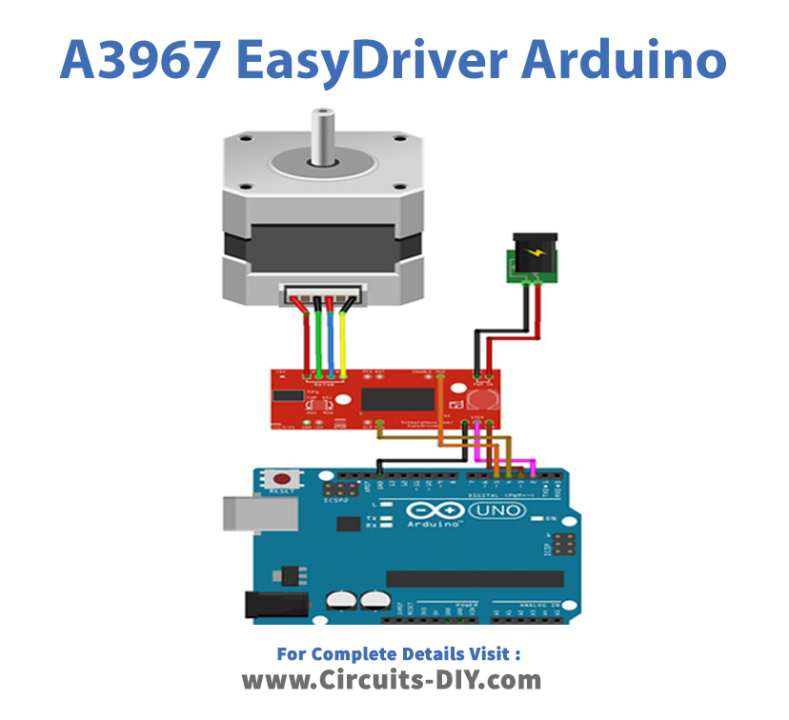
Wiring / Connections
| Arduino | Sensor |
|---|---|
| GND | GND |
| D2 | Step |
| D3 | DIR |
| D4 | MS1 |
| D5 | MS2 |
Installing Arduino IDE
First, you need to install Arduino IDE Software from its official website Arduino. Here is a simple step-by-step guide on “How to install Arduino IDE“.
Code
Now copy the following code and upload it to Arduino IDE Software.
 #define stp 2
#define dir 3
#define MS1 4
#define MS2 5

int x;

void setup() {
  pinMode(stp, OUTPUT);
  pinMode(dir, OUTPUT);
  pinMode(MS1, OUTPUT);
  pinMode(MS2, OUTPUT);

  digitalWrite(MS1,LOW);
  digitalWrite(MS2,LOW);
}

void loop() {
  digitalWrite(dir, HIGH);
  for(x= 0; x<1000; x++)
  {
    digitalWrite(stp,HIGH);
    delay(1);
    digitalWrite(stp,LOW);
    delay(1);
  }
  delay(1000);

  digitalWrite(dir, LOW);
  for(x= 0; x<1000; x++)
  {
    digitalWrite(stp,HIGH);
    delay(1);
    digitalWrite(stp,LOW);
    delay(1);
  }
  delay(1000);
}
Let’s Test It
Upload the code to the Arduino board. Once the connection is made, you should see the stepper motor rotating clockwise for 1000 steps, waiting for 1 sec, rotating anticlockwise for 1000 steps, waiting again for 1 sec, and repeating the process.
Working Explanation
The above-given code controls a stepper motor using an Arduino board.
- First, we define four constants with the names “stp,” “dir,” “MS1”, and “MS2” and assign them the values 2, 3, 4, and 5, respectively. These values correspond to the pin numbers of the Arduino board connected to the stepper motor.
- Then, in the setup function, we tell the Arduino board that these PINs will be used as outputs, meaning that we will send signals to the motor through these pins.
- In the loop function, we first set the value of the “dir” pin to HIGH. This means that the motor will rotate in one direction. Then, we use a for loop to repeat the following process 1000 times: We Set the value of the “stp” pin to HIGH, which tells the motor to take one step. The code then waits for one millisecond. Then Set the value of the “stop” pin to LOW. Again it Waits for one millisecond.
- After the for loop, the code waits for 1 second before reversing the direction of the motor by setting the “dir” pin to LOW and repeating the same process of moving 1000 steps.
So, this code will make the motor rotate clockwise for 1000 steps, wait for 1 sec, rotate anticlockwise for 1000 steps, and wait again for 1 sec. Then it will repeat the process.
Applications
- Slot machines
- Image scanners
- Compact disc drives
- Camera lenses
- CNC machines
- 3D printers
- Automation systems, etc
Conclusion.
We hope you have found this Interfacing EasyDriver – Stepper Motor Driver with Arduino Circuit very useful. If you feel any difficulty in making it feel free to ask anything in the comment section.
Related posts:
 Getting Started with MPU-6050 IMU (6 DOF) Motion Sensor
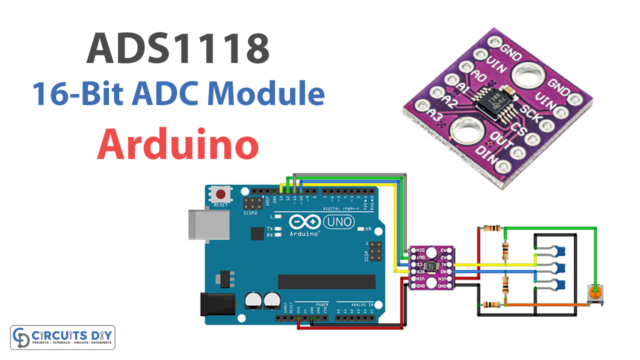 Interfacing ADS1118 16-Bit ADC Module with Arduino
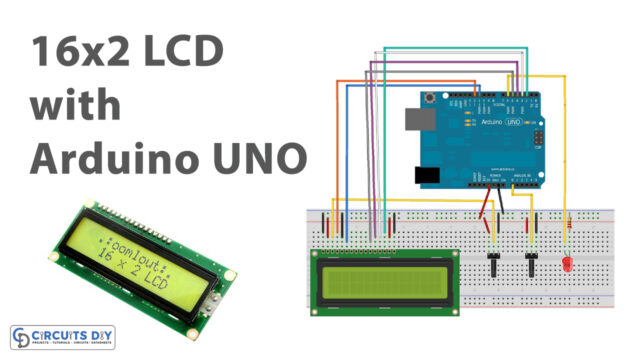 Display the LED Brightness on an LCD 16×2 with Arduino UNO
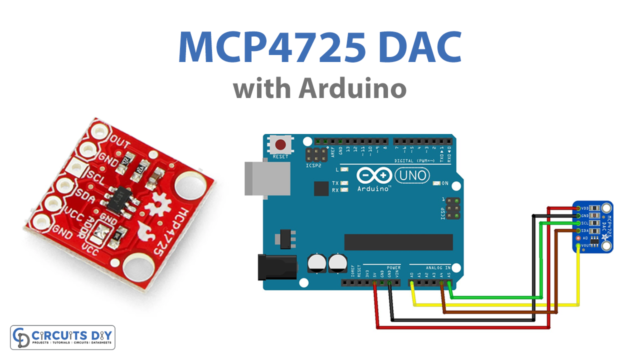 Arduino MCP4725 DAC Tutorial
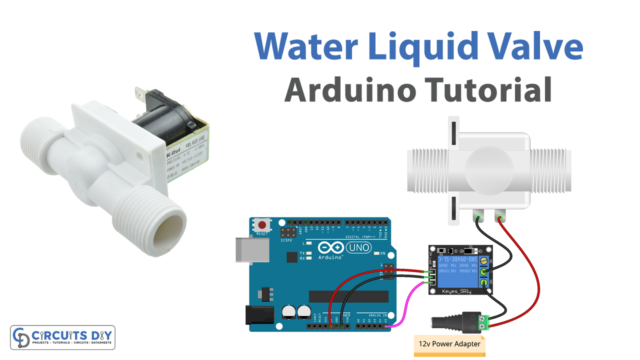 Solenoid Water Liquid Valve - Arduino Tutorial
 How Soil Moisture Sensor Works and Interface it with Arduino UNO