Introduction
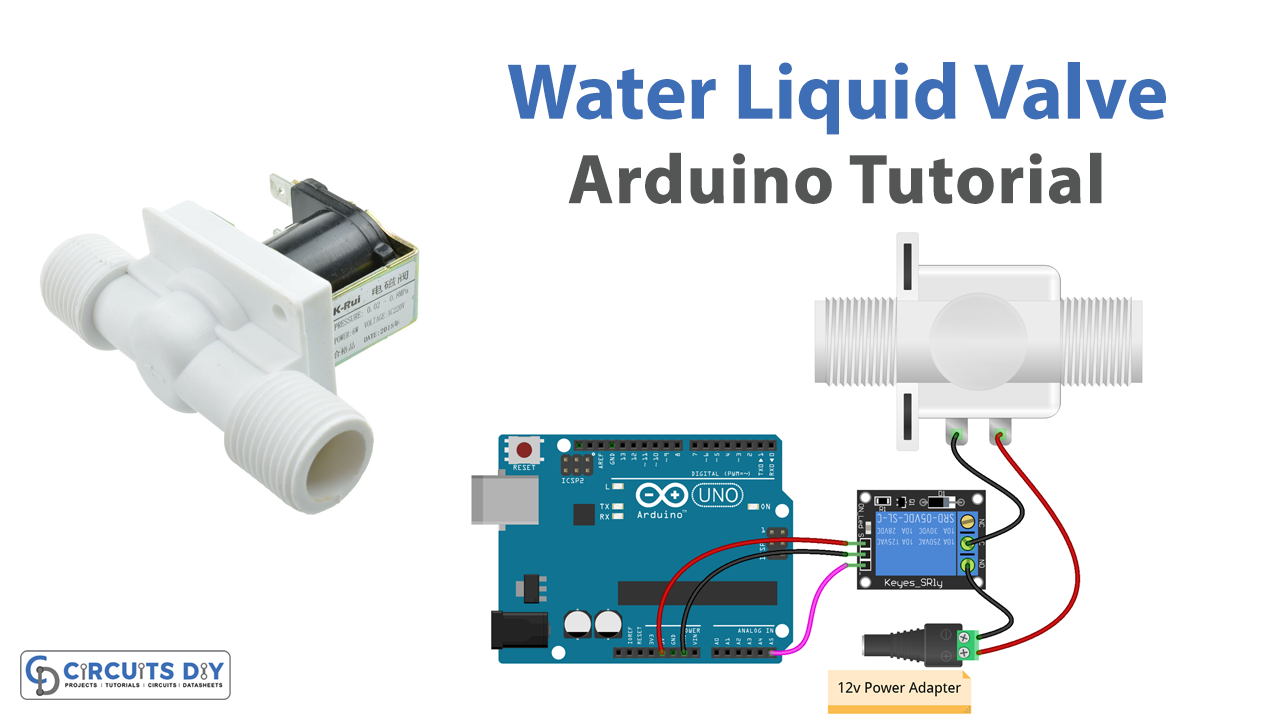
Interfacing a liquid solenoid one-way valve with an Arduino UNO is an interesting and useful application for automating fluid control systems. The liquid solenoid one-way valve, also known as a check valve, is an essential component of many fluid systems that require unidirectional flow. When interfaced with an Arduino UNO, the solenoid valve can be opened and closed in a predetermined manner, allowing precise control of the fluid flow. This has many potential applications in areas such as home automation, agriculture, and industrial processes.
The Propane 12 Volt Lock Off Solenoid Valve is a valve designed for controlling the flow of propane, liquid, vapor gas, and other compatible media. The valve is equipped with a solenoid, which allows for remote operation by an electric current. The valve has a 90-degree lock-off configuration, which ensures reliable operation and prevents the possibility of accidental gas leakage. It can be easily interfaced with an Arduino UNO to control the flow of the media using an electrical signal.
Hardware Components
You will require the following hardware for Interfacing Water Liquid Valve with Arduino.
| S.no | Component | Value | Qty |
|---|---|---|---|
| 1. | Arduino UNO | – | 1 |
| 2. | USB Cable Type A to B | – | 1 |
| 3. | Relay | – | 1 |
| 4. | Liquid Solenoid Valve | – | 1 |
| 5. | Power Adapter | 12V | 1 |
| 6. | DC Power Jack | – | 1 |
| 7. | Power Adapter for Arduino | 9V | 1 |
| 8. | Jumper Wires | – | 1 |
Steps Interfacing Water Liquid Valve with Arduino UNO
- Define a constant integer variable
RELAY_PINand assign it the valueA5. This variable will hold the Arduino pin that connects to the IN pin of the relay.
const int RELAY_PIN = A5;
- In the
setup()function, initialize the Arduino pin specified in theRELAY_PINvariable as an output using thepinMode()function.
void setup() {
  pinMode(RELAY_PIN, OUTPUT);
}
- In the
loop()function, turn on the relay by setting the voltage of the specified pin to HIGH using thedigitalWrite()function.
digitalWrite(RELAY_PIN, HIGH);
- Wait for 5 seconds using the
delay()function.
delay(5000);
- Turn off the relay by setting the voltage of the specified pin to LOW using the
digitalWrite()function.
digitalWrite(RELAY_PIN, LOW);
- Wait for another 5 seconds using the
delay()function.
delay(5000);
- Repeat steps 3-6 continuously until the Arduino is powered off or reset. This will cause the relay to turn on and off every 5 seconds.
Schematic
Make connections according to the circuit diagram given below.
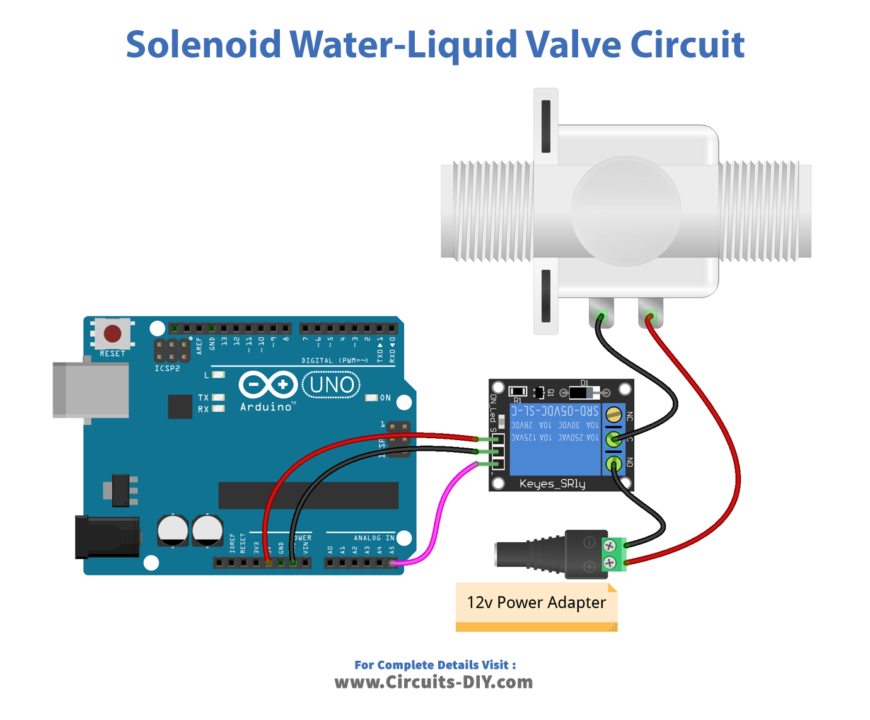
Wiring / Connections
| Arduino | Relay |
|---|---|
| 5V | VCC |
| GND | GND |
| A5 | INP |
Installing Arduino IDE
First, you need to install Arduino IDE Software from its official website Arduino. Here is a simple step-by-step guide on “How to install Arduino IDE“.
Code
Now copy the following code and upload it to Arduino IDE Software.
const int RELAY_PIN = A5;  // the Arduino pin, which connects to the IN pin of relay

// the setup function runs once when you press reset or power the board
void setup() {
  // initialize digital pin A5 as an output.
  pinMode(RELAY_PIN, OUTPUT);
}

// the loop function runs over and over again forever
void loop() {
  digitalWrite(RELAY_PIN, HIGH); // open valve 5 seconds
  delay(5000);
  digitalWrite(RELAY_PIN, LOW);  // close valve 5 seconds
  delay(5000);
}
Working Explanation
The code sets up an Arduino program to control a relay module connected to the Arduino UNO board. The relay module is connected to an external valve, and this code will open and close the valve repeatedly every 5 seconds. In the setup function, the pinMode function is called to configure the pin connected to the relay module as an output pin.
In the loop function, the digitalWrite function is used to set the relay pin high, which will open the valve. Then, the delay function is used to wait for 5 seconds before setting the pin low again, which will close the valve. This process is repeated continuously in a loop.
Applications
- Liquid dispensing machines
- Fuel injection systems for vehicles
- Chemical mixing and dispensing systems
- Water supply control systems
- Beverage dispensing machines
- Aquarium water level control systems
- Lubrication systems for machinery
- Cooling systems for industrial equipment
Conclusion.
We hope you have found this Water Liquid Valve Circuit very useful. If you feel any difficulty in making it feel free to ask anything in the comment section.
Related posts:
 Matrix Scrolling Weather Station & Clock
 How to make Music Reactive LED - Arduino Projects
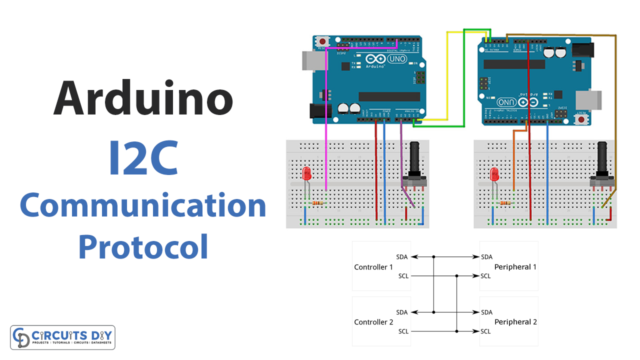 Connect Two Arduino Boards Using I2C Communication Protocol
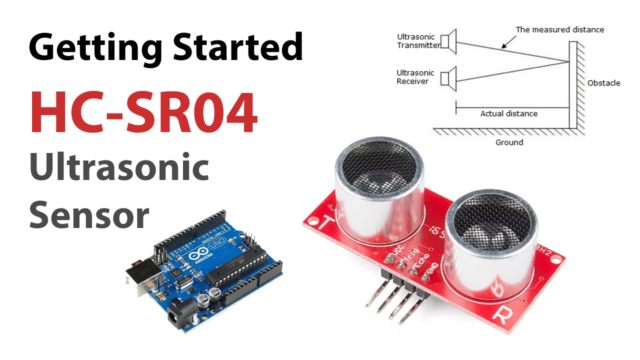 Getting Started with the HC-SR04 Ultrasonic Sensor
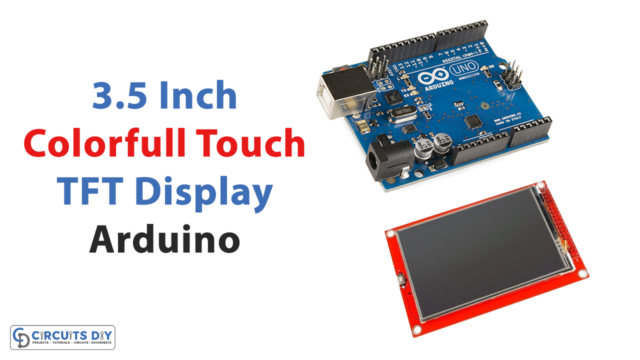 3.5 Inch Full-Color Touch TFT Display Shield with Arduino
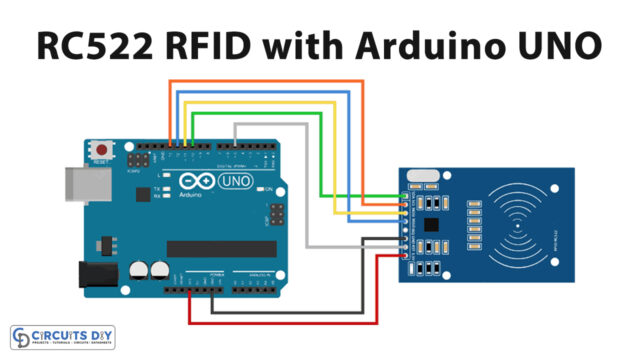 Interfacing RC522 RFID Module with Arduino UNO