Introduction
Are your friends always telling you the truth? Or do they seem to be lying more and more? So In this tutorial, we are going to make Arduino Lie Detector. With this Arduino-controlled lie detector, you can measure the different responses your body and skin go through depending on the situation you are in or the emotions you are feeling. You can see all of these things happen in real-time in an Arduino IDE graph! So Let’s Get Started!
Hardware Components
You will require the following hardware to make Arduino Lie Detector.
| S.no | Component | Value | Qty |
|---|---|---|---|
| 1. | Arduino | UNO | 1 |
| 2. | LED | 5 mm Red, Green, Yellow | 1,1,1 |
| 3. | LED (generic) | – | 1 |
| 4. | Resistor | 2K | 1 |
| 5. | Breadboard | Mini | 1 |
| 6. | Jumper Wires | – | 1 |
Lie Detector using Arduino Nano
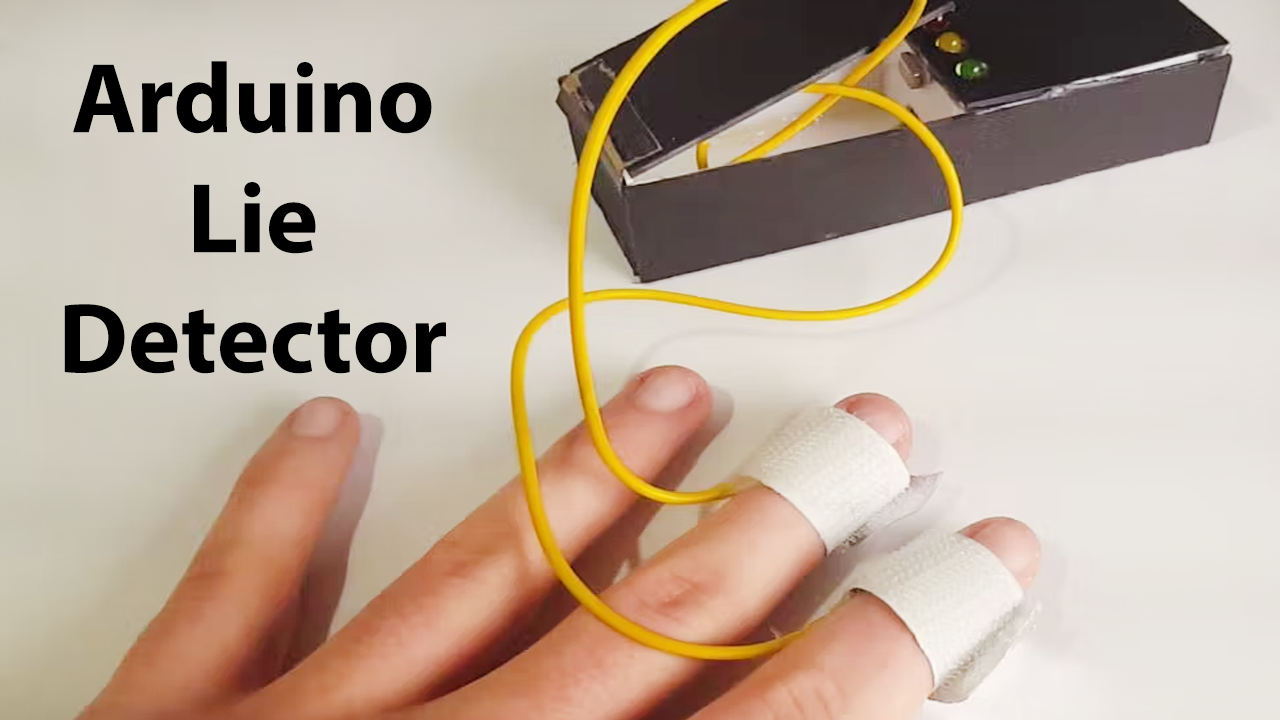
Working for this lie detector is very simple. Our skin is amazing! It provides a medium for us to experience the sense of touch, It changes conductivity depending on many different things one being our mood! It is called Electrodermal Activity (EDA). Here we have used 3 LEDs (Red, Green, and Yellow). We also used one finger clip to make a strong connection between our fingers and the analog wire (A0). This analog wire A0 is connected to Arduino nano and reads different values on finger touch. So when it read a low value (>20) green LED glows similarly when >45 for yellow and >65 for red LED.
Installing Arduino IDE
First, you need to install Arduino IDE Software from its official website Arduino. Here is a simple step-by-step guide on “How to install Arduino IDE“.
Code
Now copy the following code and upload it to Arduino IDE Software.
void setup()
{
	Serial.begin(9600);
	pinMode(2, OUTPUT);
	pinMode(3, OUTPUT);
	pinMode(4, OUTPUT);
	digitalWrite(2, HIGH);
	delay(500);
	digitalWrite(3, HIGH);
	delay(500);
	digitalWrite(4, HIGH);
	delay(500);
}

void loop()
{
	if (analogRead(A0) > 60)
	{
		digitalWrite(4, HIGH);
	}
	else
	{
		digitalWrite(4, LOW);
	}
	if (analogRead(A0) > 20)
	{
		digitalWrite(2, HIGH);
	}
	else
	{
		digitalWrite(2, LOW);
	}
	if (analogRead(A0) > 45)
	{
		digitalWrite(3, HIGH);
	}
	else
	{
		digitalWrite(3, LOW);
	}
	Serial.println(analogRead(A0));
	delay(20);
}
Schematic
Make connections according to the circuit diagram given below.

This project is applicable to the development of electronic products related to medicine. It also provides an idea for making use of analog pins aside from commonly used temperature and infrared sensors.
Finally, let’s power up Arduino Nano and test this “Arduino Lie Detector” circuit. We hope you found this tutorial useful. If you feel any difficulty in making it feel free to ask anything in the comment section.