
Introduction
Not generally reserved for larger projects, Arduino may also be used for simple projects that teach novices valuable skills. Additionally, we want people to understand that electronic components can be fun as our goal is to teach others about electronic components and circuits. So, moving on to the tutorial guide, let’s create an Arduino Sunflower DIY project. This sort of project inspires you and encourages you to learn about electronics, which is what we need.
The servo motor is one of the main reasons for us choosing this do-it-yourself (DIY) project. We aim to make learning about the servo motor as simple as possible for you. Know that if you study Arduino happily and purposefully, connecting any component to it can be a lot simpler. Therefore, let’s first comprehend what an Arduino sunflower is before building the circuit.
What is Arduino Sunflower?
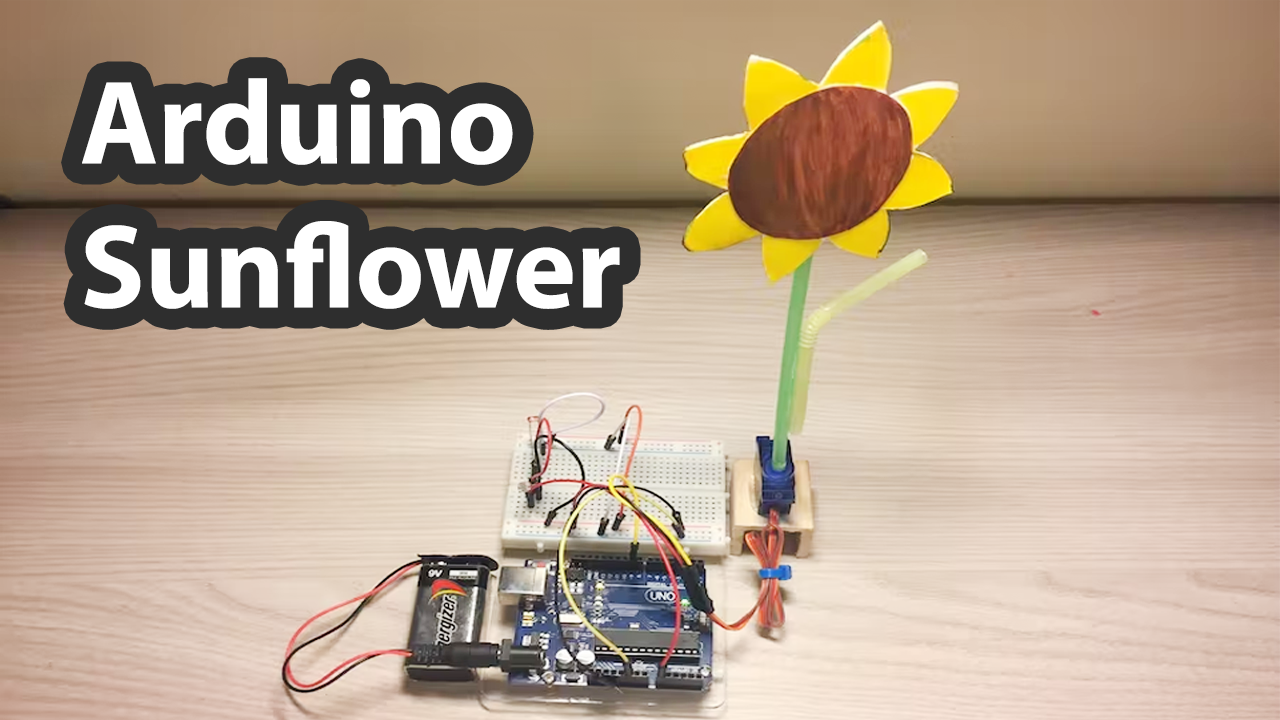
Arduino sunflower is nothing but just the sunflower following the light. A servo motor, two photoresistors, and a sunflower are used to move in response to the light. And yes! it’s not an actual flower but the DIY flower which you can make through a carton sheet.
Hardware Components
You will require the following hardware to make Arduino sunflower.
| S.no | Component | Value | Qty |
|---|---|---|---|
| 1. | Arduino | UNO | 1 |
| 2. | Photoresistor | LDR | 2 |
| 3. | Servo Motor | SG90 | 1 |
| 4. | Breadboard | – | 1 |
| 5. | Jumper Wires | – | 1 |
Steps for Making Arduino Sunflower
In the making of this Arduino Sunflower, all you need is an Arduino, servo motor, and photoresistor which are easily available basic electronic components. Then you need to follow the steps to build a circuit.
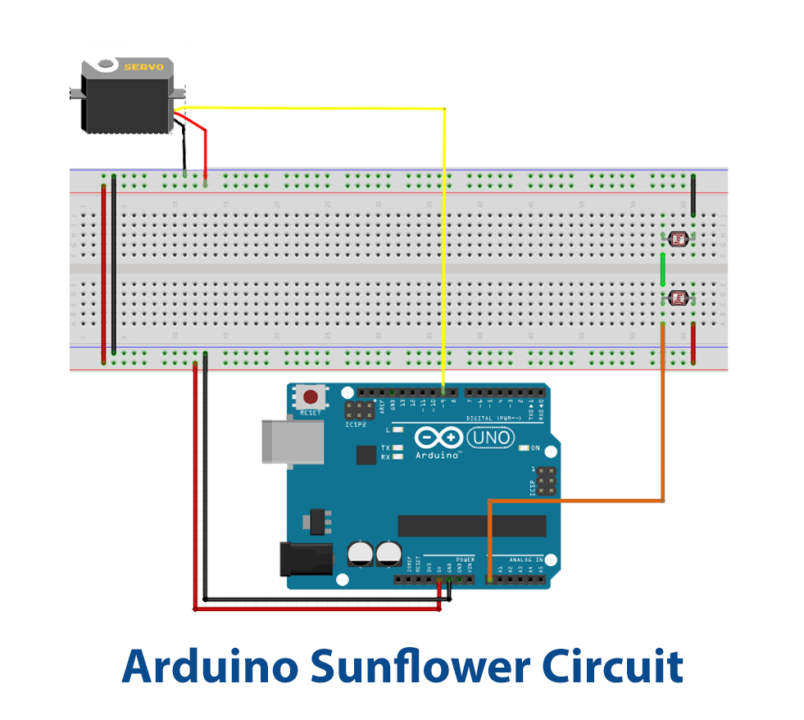
Schematic
Make connections according to the circuit diagram given below.
Wiring / Connections
| Arduino | Servo Motor | Photoresistor Sensor 1 | Photoresistor Sensor 2 |
|---|---|---|---|
| 5V | VCC | One End | |
| GND | GND | One End | |
| D9 | Signal | ||
| A0 | Other End | Other pin |
Installing Arduino IDE
First, you need to install Arduino IDE Software from its official website Arduino. Here is a simple step-by-step guide on “How to install Arduino IDE“.
Code
Now copy the following code and upload it to Arduino IDE Software.
#include <Servo.h>

int sensorPin = A0;
int servoPin  = 9;

int sensorValue = 0;
int servoGrad = 90;
int tolerance = 40;

Servo myservo;

void setup() {
  pinMode( sensorPin, INPUT);
  myservo.attach( servoPin );
  myservo.write( servoGrad );
}

void loop() {
  sensorValue = analogRead(sensorPin);
  if ( sensorValue < (512-tolerance) )
  {
    if (servoGrad < 180) servoGrad++;
  }

  if ( sensorValue > (512+tolerance) )
  {
    if (servoGrad > 0) servoGrad--;
  }

  myservo.write( servoGrad );

  delay(100);
}
Let’s Test It
It is now time to test the device after the code has been uploaded. At this moment, let’s activate Arduino and test the Arduino sunflower. It looks as though it is eager to seek the light. The motor would begin to rotate in the direction of the light. Take it to a dark room to better examine it, then turn on your phone’s flashlight to view the results.
Working Explanation
The circuit is totally based on the code. So let’s understand the code first:
- First, we define the pins of the Arduino that we are using in the making of the circuit.
- In the void setup, first, define the sensor pin (which is a photoresistor) as input. The default rotation of the servomotor when calling the Servo.attach() function is 90 degrees. Use the Servo.write () function immediately following a call to Servo.attach () to initialize the servomotors in a certain position.
- In the void loop, we first give the analogRead function to read the values coming from the photoresist sensor. Then we provide the condition that if the value of the sensor would be less than the particular defined value and if the motor angle is less than 180 degrees, it would rotate the motor. If the sensor value exceeds a specific defined value, the servo motor would be checked; if the motor angle is less than 180 degrees, the motor would not rotate. The code has some delay to read the next coming value.
Applications
- This serves as a potential light sensor.
- can be used to measure light intensity as well.
Conclusion.
We hope you have found this Arduino Sunflower very useful. If you feel any difficulty in making it feel free to ask anything in the comment section.
Related posts:
 WS2811 RGB LED Bluetooth Control with Arduino
 Measuring Water Flow Rate and Volume using Arduino
 Interfacing Inductive Proximity Sensor LJ12A3-4-Z/BX with Arduino
 Interfacing 315/433 MHz RF Transmitter-Receiver with Arduino
 Interfacing u-blox NEO-6M GPS Module with Arduino UNO
 Simple Light Sensor Circuit


