Introduction
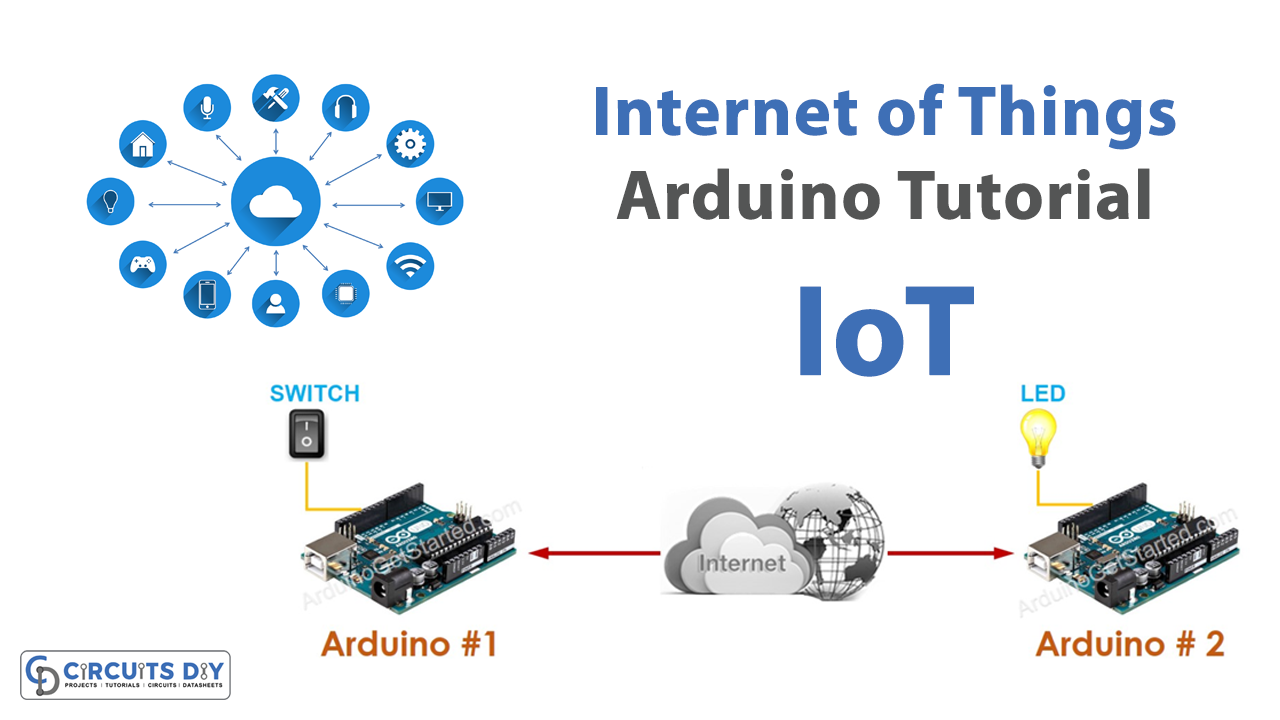
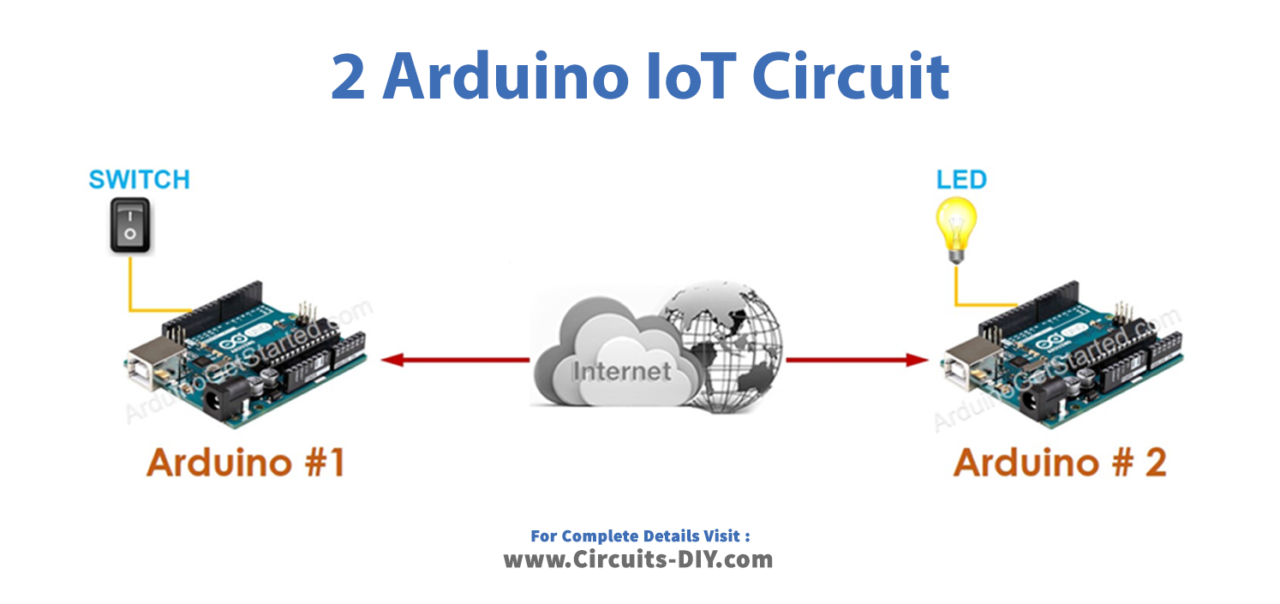
In today’s world, where technology plays a crucial role in our daily lives, the ability to communicate between devices over the internet has become increasingly important. Digital communication between microcontrollers such as Arduino UNO, using internet connectivity, has opened up endless possibilities in the field of IoT (Internet of Things). In this context, controlling a simple LED remotely over the internet using two Arduino UNO microcontrollers can serve as an excellent example of the power and potential of digital communication. This project requires establishing a digital communication protocol over the internet between the two microcontrollers and programming them to receive and respond to digital signals.
IoT (Internet of Things) communication between two Arduino UNO microcontrollers refers to the ability of these devices to communicate with each other over the internet. IoT communication between these microcontrollers involves establishing a digital communication protocol that allows them to exchange data, such as sensor readings or control signals, over the internet.
Hardware Components
You will require the following hardware for IoT with Arduino.
| S.no | Component | Value | Qty |
|---|---|---|---|
| 1. | Arduino UNO | – | 2 |
| 2. | Ethernet /Wifi | – | 1 |
| 3. | Switch | – | 1 |
| 4. | LED | – | 1 |
| 5. | Jumper Wires | – | 1 |
Connecting 2 Arduinos – IoT
Server Side Code:
- Set up the WiFi network by including the WiFi library and defining the SSID and password of the network.
- Set up the server by creating a Server object and starting it.
- Create a pin object to control the LED and set it as an output pin.
- In the main loop, wait for a client to connect to the server and read the data sent by the client.
- If the data received is ‘1’, turn on the LED; if the data is ‘0’, turn off the LED.
#include <WiFi.h>

const char* ssid = "your_network_SSID";
const char* password = "your_network_password";

WiFiServer server(80);
int ledPin = 13;

void setup() {
  Serial.begin(9600);
  pinMode(ledPin, OUTPUT);

  WiFi.begin(ssid, password);
  while (WiFi.status() != WL_CONNECTED) {
    delay(1000);
    Serial.println("Connecting to WiFi...");
  }
  Serial.println("Connected to WiFi");

  server.begin();
  Serial.println("Server started");
}

void loop() {
  WiFiClient client = server.available();
  if (client) {
    Serial.println("Client connected");
    while (client.connected()) {
      if (client.available()) {
        char c = client.read();
        if (c == '1') {
          digitalWrite(ledPin, HIGH);
          Serial.println("LED ON");
        } else if (c == '0') {
          digitalWrite(ledPin, LOW);
          Serial.println("LED OFF");
        }
      }
    }
    client.stop();
    Serial.println("Client disconnected");
  }
}
Client Side Code:
- Set up the WiFi network by including the WiFi library and defining the SSID and password of the network.
- Set up the client by creating a WiFiClient object and connecting it to the server using the server’s IP address and port number.
- In the main loop, read the state of the push button connected to the client Arduino and send the corresponding data (‘1’ for button pressed, ‘0’ for button released) to the server.
- Print the status of the LED received from the server on the serial monitor.
#include <WiFi.h>

const char* ssid = "your_network_SSID";
const char* password = "your_network_password";

IPAddress serverIP(192, 168, 1, 177);
int serverPort = 80;

WiFiClient client;
int buttonPin = 2;

void setup() {
  Serial.begin(9600);

  WiFi.begin(ssid, password);
  while (WiFi.status() != WL_CONNECTED) {
    delay(1000);
    Serial.println("Connecting to WiFi...");
  }
  Serial.println("Connected to WiFi");

  pinMode(buttonPin, INPUT_PULLUP);
}

void loop() {
  if (!client.connected()) {
    Serial.println("Connecting to server...");
    if (client.connect(serverIP, serverPort)) {
      Serial.println("Connected to server");
    } else {
      Serial.println("Connection failed");
      return;
    }
  }

  int buttonState = digitalRead(buttonPin);
  if (buttonState == HIGH) {
    client.write('0');
  } else {
    client.write('1');
  }

  if (client.available()) {
    char c = client.read();
    if (c == '1') {
      Serial.println("LED ON");
Schematic
Make connections according to the circuit diagram given below.
Installing Arduino IDE
First, you need to install Arduino IDE Software from its official website Arduino. Here is a simple step-by-step guide on “How to install Arduino IDE“.
Installing Libraries
Before you start uploading a code, download and unzip the following libraries at /Progam Files(x86)/Arduino/Libraries (default), in order to use the sensor with the Arduino board. Here is a simple step-by-step guide on “How to Add Libraries in Arduino IDE“.
Working Explanation
The code initializes a WiFi connection using the provided SSID and password and sets the IP address and port of the server to which data will be sent. The code also initializes a client object for sending and receiving data.
Then the code checks whether the client is connected to the server. If not, it attempts to connect to the server. If the connection is successful, the code sends either ‘1’ or ‘0’ to the server depending on the state of the button connected to pin 2. If the button is pressed, ‘1’ is sent to the server. If the button is not pressed, ‘0’ is sent to the server.
The code also checks whether there is any data available from the server. If data is available, it reads the data and checks whether it is ‘1’ or ‘0’. If it is ‘1’, the code prints “LED ON” to the serial monitor. If it is ‘0’, the code prints “LED OFF” to the serial monitor.
Applications
- Smart home automation
- Industrial automation
- Greenhouse environmental monitoring
- Security systems
- Remote patient monitoring in healthcare
- Robotics and automation
- Agriculture and farming automation
- Weather Monitoring
- Home security systems
Conclusion
We hope you have found this IoT Circuit very useful. If you feel any difficulty in making it feel free to ask anything in the comment section.