
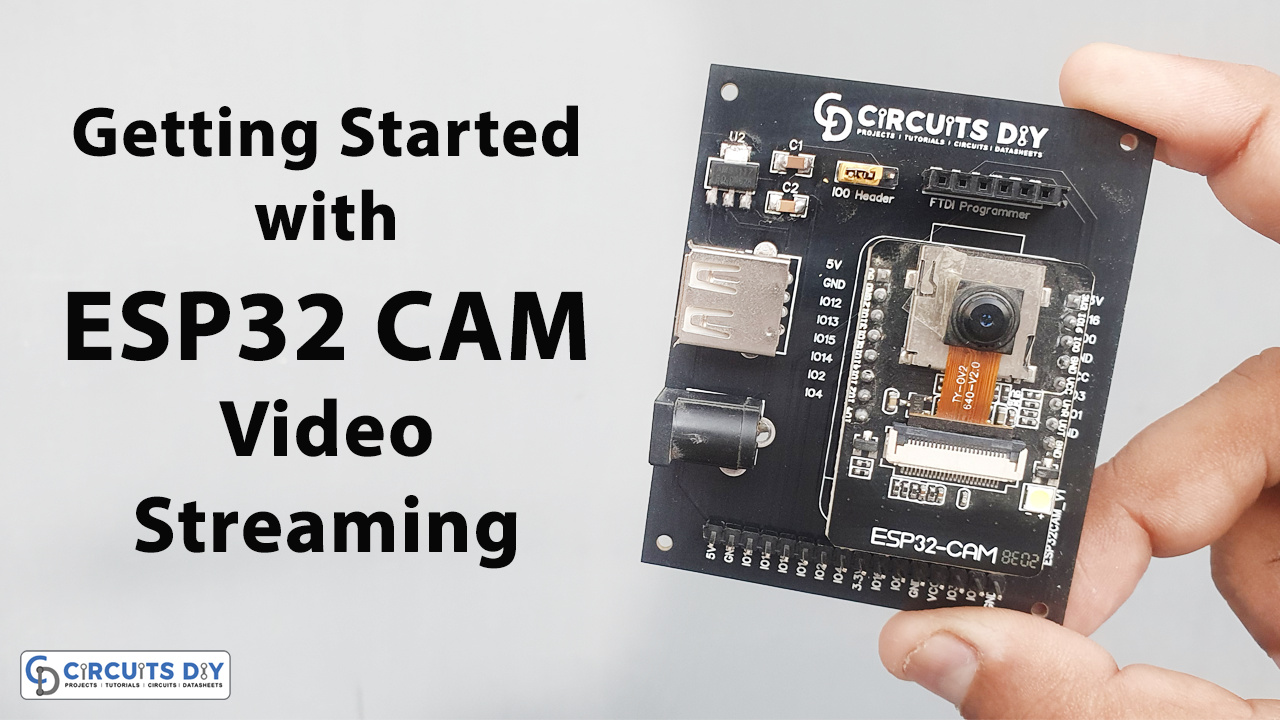
Introduction
Do you want to make a device that makes you see your video stream while connected to WiFi? At first glance, this may appear challenging to you as a beginner, but with enough study and learning, you’ll soon find it’s relatively simple. Keeping that in mind, we are “Getting Started with ESP32 CAM Board & Video Streaming Over WiFi.” We hope that you will find this guide helpful.
Due to the widespread use of the ESP32 CAM, this introductory tutorial is essential. This article overviews the ESP32 CAM Board and how live-streaming video over WiFi works. The ESP32-CAM is a low-cost camera module built on the ESP32-S microprocessor. In addition to its built-in OV2640 camera and many GPIOs for connecting peripherals, this board also has a microSD card slot for saving photos. It is suitable for home smart devices, industrial wireless control, wireless monitoring, QR wireless identification, wireless positioning system signals, and other IoT applications.
What is a Camera Web Server?
A website showing an IP camera’s output is called a “camera web server.” IP cameras are devices that are capable of communicating over IP networks. This indicates that it utilizes the network the router has built to both receive control data and deliver image data.
PCBWay commits to meeting the needs of its customers from different industries in terms of quality, delivery, cost-effectiveness, and any other demanding requests. As one of the most experienced PCB manufacturers in China. PCBWay gives diverse options for customers to design their own PCBs. For example, more options for solder masks like red, yellow, blue, purple, pink, orange and transparent, and so on. They also have mature mechanisms of return or refund if any problem is caused by PCBWay.

- So Visit their website first -> PCBWay.com
- Register / Signup for New Account
- Upload your Gerber files
- Select Specifications like Quantity, Color, Dimensions &, etc
- Finally, Place your Order
Hardware Components
You will require the following hardware for programming an ESP32-CAM with an FTDI programmer
| S.no | Component | Value | Qty |
|---|---|---|---|
| 1. | CAM Board | ESP32 | 1 |
| 2. | FTDI Module | – | 1 |
| 3. | Jumper Wires | – | 10 |
| 4. | USB Cable | 5V | 1 |
ESP32-CAM Microcontroller
ESP32-CAM has a very competitive small-size camera module that can operate
independently as a minimum system with a footprint of only 27*40.5*4.5mm and a deep sleep current of up to 6mA. ESP-32CAM can be widely used in various IoT applications. It is suitable for home smart devices, industrial wireless control, wireless monitoring, QR wireless identification, wireless positioning system signals, and other IoT applications. It is an ideal solution for IoT applications.

ESP32-CAM Specifications
The ESP32-CAM is based on the ESP32-S module, so it shares the same specifications. It has the following features:
- 802.11b/g/n Wi-Fi
- Bluetooth 4.2 with BLE
- UART, SPI, I2C, and PWM interfaces
- Clock speed up to 160 MHz
- Computing power up to 600 DMIPS
- 520 KB SRAM plus 4 MB PSRAM
- Supports WiFi Image Upload
- Multiple Sleep modes
- Firmware Over the Air (FOTA) upgrades possible
- 9 GPIO ports
- Built-in Flash LED
Camera Specifications
The ESP32-CAM includes an OV2640 camera module. The device also supports OV7670 cameras. The OV2640 has the following specifications:
- 2 Megapixel sensor
- Array size UXGA 1622×1200
- Output formats include YUV422, YUV420, RGB565, RGB555 and 8-bit compressed data
- Image transfer rate of 15 to 60 fps
Steps Programming ESP32-CAM with FTDI Programmer
To get started with the ESP32 CAM board and video streaming over wifi, you need to buy the components listed above in the hardware section. Once you have all the components, follow the following steps:
Schematic
Make connections according to the circuit diagram given below.

Wiring / Connections
| ESP32-CAM | FTDI |
|---|---|
| 5V | VCC |
| UOR | TX |
| UOT | RX |
| IO0 | GND |
| GND | GND |
Installing Arduino IDE
First, you need to install Arduino IDE Software from its official website Arduino. Here is a simple step-by-step guide on “How to install Arduino IDE“.
Installing the ESP32 Board in Arduino IDE
After the Installation of Arduino IDE, There’s an add-on that allows you to program the ESP32 using the Arduino IDE. Here is a simple guide on “How to Install ESP32 on Arduino IDE“.
Code
Go to the files menu and then select examples. From the examples menu, select the ESP32 and then Camera. Then finally open the CameraWebServer Sketch.

So this is the example code for Basic Video Streaming. The code is very complicated and has so many files.
You need to modify this code a little bit. Select the Camera Module by uncommenting the model that you are using. If you are using AI-Thinker Board, uncomment the AI-Thinker Part and comment rest of the part.
//#define CAMERA_MODEL_WROVER_KIT // Has PSRAM
//#define CAMERA_MODEL_ESP_EYE // Has PSRAM
//#define CAMERA_MODEL_M5STACK_PSRAM // Has PSRAM
//#define CAMERA_MODEL_M5STACK_V2_PSRAM // M5Camera version B Has PSRAM
//#define CAMERA_MODEL_M5STACK_WIDE // Has PSRAM
//#define CAMERA_MODEL_M5STACK_ESP32CAM // No PSRAM
#define CAMERA_MODEL_AI_THINKER // Has PSRAM
//#define CAMERA_MODEL_TTGO_T_JOURNAL // No PSRAM
You also need to change your WiFi SSID and Password.
const char* ssid = "*********";
const char* password = "*********";
Now you can upload the code. The code will take more than a minute to compile and upload.
Testing and Working
After the code has been adequately uploaded, open the Serial Monitor. When you get to this point, click the reset button on the device, and the Serial Monitor will display that the device is now in downloading mode.
Remove IO0 GND from the ESP32 CAM Module to prevent downloading. Next, press the button one more time to reset the device. Consequently, the device will attempt to connect with the WiFi network. The local IP Address will be shown on the device after successfully connecting to the WiFi network.

Copy this IP address link and then paste it into the address bar of your preferred web browser, such as Chrome or Mozilla. Therefore, the website will load with all camera options shown on the left-hand side. You have the option of manually adjusting each parameter.

You may start streaming by clicking on “Start Streaming ” at the bottom of the screen. Once you do this, you can see yourself in the video. Utilize the camera option to get the highest possible resolution.
You can view yourself by moving the camera in whatever direction. The video data is in real-time and always available for viewing on the Web server
Applications
- Streaming Live Video Online Worldwide
- Smart Door Bell or Surveillance cameras
- Face Recognition
- Security Applications, etc.
Conclusion.
We hope you have found this ESP32-CAM Programming and Video Streaming Over WiFi tutorial very interesting. If you have any difficulty making it, feel free to ask anything in the comment section.
Related posts:
 How to make 12 Volt 3 Ampere Power Supply - DIY
 Simple DoorBell Circuit using 555 Timer IC
 Sequential Sound Activated Switches - Electronics Project
 How To Make A Smart Door Lock Using An IR LED Pair & Servo Motor
 Rigid flex PCB | Their Design Benefits And Limitations
 DIY Clap Switch Circuit Using a CD4017 Counter IC


I’ve read some just right stuff here. Certainly value bookmarking
for revisiting. I wonder how so much effort you set to make one of these great informative site.