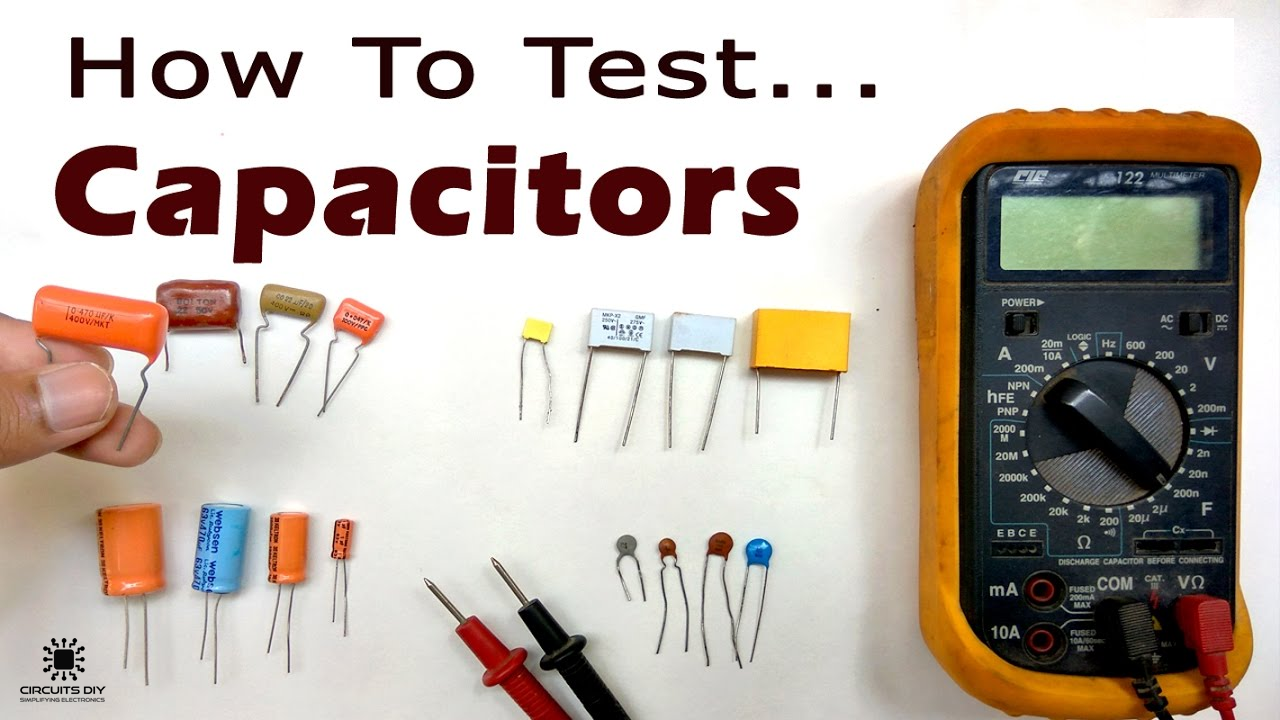
In this tutorial, we are demonstrating a method to check capacitor. A capacitor is a small electrical segment on most circuit boards that can perform various functions. It stores electrical energy in an electric field. It is a passive electronic segment with two terminals. To test the capacitor, we can use a multimeter. But if we do not have a multimeter, so we can use this circuit to check capacitors that capacitors are in working condition or not.
In this DIY, we will give you a step by step guide to check whether your capacitor is in working condition or not.
Hardware Components
The required hardware components to check capacitor are:
| S.no | Components | Value | Qty |
| 1. | Polar Capacitor | 50V 1000µF | 1 |
| 2. | Polar Capacitor | 25V 1000µF | 1 |
| 3. | Polar Capacitor | 16V 220µF | 1 |
| 4. | LED Strips | 12V | 1 |
| 5. | Battery | 9V | 1 |
Circuit Construction
Step# 01
Hold all the capacitors towards the 9V Battery for a few seconds. Make sure that you hold the negative terminals together.

Step# 02
Now hold the capacitor towards the LED Strip. Do the same step for all capacitors. If the LED is blinking then the capacitors are at working conditions.

Circuit Operation
In this section, we are describing the method that how we can check the capacitors that are working or not. First, we have to take a few capacitors. As in this tutorial, we have taken three Polar Capacitors of 50V 1000µF, 25V 1000µF, and 16V 220µF and then take a 9V battery and hold the capacitors towards the battery as described in the following steps above. Then hold the capacitors towards the 12V LED Strip, if LED is flashing then the capacitors are in the working condition.
Applications and Uses
This method is used to check capacitors whether the capacitors are in working condition or not.