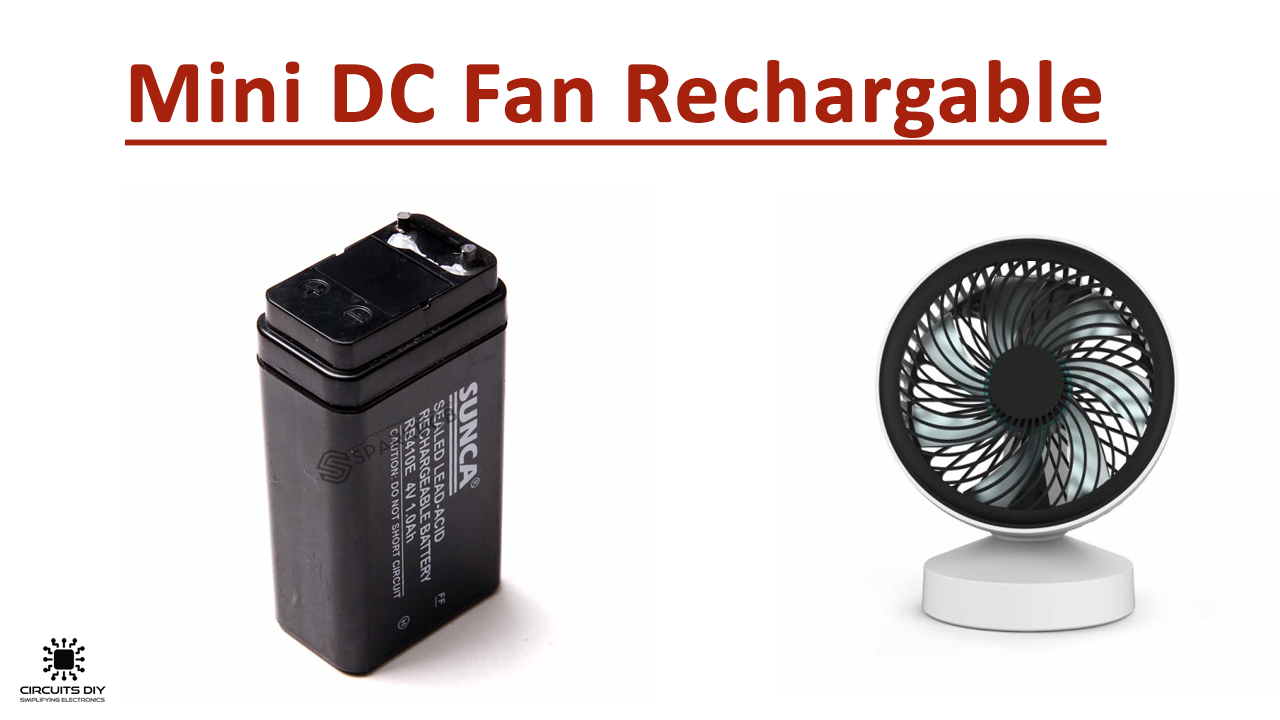
In this tutorial, we are demonstrating the project of a mini fan. A Fan is a machine for creating flow within the fluid, typically air, for cooling purposes. It is a device used for cooling ourselves when we are feeling hot. A fan comprises a rotating arrangement of vanes or blades which act on the air. The rotating assembly of blades and hub is known as an impeller, rotor, or runner. Normally, it is contained inside some type of housing or case.
Hardware Components
The following components are required to make Mini Fan Circuit
| S.no | Components | Value | Qty |
|---|---|---|---|
| 1. | DC Charging socket | – | 1 |
| 2. | Fan | 5V | 1 |
| 3. | Charger | 50V 500mAh | 1 |
| 4. | Switch | – | 1 |
| 5. | Motor | 4V | 1 |
| 6. | Battery | 4V | 1 |
Circuit Construction
Step# 01
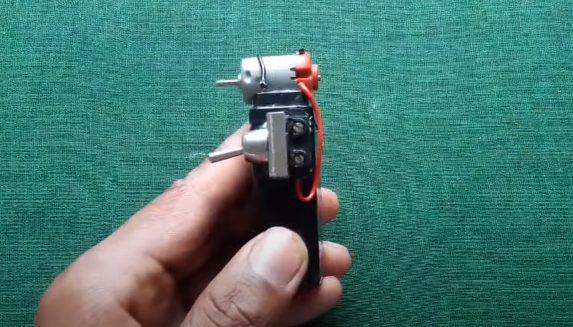
Join the motor with the battery with the help of a glue gun.

Step# 02
Also, join the on/off switch with the battery with the help of glue gun.

Step# 03
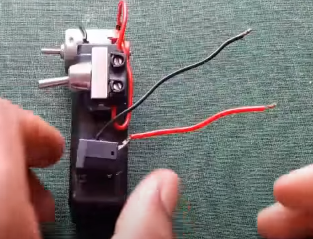
Now connect the negative terminal of the motor with the battery by using the soldering iron.

Step# 04
And also connect the other ends of the battery and motor with a switch.
Step# 05
Then connect the DC charging Socket with the battery using a wire.
Step# 06
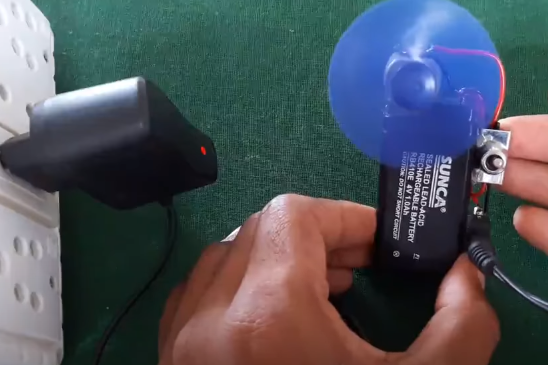
Then connect the fan with the motor.

Step# 07
We can connect the charger to the battery to charge the battery.
Working Explanation
In this section, we are discussing the circuit operation of the Mini Fan. First, make this mini fan by using the following steps above. In this circuit, we are using some electronic components that are easily accessible. We are using a 4V Battery, 4V Motor, On/Off Switch, DC Charging socket, 50V 500mAh Charger, and a Fan. First, construct the circuit by using the following steps above, and then switch on the button to test whether the fan is working or not. Then connect it with the charger and turn it on again to test whether the charger is working or not.
Applications and Uses
A mini fan is used for
- Camping
- Hiking, and different outdoor activities in hot weather conditions.
Related posts:
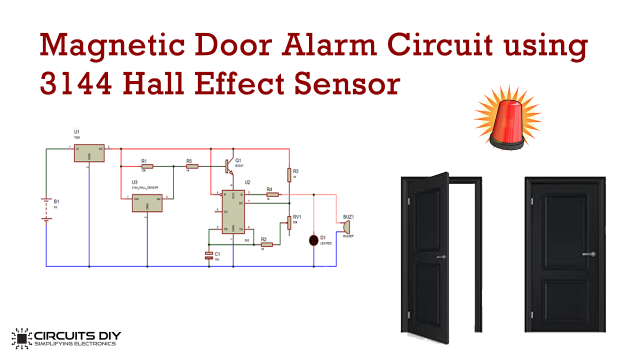 Magnetic Door Alarm Circuit using 3144 Hall Effect Sensor
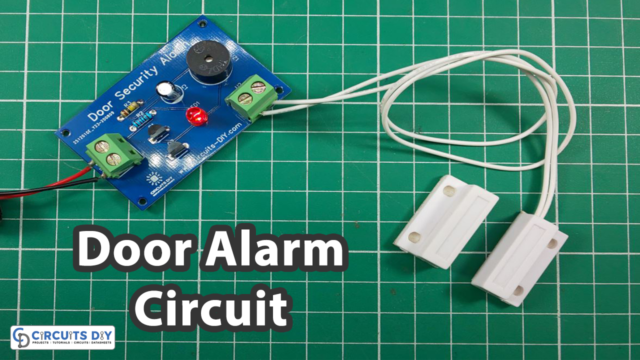 Security Door Alarm using Magnetic Reed Switch - DIY Project
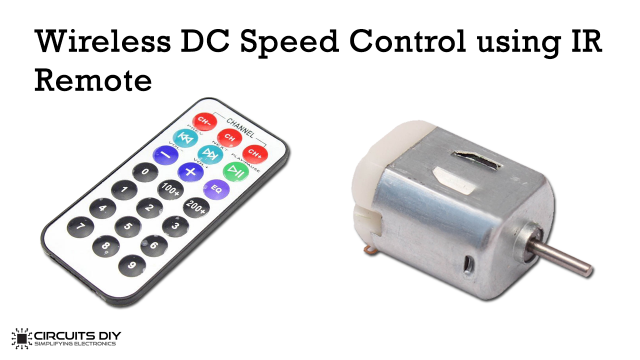 Wireless DC Motor Speed Control using IR Remote Control
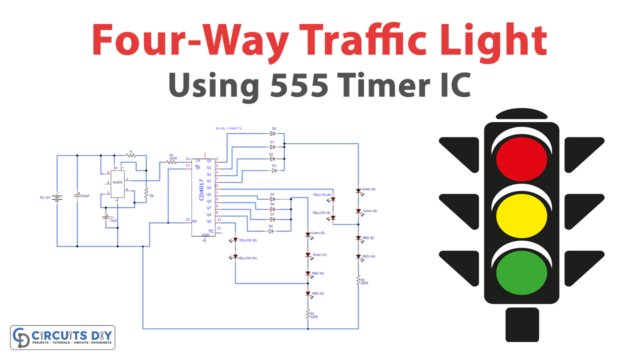 Four-Way Traffic Light Circuit Using 555 Timer IC
 5 Volt USB Mobile / Car Charger using LM7805 - DIY Project
 How to make Electronic Digital Clock using AT89C2051 - DIY Project