What is a UV Sterilizer/Sanitization Box?
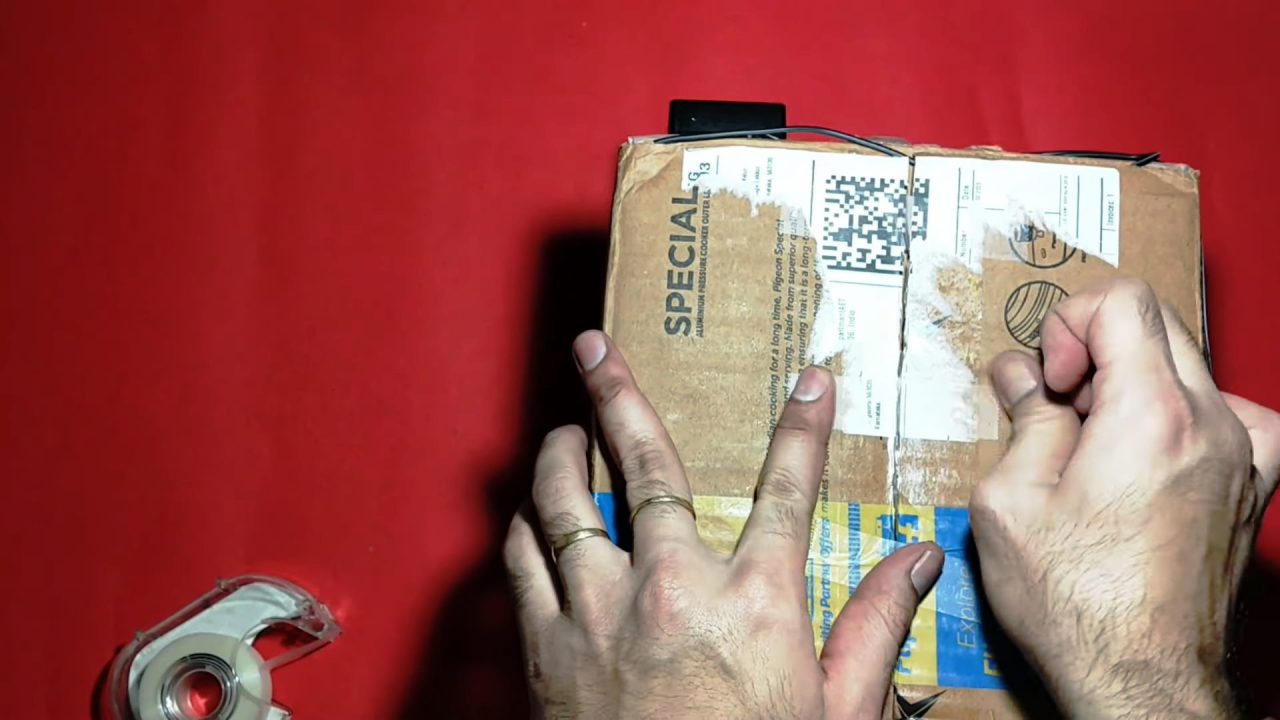
UV sterilizer boxes are used to disinfect/sterilize everyday items, in order to kill pathogens, viruses & other microorganisms hazardous to human health. With the current onslaught of the COVID-19 pandemic, UV sterilizers have become mandatory in health care settings such as hospitals, in order to clean & disinfect surfaces as well as medical tools & equipment. So, in today’s tutorial, we will go through a step-by-step procedure on How To Make a UV Sterilizer Box using a small number of inexpensive components.
UV sterilizer boxes use UVA or UVC lighting fixtures to produce a germicidal effect. They are intended to augment the disinfection of health care environmental surfaces & equipment after manual cleaning has been performed. They use short-wavelength ultraviolet light to kill or inactivate microorganisms by destroying nucleic acids and disrupting their DNA, leaving them unable to perform vital cellular functions.
Hardware Required
You will need the following parts to build this project:
| S.no | Component | Value | Qty |
|---|---|---|---|
| 1. | UV Tubelight | 11W | 1 |
| 2. | Electronic Choke | 230V/45mA | 1 |
| 3. | Aluminum Foil | – | 1 |
| 4. | Cardboard Box | 1.5’x1.5’x1′ | 1 |
| 5. | Reflective metal sheets | – | 1 |
| 6. | Connector/UV ballast plugs | 2 pin, Female | 2 |
| 7. | Hot glue gun/Double-sided tape | – | 1 |
| 8. | AC Wall Outlet | 220V | 1 |
Useful Steps
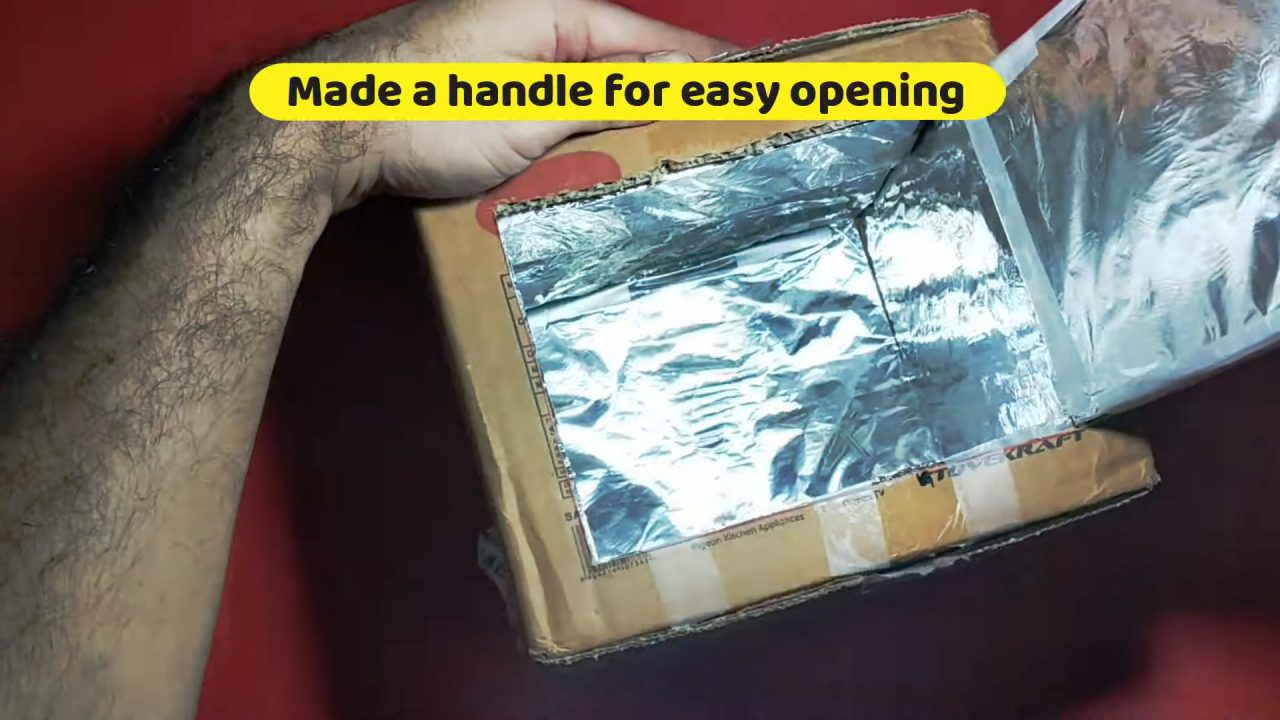
1) Cover the bottom surface & the walls of the cardboard box (along with the base of the top lid) with aluminum foil & reflective metal strips using a glue gun or double-sided tape.

2) Fashion an opening cabinet using a box cutter on the front-facing side of the cardboard box
3) Connect output plugs of the electronic choke with the ballast terminals of the UV light & jam the UV tube diagonally on the top of the cardboard box.
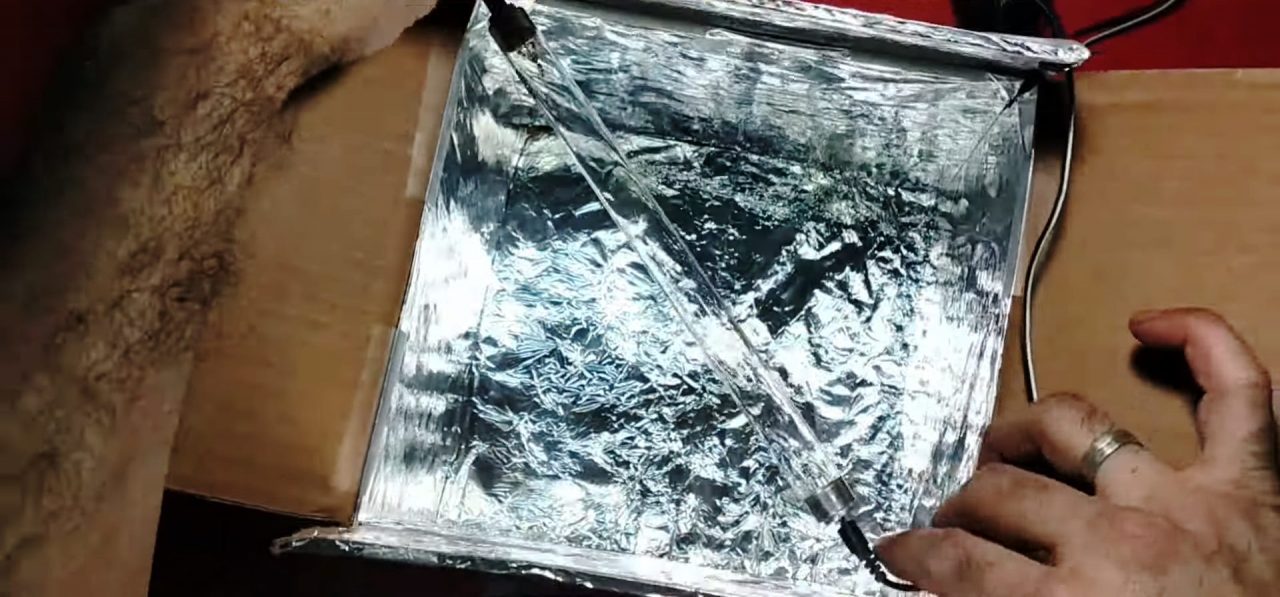
4) Use a piece of plastic or sponge (of equal size) to create a 1” – 3” gap between the UV tube & the top lid of the cardboard box.

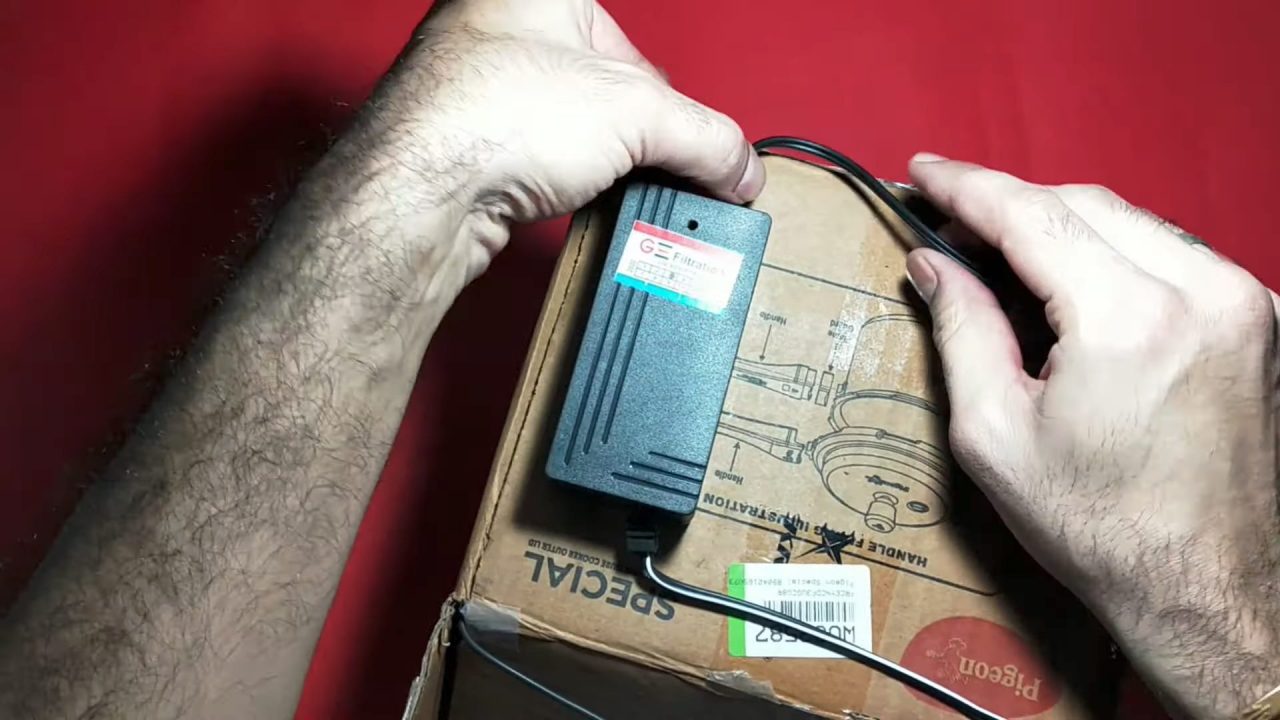
5) Stick the electronic choke on the back-facing surface of the cardboard box using a hot glue gun or double-sided tape.
6) Completely seal the lid of the cardboard box using masking tape.
7) Cover the cardboard box with glace paper to further reduce the chance of any UV light leaking out.

8) Put the object to be sanitized within the box & close the front-facing lid. Power up the circuit using a 220V wall outlet & test the circuit.
Working Explanation
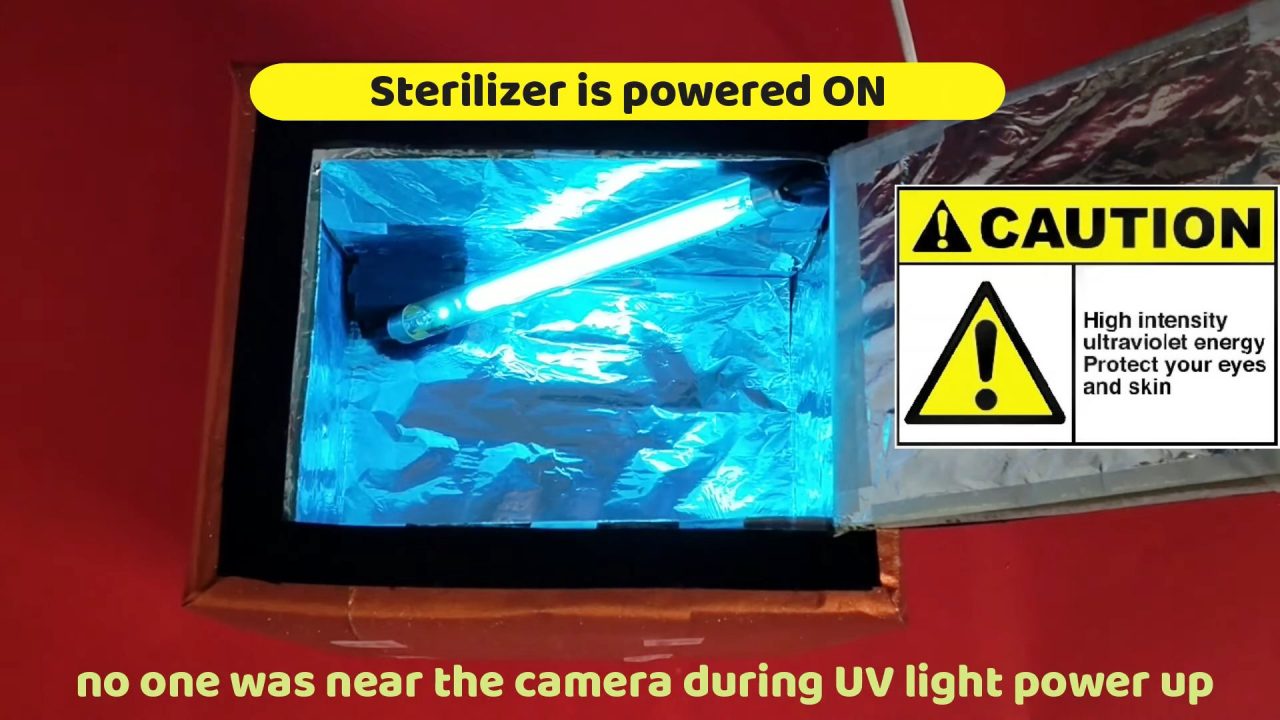
The working principle of this sterilization box is very simple. On closing the lid & turning on the power, the UV rays continuously bounce against the walls & base of the box (and the lid), covering any object placed in the box with UV light in its entirety. Thus, killing any pathogens or viruses that may be living on it.
In order to use this UV sterilization chamber: simply place the object to be sterilized (facemask) on the raised transparent sheet & seal the lid of the box. After that, connect the power to the UV light. It will take approximately 1 – 2min for the sterilization process to complete. when 2 min is up, simply switch off the power to the UV light & retrieve the sterilized object. NEVER look at the UV Tube light directly when it’s powered ON, as it is extremely harmful & may be hazardous for your vision.
Applications
- It can be used to sterilize all manner of tools & equipment, in order to kill pathogens & viruses.
See Also: PCB Manufacturing Process – A Complete Guide For Beginners | Laser Tripwire Security Alarm Using NE555 Timer IC | Stereo Audio Amplifier Circuit Using TDA7297 Amplifier IC
Related posts:
 12V Relay-based Timer Switch Circuit Using BC547 Transistor
 Cell Phone Call Detector using LM358 IC
 How To Make a Multi-Level Proximity Sensor Using LM358 Op-Amp IC
 How to make RGB LED Controller
 How to make Electronic Digital Clock using AT89C2051 - DIY Project
 How To Make A Mobile Signal Jammer Using A Transistor


