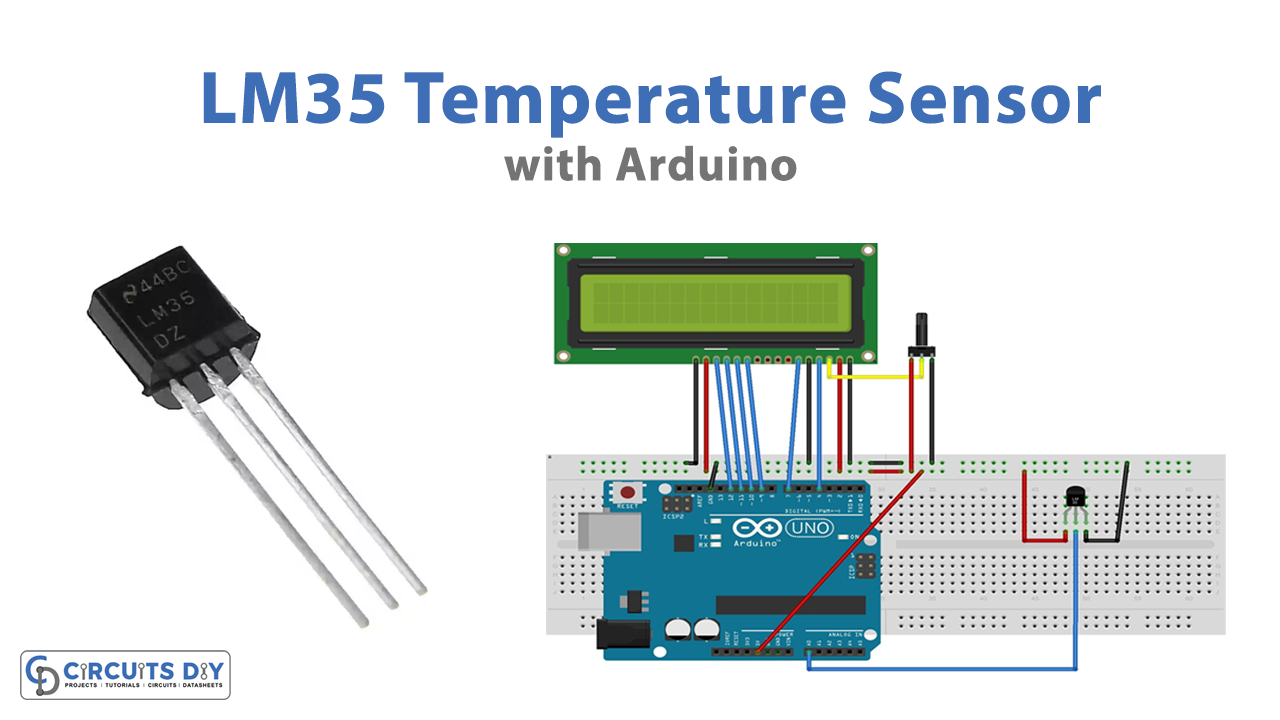
The temperature sensor is critical for estimating the temperature of the surroundings. In general, it assesses the heat energy or coolness of an environment or object. Temperature sensors turn the input data into electronic data. Temperature sensors are used to record or monitor temperature changes. There are different kinds of temperature sensors, one of them is the LM35 Temperature Sensor. Thus, in this tutorial, we are going to Make an “Interface LM35 Temperature Sensor with Arduino
LM35 Temperature Sensor
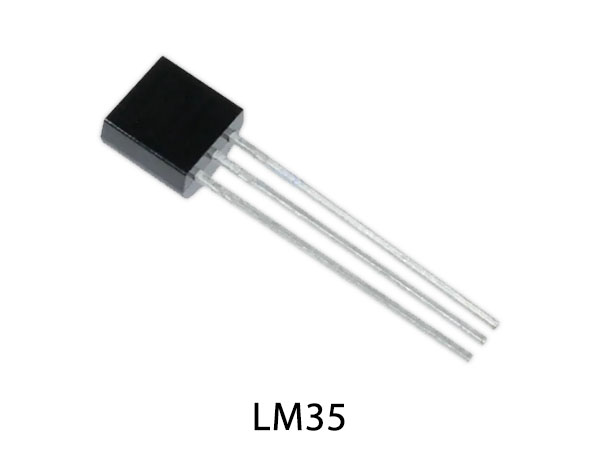
Texas Instruments has introduced the LM35 temperature sensor. By creating an analog signal about the temperature at a rate of 10mV/0C, it functions. In contrast to other sensors, which are calibrated in Kelvin, it is a compact, affordable component. Its primary characteristics, such as low impedance, linear analog output, and precise centigrade calibration, make an interface with microcontroller units quite simple. The temperature change is proportional to the change in output voltage. At every 1 degree of temperature change, it produces 10mV.
/*LM35 temperature sensor with Arduino */

#include<LiquidCrystal.h> //include LCD library
LiquidCrystal lcd(4,7,9,10,11,12); //define Arduino pins used with 16x2 LCD
// Give symbolic name to A0 pin to connect LM35 sensor output
#define LM35_Sensor A0

//Create a symbol for degree notation
byte degree_symbol[8] =
              {
                0b00011,
                0b00011,
                0b00000,
                0b00000,
                0b00000,
                0b00000,
                0b00000,
                0b00000
              };

// Initialize 16x2 LCD and create symbol
void setup()
{
  lcd.begin(16,2);
  lcd.createChar(1, degree_symbol);
  lcd.setCursor(0,0);
  lcd.print("LM35");
  lcd.setCursor(5,0);
  lcd.print("Sensor   ");
  delay(1000);
  lcd.clear();
}

void loop()
{
  /*Read analog voltage signal from A0 pin and convert to temperature*/
     float analog_value=analogRead(LM35_Sensor);
     float temp_degree=analog_value*(5.0/1023.0)*100;
     delay(10);

  /*Display measured temperature on 16x2 LCD*/
    lcd.clear();
    lcd.setCursor(2,0);
    lcd.print("Temperature");
    lcd.setCursor(4,1);
    lcd.print(temp_degree);
    lcd.write(1);
    lcd.print("C");
    delay(1000);
}
Working Explanation
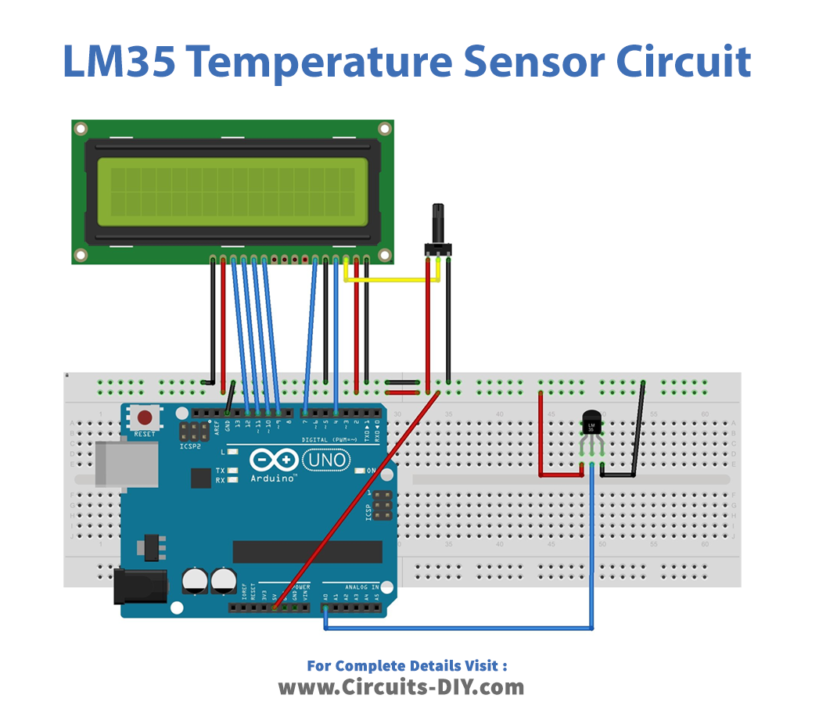
Use the Arduino UNO to assemble the LM35 temperature sensors according to the above diagram. Now run the code with the Arduino IDE. . The temperatures will be displayed in both Celsius and Fahrenheit on LCD. Every second, the sensor provides measurements. And the LCD would display that.
Code Explanation
Firstly, the libraries required to run the sketch are included as the first step in the Arduino code. The definition of pins is the next. A0 is linked to the analog pin of the temperature sensor, while pins 7, 6, 5, 4, 3, and 2 are wired to the LCD for the interface. The custom character method is used to create the Degree symbol.
The initial message, “Digital Thermometer,” will be shown by the code’s void setup. The message will be shown, followed by a 4000-millisecond wait.
Through the analogRead function, the void loop will read the analog signal provided by the analog pin of the sensor. The variable “analog value” will hold the value of the digital output. The Arduino’s ADC resolution and a conversion factor of 10mV per degree Celsius will be used to convert the analog information. The Temperature float variable will hold the outcome. The LCD will show the temperature on the screen in degrees Celsius after a delay of 10 milliseconds.