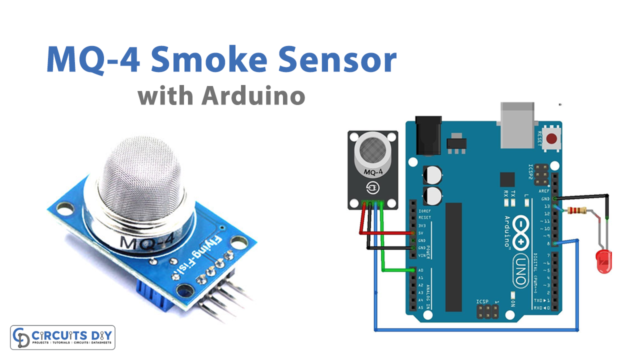
Introduction
Temperature sensors are electronic devices that convert temperature into electrical signals and are used to detect temperature. This might be air temperature, liquid temperature, or solid matter temperature. There are several types of temperature sensors available, and each uses a distinct technology and concept to monitor the temperature. In this tutorial will be “Interfacing LM75 Temperature Sensor Module with Arduino”.
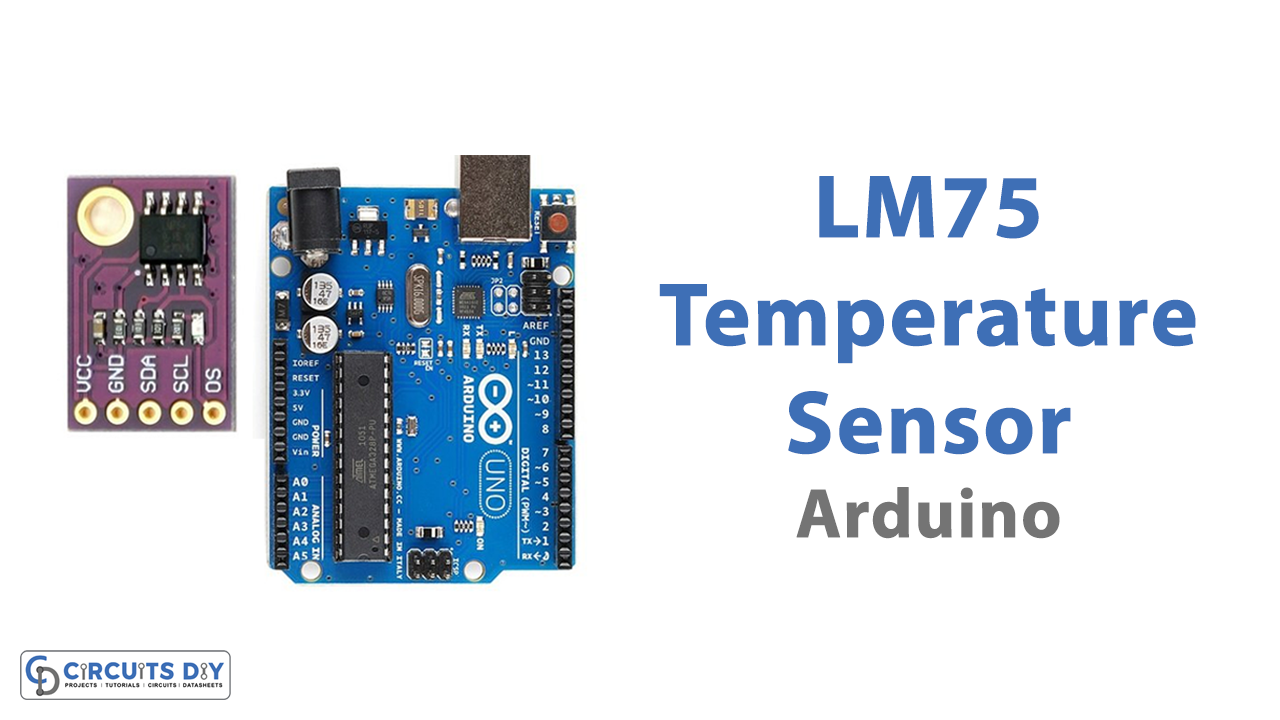
LM75 Temperature Sensor Module
The LM75 sensor is a popular temperature sensor and is used in many tiny electronics projects. Hardware overview, The pin configurations, and features, connecting with Arduino are described below:
Hardware Overview
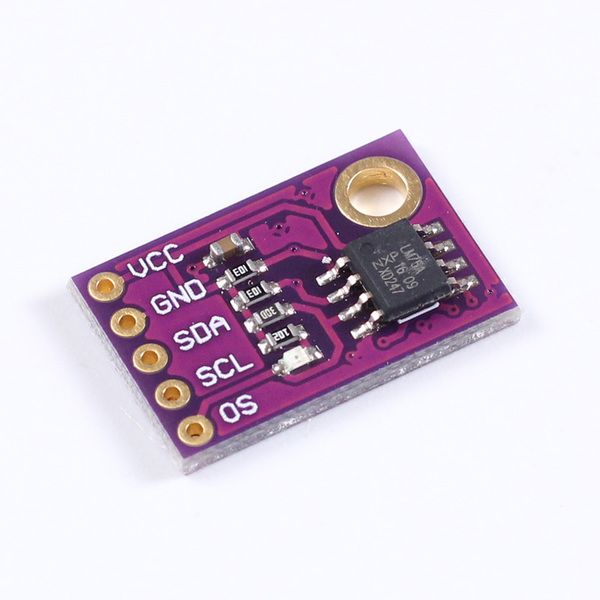
The NXP LM75 Temperature IC is used in this LM75 Temperature Sensor module, which comprises a delta-sigma analog-to-digital converter as well as a digital over-temperature detector. The LM75 module has five pins, i.e. VCC, GND, OS, SCL, and SDA. The SCL and SDA pins are linked with 4.7K ohms pull-up resistors.
Pin Configuration
| Pin Name | Description |
| VCC | The Vcc pin powers the module, typically with +5V |
| GND | Power Supply Ground |
| OS | Over-temperature Shutdown Pin |
| SCL | Serial Clock Input. Open drain. Connected through a pullup resistor |
| SDA | Serial-Data Input/Output Line. Open drain. Connect through a pullup resistor |
LM75 Temperature Sensor Features
- Operating Voltage: 3.3V to 5V DC
- Range: -25°C~125°C
- Supply Current: 250uA
- Maximum Supply Current: 1mA
- OS Sink Current: 10mA
- Delta-sigma Resolution: 8-bits
- TOS temperature: 80°C
- THYST temperature: 75°C
- Low Operating Supply Current: 250µA
- I²C Bus Interface
- Easy to use with Microcontrollers or even with normal Digital/Analog IC
- Small, cheap, and easily available
Hardware Required
| S.no | Component | Value | Qty |
|---|---|---|---|
| 1. | Arduino | UNO | 1 |
| 2. | USB Cable Type A to B | – | 1 |
| 3. | Temperature Sensor Module | LM75 | 1 |
| 4. | Jumper Wires | – | – |
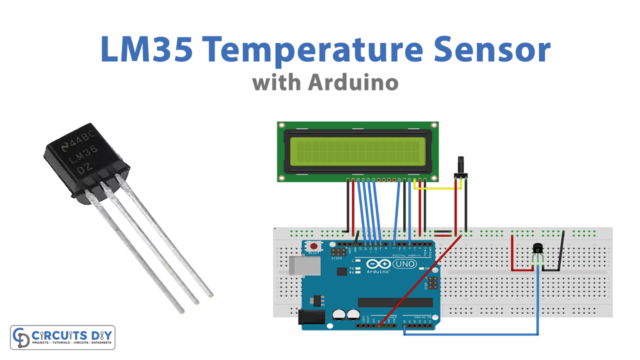
Circuit Diagram
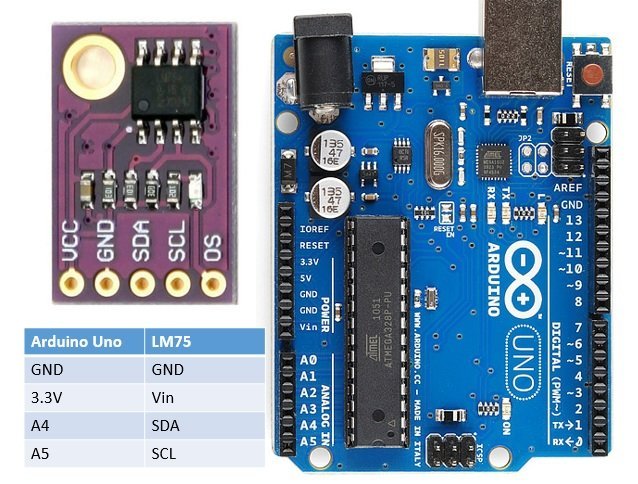
Connection Table
| Arduino UNO | LM75 Temperature Sensor Module |
|---|---|
| GND | GND |
| 3.3v | Vcc |
| A4 | SDA |
| D5 | SCL |
Arduino Code
#include <inttypes.h>
#include <Wire.h>
#include <lm75.h>

TempI2C_LM75 Temperature = TempI2C_LM75(0x48,TempI2C_LM75::nine_bits);

void setup()
{
Serial.begin(9600);
Serial.println("Start");
Serial.print("Actual temp ");
Serial.print(Temperature.getTemp());
Serial.println(" oC");
delay(2000);
}

void loop()
{
Serial.print(Temperature.getTemp());
Serial.println(" oC");
delay(2000);
}
Working Explanation
Interfacing LM75 Temperature Sensor Module with Arduino, connect the circuit according to the connection table and diagram provided. Copy and paste the provided code into the Arduino IDE, then upload it to the Arduino board. After compilation and uploading, the temperature value will be shown on the Arduino serial monitor.
Code Explanation
- First, we include the necessary libraries, such as Wire.h for I2C protocol support and LM75.h for temperature sensor support. Additionally, to obtain the temperature reading from the LM75 sensor module, establish a TempI2C LM75 object named Temperature.
- The Serial monitor is set up in the void setup with a 9600bps baud rate. Furthermore, it will show the welcome messages on the Arduino serial monitor screen.
- We obtain a temperature sample from the LM75 inside the void loop and print it on the Arduino serial display every two seconds.
Application and Uses
- Weather stations
- Home and industrial automation applications
- For small electronic projects