12V Batteries are sufficiently found in many of our systems including our Uninterrupted Power Supplies (UPS) and even in some versions of Emergency Lights. Not to mention students also use these to power up their hobby electronics and projects to drive motors and peripherals. So what would one do if the sole charger you had failed or got lost? Well, make a DIY 12V Battery Charger of-course!!!
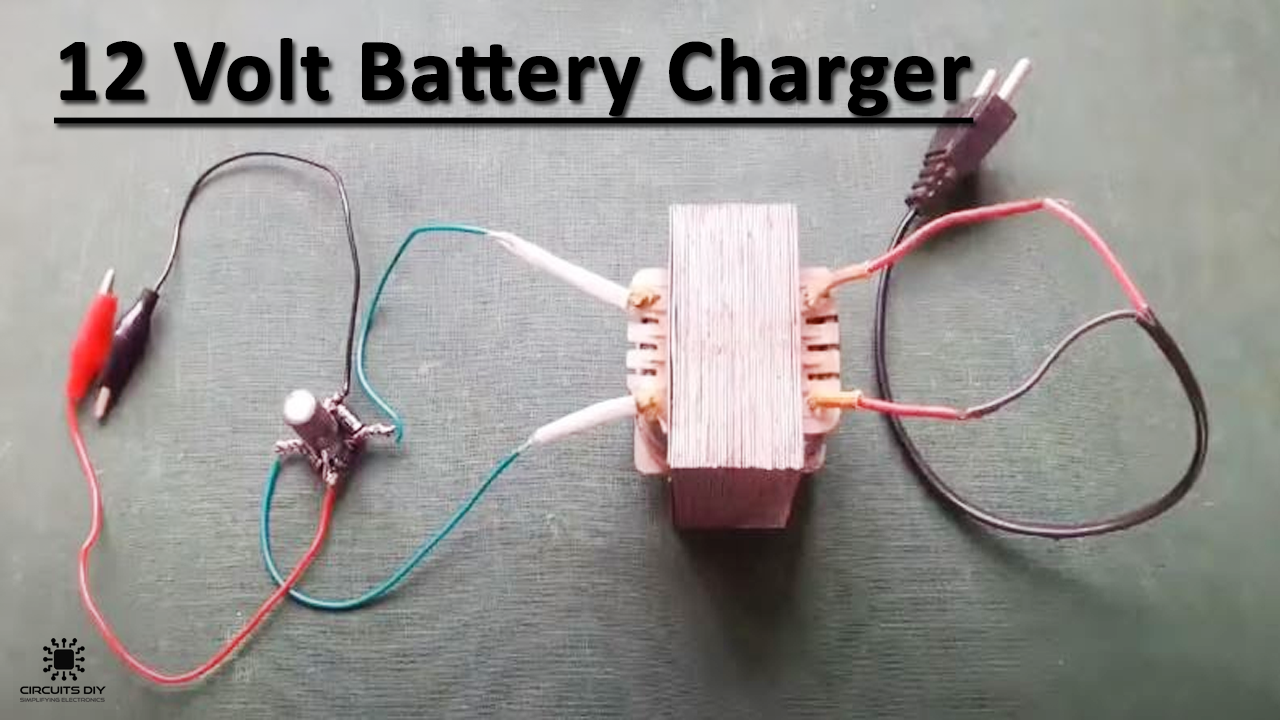
Simplicity is the key element of this design, while the transformer and rectifier elements are the 2 main parts of this. The transformer used will be 220VAC to 12VAC rated and this will be further rectified using 4 Diode in Diamond formation and a capacitor to smooth out the AC into DC thus giving a 12VDC output for your battery charger.
So in this project, we will be making a 12V Battery charger from very simple components and with ease and no Veroboard requirement!
Hardware Components
The following components are required to make 12V Battery Charger Circuit
| S.No | Component | Value | Qty |
|---|---|---|---|
| 1. | Step Down Transformer | 220V to 12V | 1 |
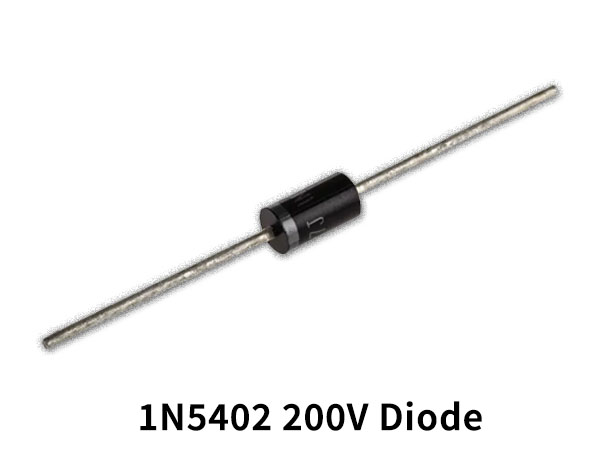
| 2. | Diode | 1N5402 | 4 |
| 3. | Electrolytic Capacitor | 1000uF | 1 |
| 4. | Soldering Iron | 40W to 60W | 1 |
| 5. | Soldering Wire | – | 1 |
| 6. | Multi-Meter / Analog Ammeter | – | 1 |
Procedure
Note: If you are unsure about any step, then do refer to the video above.
1) Combine the Diodes in the formation shown:
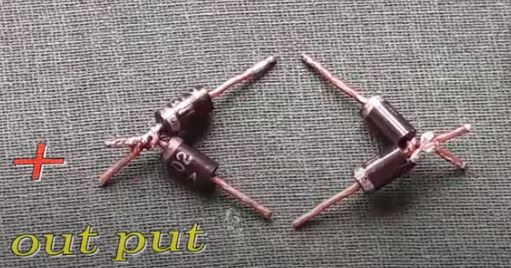
2) Loop them into a Diamond formation making sure of the polarities of the diodes.
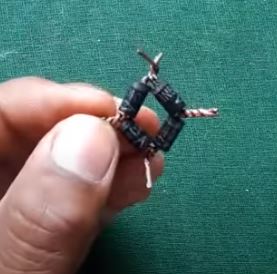
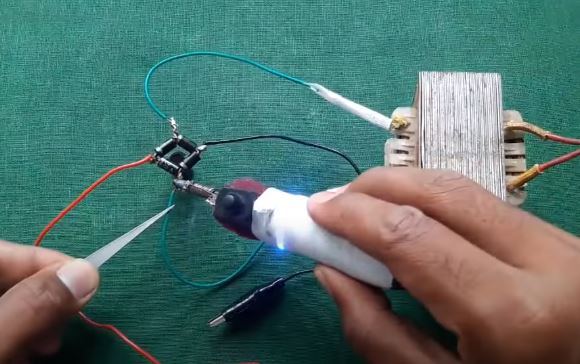
3) Solder the diodes in the formation after twisting them.

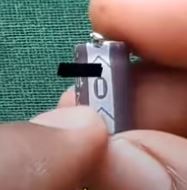
4) Note this negative side of the diode formation:

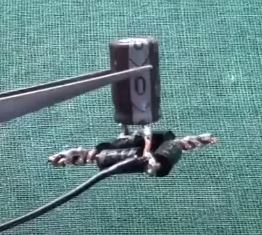
5) Now attach the negative side of the capacitor to the negative side of the diode formation:

6) After soldering it should look like this:
7) Now attach 2 crocodiles clipped wires onto the terminals of the diodes with the capacitor
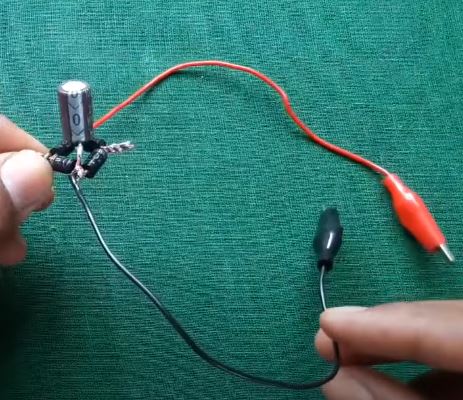
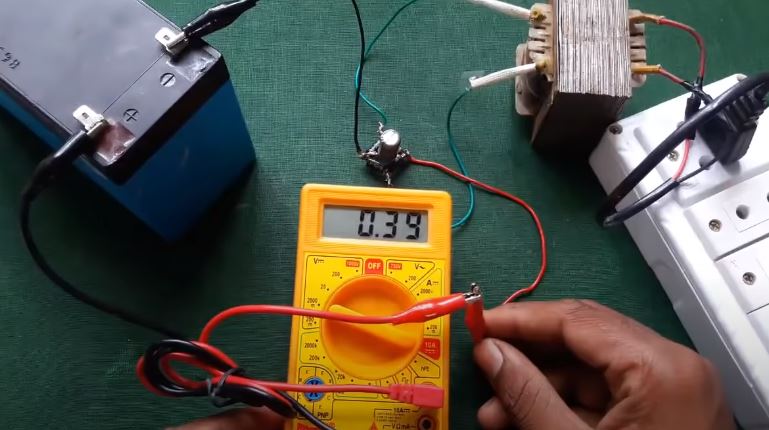
8) Attach and solder the transformer as in the picture and resulting in the final transformer with rectifier plus input and output wires.


9) Now connect the terminals and a multi-meter in series to see the current flow into the 12V battery that is being charged.
Working Principle
The working principle is pretty straight forward. The transformer takes the 220VAC and steps down to 12VAC which is fed into the diode diamond formation rectifier bridge which converts the AC into Rippled DC. Now to convert it into pure DC the capacitor comes in and makes the waveform smooth.
Applications
- Any 12V Battery Charging of Lead Acid Battery.
- Hobby Electronics.
- Academic Projects.