The term PIR is often seen in lighting and on lighting products and is associated with turning lights on and off automatically when someone walks near one. This sensor is widely used for motion detection applications. This is suitable for low-cost motion detection and alarm projects. It detects the movement of humans in or out of the sensor range.
Hardware Required
| S.No | Components | Value | Qty |
|---|---|---|---|
| 1 | Arduino Uno | – | 1 |
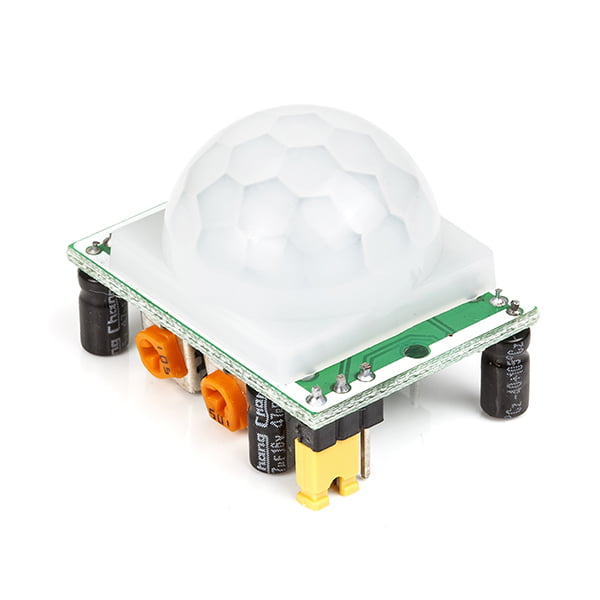
| 2 | PIR Sensor | – | 1 |
| 3 | Buzzer | – | 1 |
| 4 | Connecting Wires | – | 1 |
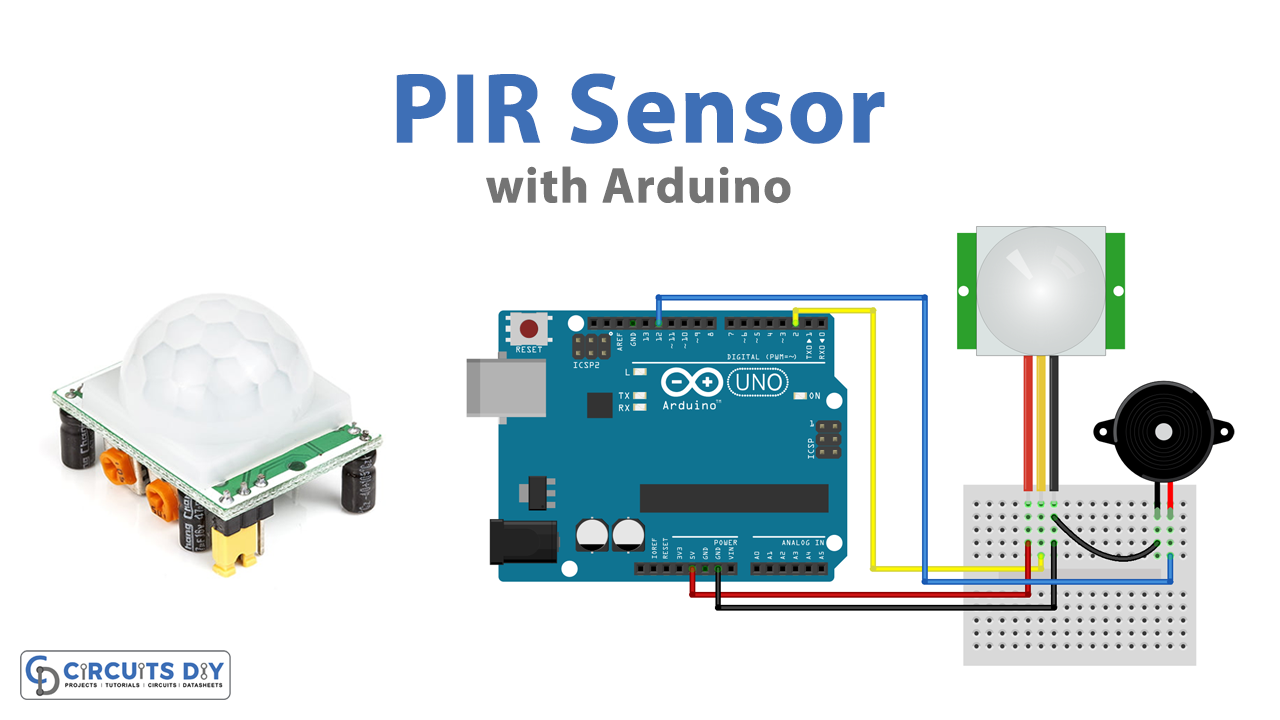
Circuit Diagram

Working Explanation
As we can see, the output pin of the PIR sensor is connected to Arduino digital pin 2, and digital pin 12 of the Arduino is connected to a buzzer to give an output. So when a person walks into the detection area of a passive sensor, it detects heat emitted from that person and triggers the alarm (buzzer). Here the circuit is constructed to detect the movement and gives a beep sound. You can modify the circuit with a relay or bulb.
PIR Motion Sensor Pinout

Arduino PIR Sensor Sketch Code
int pirPin = 2; //digital 2
int buzzerPin = 12; //digital 12
void setup()
{
Serial.begin(9600);
pinMode(pirPin, INPUT);
pinMode(buzzerPin, OUTPUT);
}

void loop()
{
int pirVal = digitalRead(pirPin);
Serial.println(pirVal);
if(pirVal == HIGH)
{ //was motion detected
Serial.println(“Motion Detected”);
digitalWrite(buzzerPin, HIGH);
delay(1500);
}
else {
digitalWrite(ledPin, LOW);
}
}
Applications
- All Outdoor Lights
- For Basement or Covered Parking Area
- Lift Lobby
- Multi Apartment Complexes
- Shopping Malls
- For garden lights