Introduction
Controlling a 5V SPDT Relay with a TTP223 capacitive touch sensor is a simple and efficient way to operate AC appliances using an Arduino UNO microcontroller. The TTP223 capacitive touch sensor is a small, low-power sensor that can detect a touch or proximity of a human finger. By interfacing the TTP223 sensor with a 5V SPDT relay, it is possible to control the power state of an AC appliance by simply touching the sensor.
This method of control offers a user-friendly interface and eliminates the need for physical buttons or switches. It can be used in a variety of projects such as home automation, DIY projects, and more. The Arduino UNO microcontroller acts as the brain of the system, processing the sensor input and controlling the relay output.
Hardware Components
You will require the following hardware for Relay Touch Sensor Circuit.
| S.no | Component | Value | Qty |
|---|---|---|---|
| 1. | Arduino UNO | – | 1 |
| 2. | USB Cable Type A to B | – | 1 |
| 3. | Touch Sensor | – | 1 |
| 4. | Relay | – | 1 |
| 5. | Warning Light Bright Waterproof | – | 1 |
| 6. | Power Adapter | 12V- | 1 |
| 7. | DC Power Jack | – | 1 |
| 8. | Power Adapter for Arduino | 9V- | 1 |
| 9. | Jumper Wires | – | 1 |
Relay with Arduino
- Connect the TTP223 touch sensor to the Arduino UNO. The TTP223 has three pins, connect the VCC pin to 5V on the Arduino, the GND pin to GND on the Arduino, and the OUT pin to any digital pin on the Arduino.
- Connect the relay to the Arduino UNO. The relay has three pins, connect the VCC pin to 5V on the Arduino, the GND pin to GND on the Arduino, and the IN pin to any digital pin on the Arduino.
- In the Arduino IDE, download the TTP223 library and the Relay library from the internet and include them in your sketch.
- Create a TTP223 object and a relay object
TTP223 touchSensor(2); // 2 is the pin number connected to the OUT of TTP223
Relay relay(4); // 4 is the pin number connected to the IN of Relay
- In the setup() function, initialize the serial monitor with a baud rate of 9600 and configure the touch sensor as a key
void setup() {
  Serial.begin(9600);
  touchSensor.configureAsKey();
}
- In the loop() function, check if the touch sensor is pressed and turn on or off the relay accordingly and display the status on the serial monitor
void loop() {
  if (touchSensor.isPressed()) {
    relay.turnOn();
    Serial.println("Relay is On");
  } else {
    relay.turnOff();
    Serial.println("Relay is Off");
  }
  delay(100);
}
- Upload the code to the Arduino UNO and open the serial monitor to see the status of the relay.
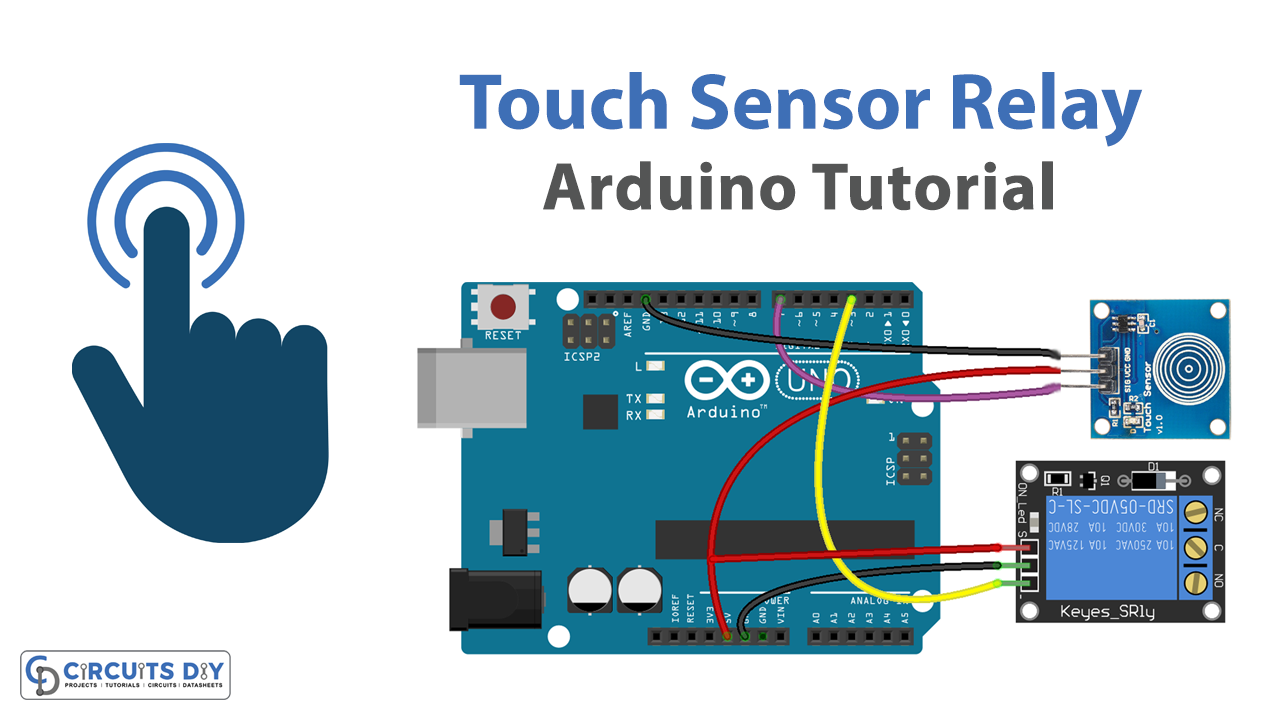
Schematic
Make connections according to the circuit diagram given below.

Wiring / Connections
| Arduino | Touch Sensor | Relay |
|---|---|---|
| 5V | VCC | VCC |
| GND | GND | GND |
| D3 | INP | |
| D7 | SIG |
Installing Arduino IDE
First, you need to install Arduino IDE Software from its official website Arduino. Here is a simple step-by-step guide on “How to install Arduino IDE“.
Code
Now copy the following code and upload it to Arduino IDE Software.
const int TOUCH_SENSOR_PIN = 7; // Arduino pin connected to touch sensor's pin
const int RELAY_PIN        = 3; // Arduino pin connected to the IN pin of relay

void setup() {
  Serial.begin(9600);               // initialize serial
  pinMode(TOUCH_SENSOR_PIN, INPUT); // set arduino pin to input mode
  pinMode(RELAY_PIN, OUTPUT);       // set arduino pin to output mode
}

void loop() {
  int touchState = digitalRead(TOUCH_SENSOR_PIN); // read new state

  if (touchState == HIGH) {
    Serial.println("The sensor is being touched");
    digitalWrite(RELAY_PIN, HIGH); // turn on
  }
  else
  if (touchState == LOW) {
    Serial.println("The sensor is untouched");
    digitalWrite(RELAY_PIN, LOW);  // turn off
  }
}
Working Explanation
First, the necessary libraries for the touch sensor and serial communication must be included at the beginning of the code. Next, the Arduino pin connected to the TTP223 touch sensor and the relay module should be defined as variables.
In the setup function, the serial communication is initialized and the touch sensor is configured to operate in digital mode. In the loop function, the code continuously checks for a touch event on the touch sensor. If a touch is detected, the relay is activated, switching on the connected AC appliance, and the status is sent to the serial monitor. If no touch is detected, the relay is deactivated, switching off the connected AC appliance, and the status is sent to the serial monitor.
Applications
- Smart energy management systems
- Home automation
- Industrial automation
- Automated lighting control
- Automated HVAC control
- Smart home appliances control
- Motor control
- Remote control of devices.
Conclusion.
We hope you have found this Touch Sensor Relay Circuit very useful. If you feel any difficulty in making it feel free to ask anything in the comment section.
Related posts:
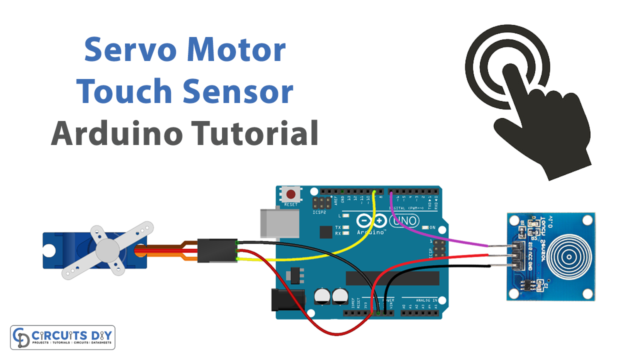 Servo Motor with Touch Sensor - Arduino Tutorial
 Door Lock System with Password - Arduino Tutorial
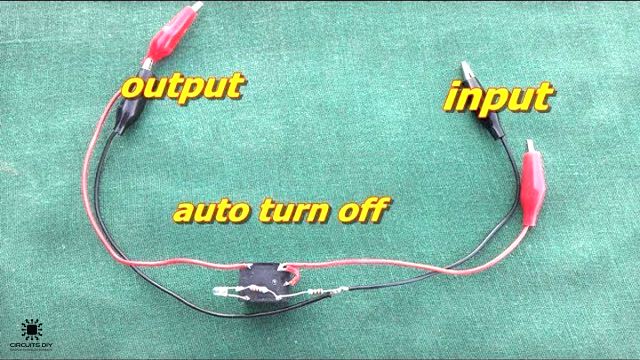 Auto Shut Off Overvoltage Protection Circuit Using a 5V SPDT Relay
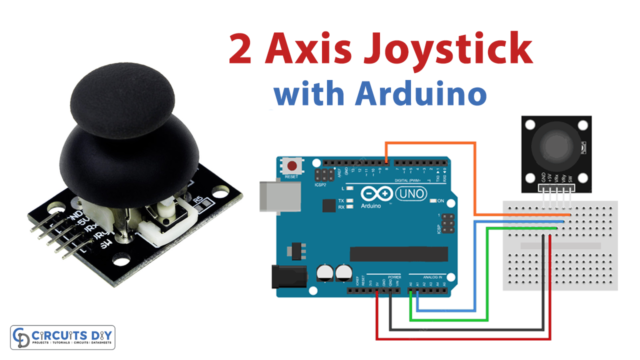 2-Axis Joystick Interfacing with Arduino
 Infrared (IR) Remote Control Relay Module using TSOP1738 & CD4017
 RFID NFC with Relay - Arduino Tutorial