Introduction
We live in a technological age. And it is not incorrect to say that the devices and electronic gadgets have equipped us. There are, however, some devices that emit an electromagnetic field. The radiation emitted can be extremely hazardous to our health. That is why we need an EMF detector to help identify areas that are emitting radiation. To keep your health in check, you should invest in an EMF detector. But, in this case, we are not investing, but rather attempting to interface that device. In this tutorial, we are going to make an “Electromagnetic Field Detector” using an Arduino UNO.
A test and measuring tool called an EMF detector is used in a variety of industrial applications to look for issues with power lines. The use of EMF-detecting equipment is beyond doubt. The cleverly created device has received a lot of favorable comments from users.
What is an Electromagnetic Field Detector?
EMF is an abbreviation for the electromagnetic field. So, an EMF detector can detect the electromagnetic field in a specific region. In other words, you can say that an EMF detector can perform EMF measurements. An EMF detector detects radiation by examining the non-ionizing radiation emitted by electronic devices and household appliances. When an EMF detector detects any radiation, it will show a reading that describes the radiation’s strength or weakness

Hardware Components
You will require the following hardware for Electromagnetic Field Detector.
| S.no | Component | Value | Qty |
|---|---|---|---|
| 1. | Arduino | UNO | 1 |
| 2. | Antenna | – | 1 |
| 3. | LED | Red | 1 |
| 4. | Resistor | 330Ω, 100KΩ | 1,1 |
| 5. | Breadboard | – | 1 |
| 6. | Jumper Wires | – | 1 |
Steps Making Electromagnetic Field Detector
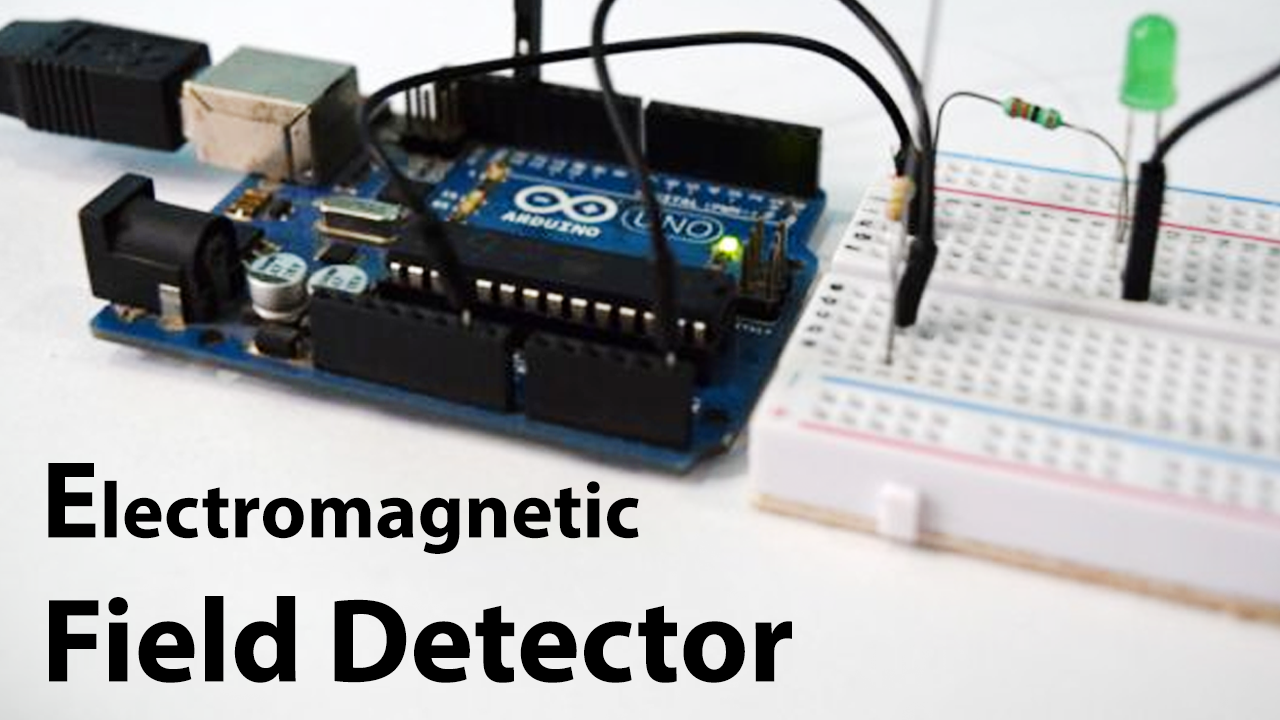
This is one of the simplest EMF Detectors you can make. You only require an Arduino and some basic electronic components that are easily available. Here are the following steps to make an “Electromagnetic Field Detector”.
Schematic
Make connections according to the circuit diagram given below.

Wiring / Connections
| Arduino | Antenna | Indicator LED |
|---|---|---|
| GND | -ve | |
| D11 | To Antenna Wire with 10k resistor | |
| A0 | To +ve with 220 resistor |
Installing Arduino IDE
First, you need to install Arduino IDE Software from its official website Arduino. Here is a simple step-by-step guide on “How to install Arduino IDE“.
Code
Now copy the following code and upload it to Arduino IDE Software.
int inPin = 3;
int var = 0;
int pin11 = 5;

void setup() {
  Serial.begin(9600);
}
void loop() {
  var = analogRead(inPin);
  if(var >= 1)
  {
    var = constrain(var, 1, 100;
    var = map(var, 1, 100, 1, 255);
    analogWrite(pin11, var);
  }
  else{
  analogWrite(pin11, 0);
  }

  Serial.println(var);

}
Let’s Test It
It’s time to test the device now that the code has been uploaded. Finally, let’s power up Arduino and test this Electromagnetic Field Detector Circuit. When turning on the device, be sure to utilize a battery as the power source to reduce signal noise. Next, move it in the vicinity of anything that emits EMF, such as a microwave. And the serial monitor would display the reading and the LED lit up.
Working Explanation
Let’s understand the explanation of code first:
- First, we have defined the names of the pins of Arduino to which the sensor is connected.
- In the void setup, we initialize the serial monitor
- In the void loop, we give the analog read function to let the Arduino read the values coming from the sensor. We provide the if condition. if the stored values are greater or equal to 1 the code AnalogWrite writes the value of var to pin 5, otherwise, it returns the 0 value. The “if condition” continues with two functions:
- In this case, the constrain() function limits the value to be between 1 and 100. This function will return the minimum if the var is smaller than the min. And will return max if var is greater than max. Thus, this function will return var if var falls between the range of min and max.
- The map() function makes it simple to transform a value from one range into a proportionate value from another.
So now whenever the value of Var would be greater than or equal to 1, the serial monitor shows the reading and LED starts to glow.
Applications of EMF Detector
- Electromagnetic field meters
- For identifying issues with power lines and electrical wiring.
Conclusion.
We hope you have found this “Electromagnetic Field Detector” very useful. If you feel any difficulty in making it feel free to ask anything in the comment section.