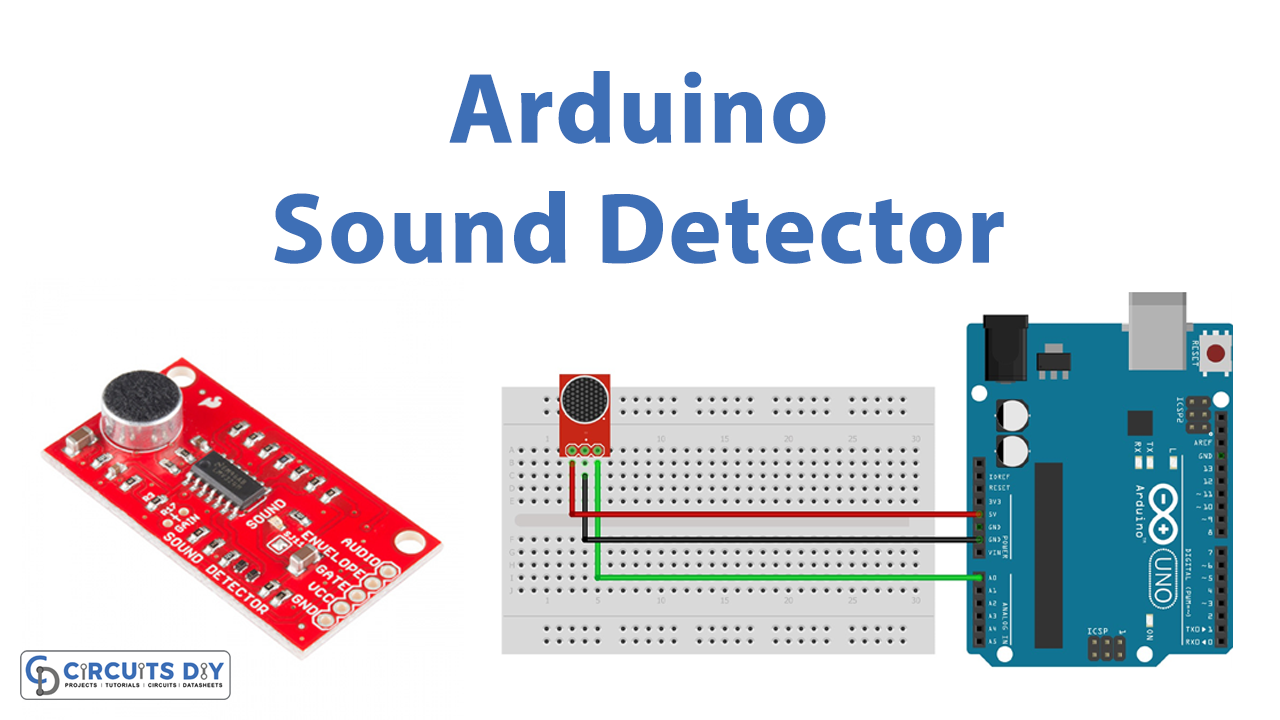
We live in a World of virtual assistants with voice interactions, this makes our various tasks much easier. For this purpose different sound sensors are used, which are sensitive to sounds like loud voices, claps, snaps, thuds, and taps. Here we have used the Sparkfun electret microphone breakout board which is constructed with a small microphone (100 Hz – 10 kHz) and preamplifier. It detects and amplifies the sounds of door knocks, claps, voices, or any other sounds loud enough to pick up by the microphone.
Hardware Required
| S.no | Component | Value | Qty |
|---|---|---|---|
| 1. | Microphone Breakout Board | – | 1 |
| 2. | Arduino Uno | – | 1 |
| 3. | Connecting Wires | – | – |
Microphone Breakout
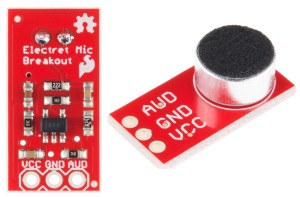
The electret microphone breakout translates amplitude by capturing sound waves between two conducting plates (one a vibrating diaphragm and the other fixed) in the microphone and converting them into electrical waves. These electrical signals are then amplified and picked up by your microcontroller’s ADC.
Microphone Breakout Schematic
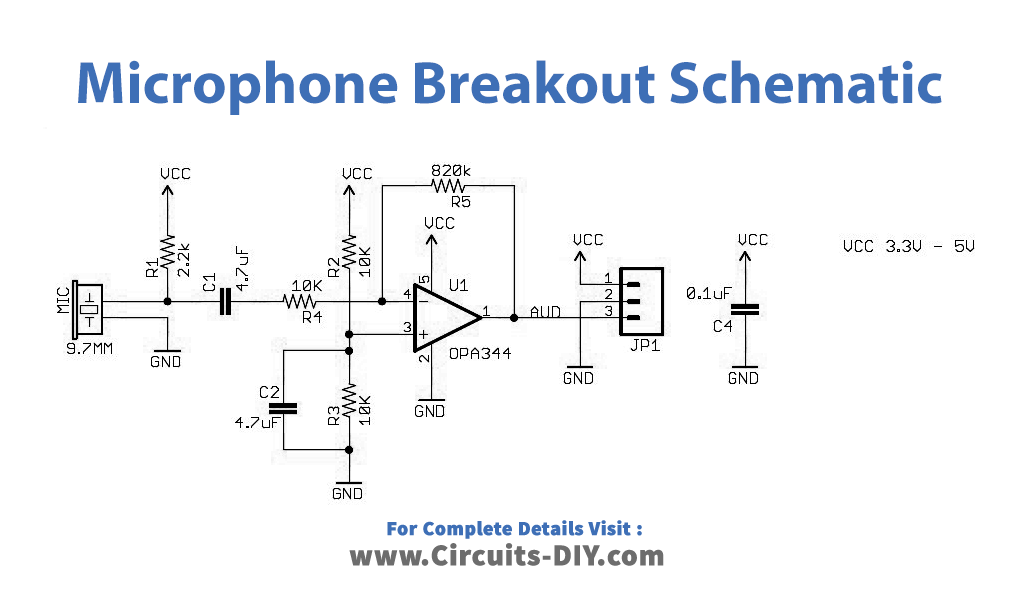
A Sound Sensor is a simple device that detects sound. It is simply put a Microphone with some processing circuit. It consists of a microphone, a voltage comparator IC (LM393), a potentiometer, a transistor, a couple of LEDs, and a few other passive components (resistors and capacitors). Here as shown in the circuit, the electrical signals are amplified and appear in the “AUD” pin of the breakout board. It can be picked up by the microcontroller’s ADC. And the output at AUD pin origin is at half the supply voltage, hence the ADC will ideally read 1/2 the full scale or in case 512 on a 10-bit ADC. Further, to power this we need a 3.3V to 5V power supply.
Arduino Hookup
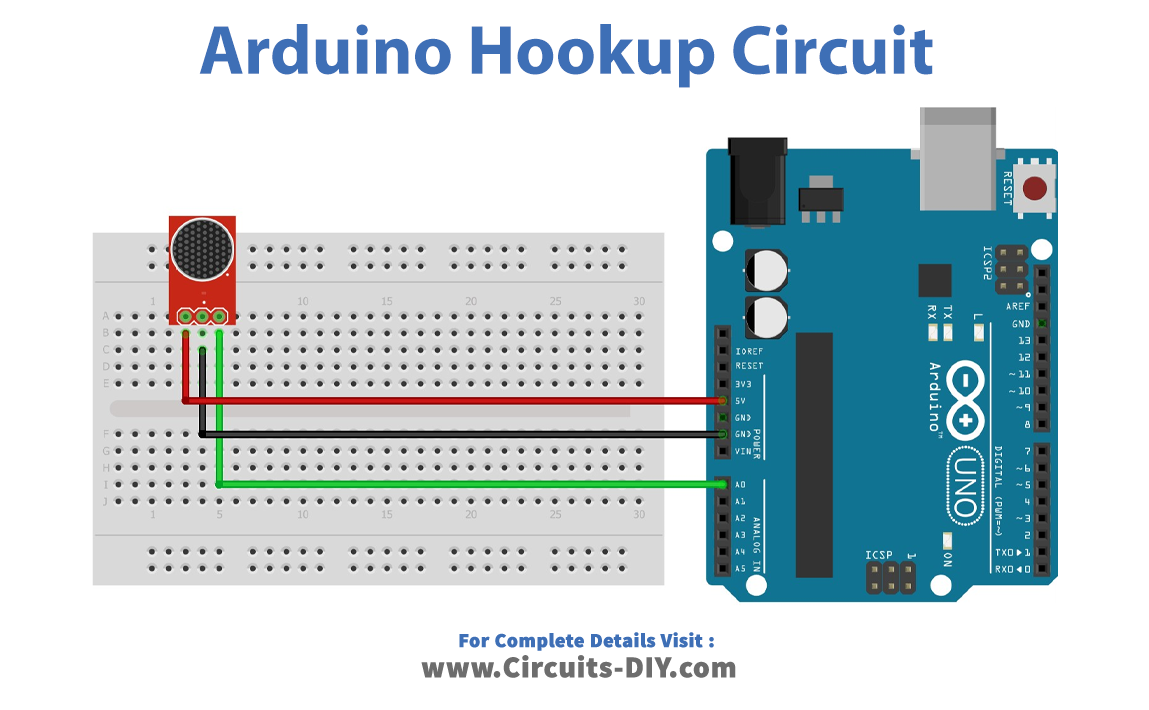
Here we have used the Arduino’s onboard LED at digital pin 13, you can use any other pins as per your need. Now connect the Vcc pin and Ground pin of the breakout board to Arduino power supply pins (+5 and Gnd). Then connect the AUD (sound output) pin of the breakout board to Arduino’s analog pin A0.
Breakout — Arduino
- Vcc –> +5V
- GND –> Gnd
- AUD –> A0
Arduino Code for Sound Detection
int led = 13;
int threshold = 600; //Change This
int volume;

void setup() {
  Serial.begin(9600); // Serial port begin
  pinMode(led, OUTPUT);
}

void loop() {

  volume = analogRead(A0); // Reads the value from the Analog PIN A0

    //Serial print level

    Serial.println(volume);
    delay(100);

  if(volume>=threshold){
    digitalWrite(led, HIGH); //Turn ON Led
  }
  else{
    digitalWrite(led, LOW); // Turn OFF Led
  }

}

You Can try this Arduino code also


/*
* This code has been adapted from the
* Example Sound Level Sketch for the
* Adafruit Microphone Amplifier
*/

const int sampleWindow = 250; // Sample window width in mS (250 mS = 4Hz)
unsigned int knock;
int ledPin = 13;

void setup()
{
   Serial.begin(9600);
  pinMode(ledPin, OUTPUT);
}

void loop()
{
 unsigned long start= millis();  // Start of sample window
 unsigned int peakToPeak = 0;   // peak-to-peak level

 unsigned int signalMax = 0;
 unsigned int signalMin = 1024;

 // collect data for 250 miliseconds
 while (millis() - start < sampleWindow)
 {
   knock = analogRead(0);
      if (knock < 1024)  //This is the max of the 10-bit ADC so this loop will include all readings
      {
         if (knock > signalMax)
         {
           signalMax = knock;  // save just the max levels
         }
      else if (knock < signalMin)
        {
         signalMin = knock;  // save just the min levels
         }
     }
 }
 peakToPeak = signalMax - signalMin;  // max - min = peak-peak amplitude
 double volts = (peakToPeak * 3.3) / 1024;  // convert to volts


Serial.println(volts);
 if (volts >=1.0)
 {
  //turn on LED
  digitalWrite(ledPin, HIGH);
   delay(500);
  Serial.println("Knock Knock");
 }
 else
 {
 //turn LED off
 digitalWrite(ledPin, LOW);
 }
}
First, upload the code to the Arduino, now try clapping, snapping, door slamming, blowing, knocking, etc.., and open the serial monitor to find the changes in level. Then adjust the if statement according to the level printed on the serial monitor.
Related posts:
 0.96 Inch SPI OLED Full Color IPS Display Module with Arduino
 Sound-Operated Flip Flop Using CD4027 IC
 Interfacing 16×2 Character LCD Module with Arduino UNO
 Interface BME280 Temperature, Humidity & Pressure Sensor with Arduino
 12V Water Pump Control with Arduino
 Multiple Sound Effects Generator using MM5837 & TDA2822M IC