Introduction
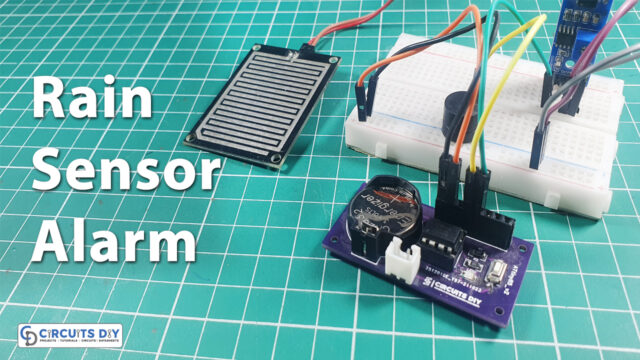
The ATtiny85 is one of the smallest microcontrollers, making it ideal for small-footprint, low-power projects. However, putting your code onto the chip might be a hard task. You won’t have the luxury of a development board while utilizing the Attiny85; instead, you’ll be working with a chip. A special program called a bootloader is one of the more straightforward ways to put your program data into the ATtiny MCU. This program listens for incoming instructions before updating the MCU’s memory with new program information. This eliminates the need for additional hardware. So, in this tutorial, we will discuss the Attiny85 Bootloader using USBasp.
Bootloaders make life easier during the development phase of any project, and they’re also useful for devices that need to be updated. You may use a USB connection to load code from your Arduino IDE onto the ATtiny85 with the aid of the bootloader. This means you won’t have to take the MCU out of the circuit between programming sessions.
JLCPCB is the foremost PCB prototype & manufacturing company in china, providing us with the best service we have ever experienced regarding (Quality, Price Service & Time).
Hardware Required
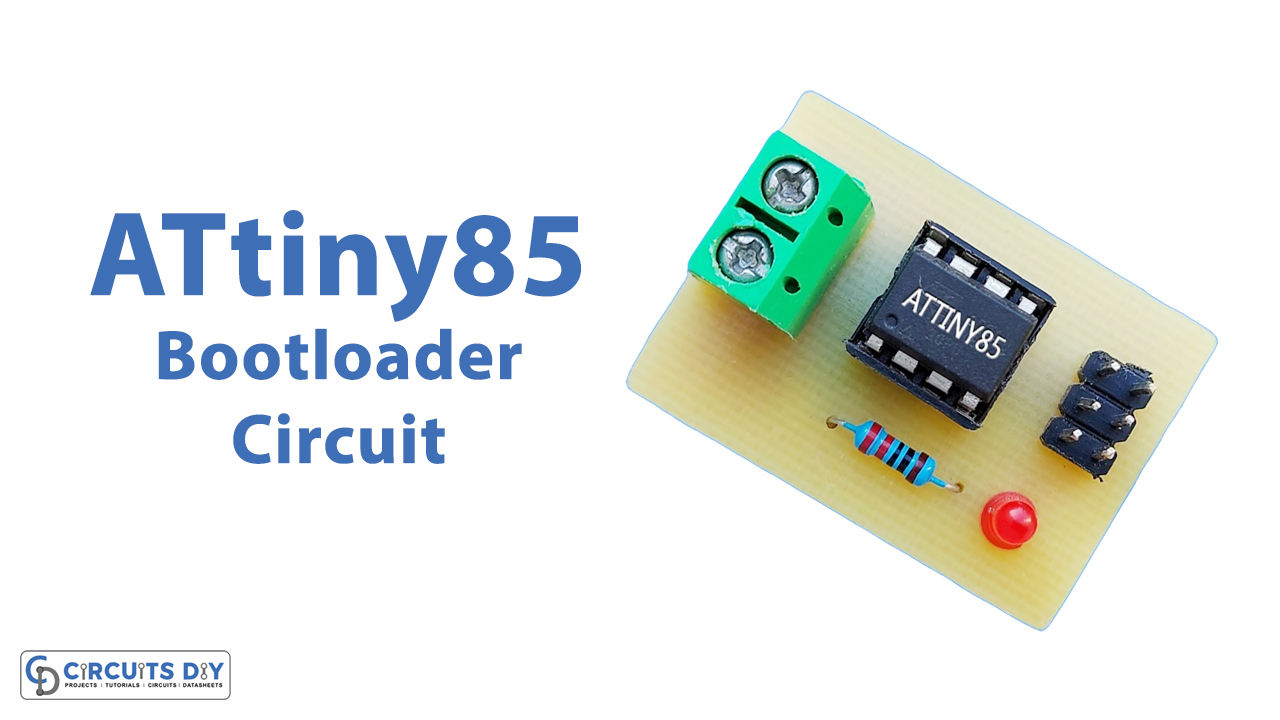
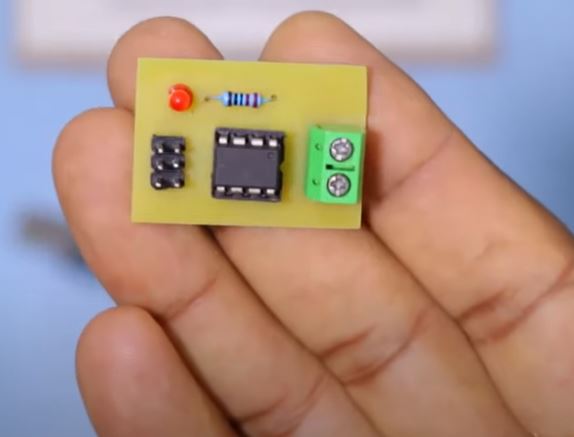
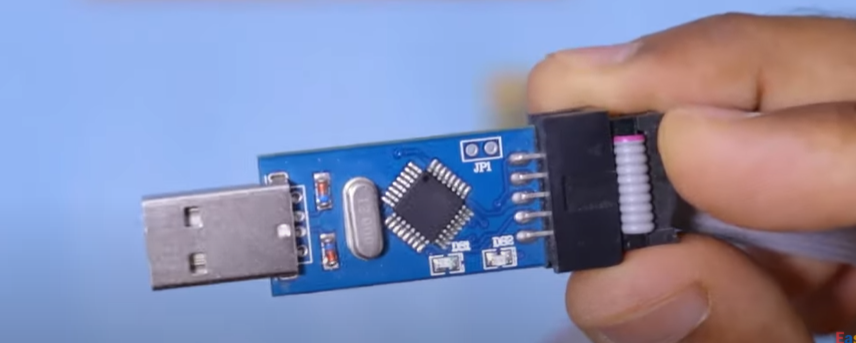
- Bootloader Circuit
- FTDI Programmer
Useful Steps
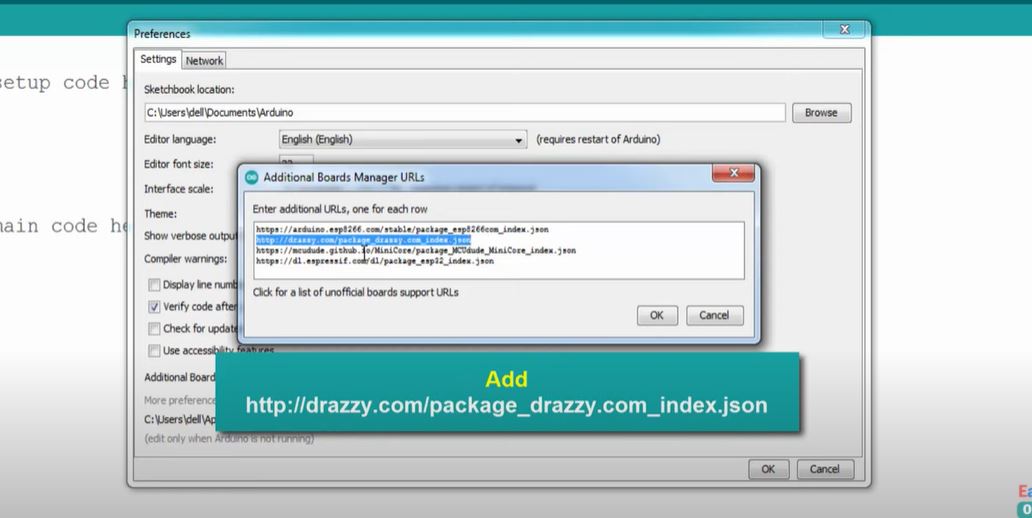
- Using the ATtiny Core Files: Open the Arduino IDE, go to files and click the preferences, follow the diagram below to add the link
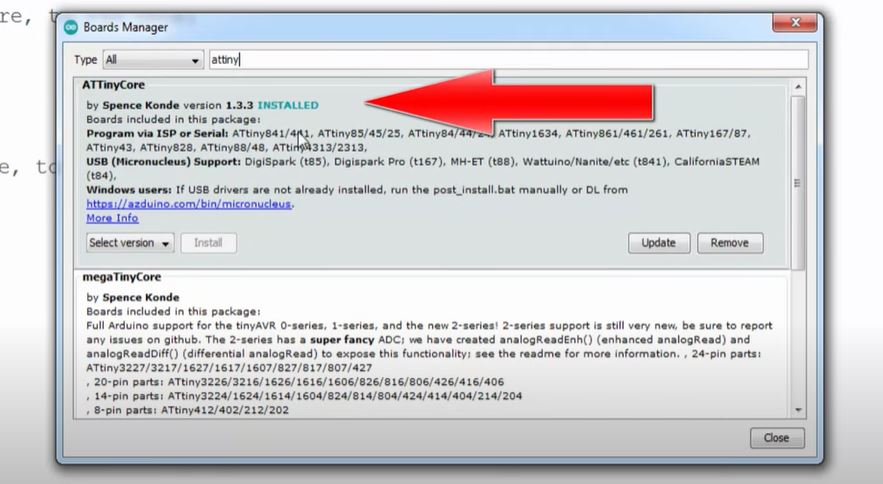
- Now, go to Tools > Board: ATtiny45/85> Board manager. A window will appear.
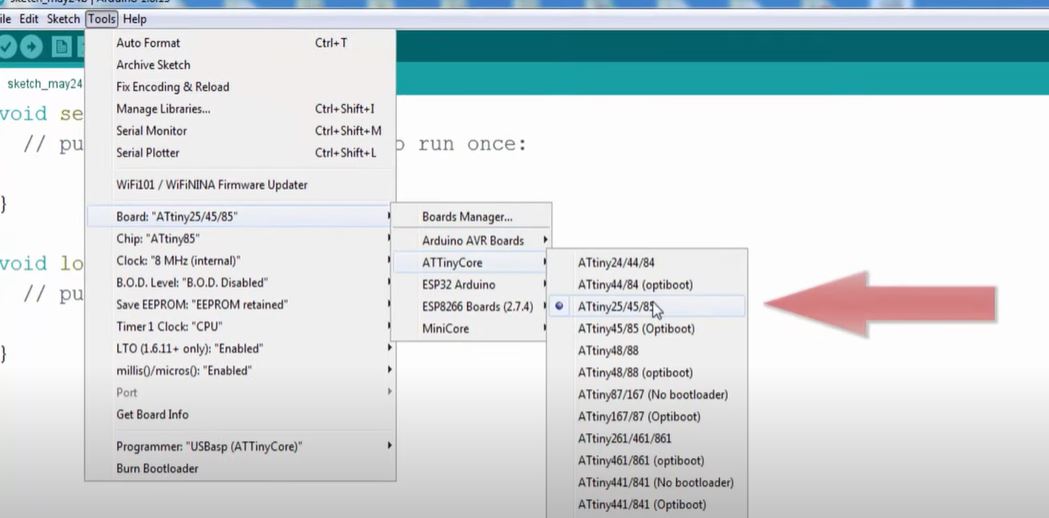
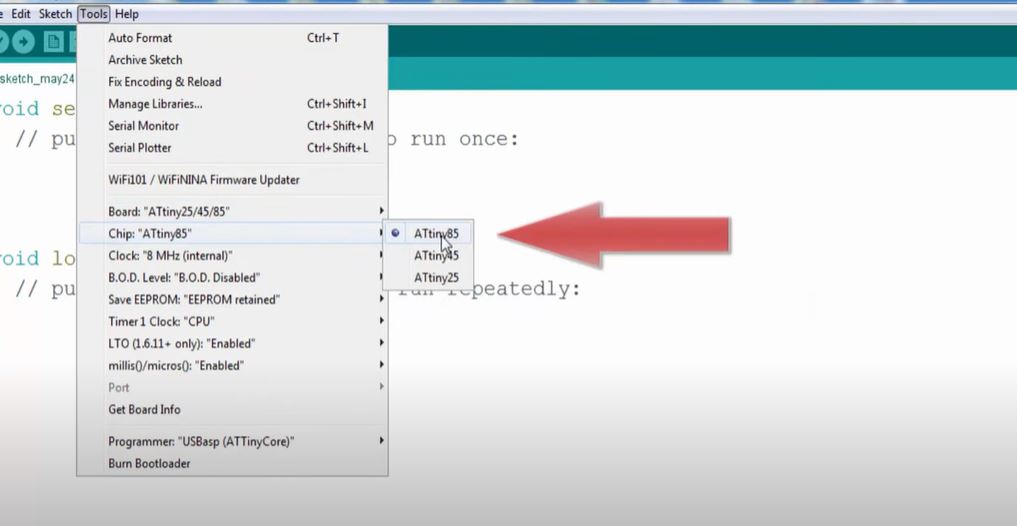
- After that, again go to tools> chip:ATtiny85>ATtiny85
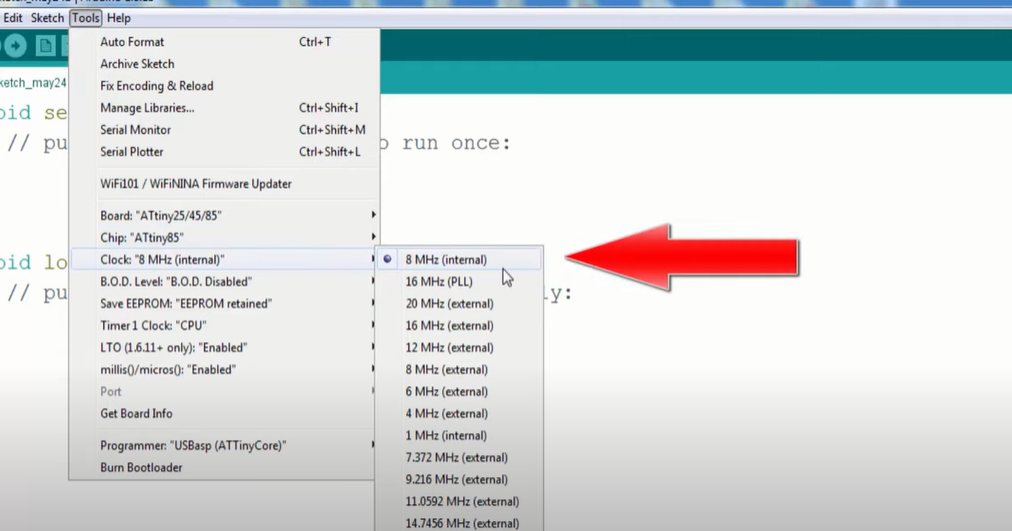
- Then select the clock.
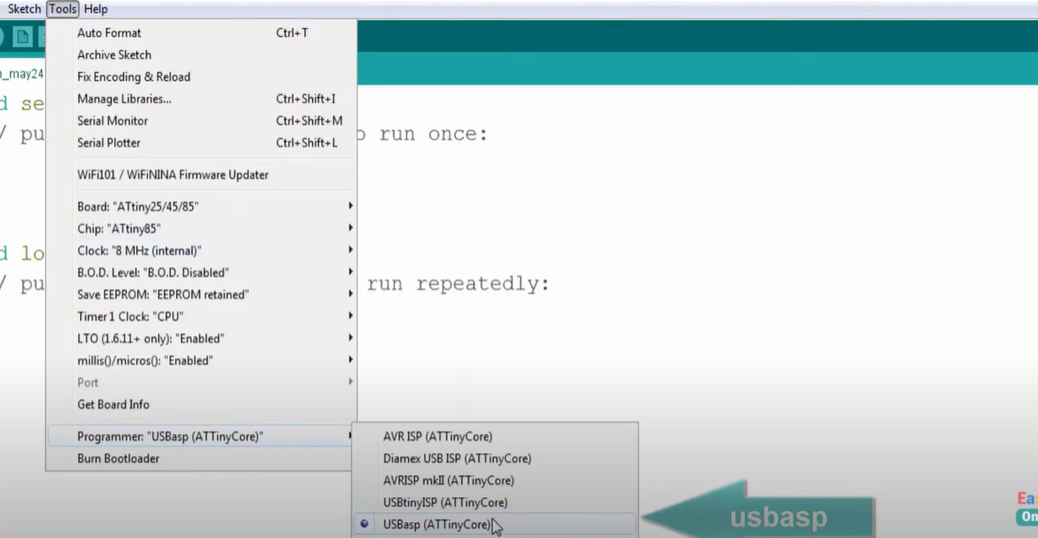
- To select USBasp, follow the below diagram.
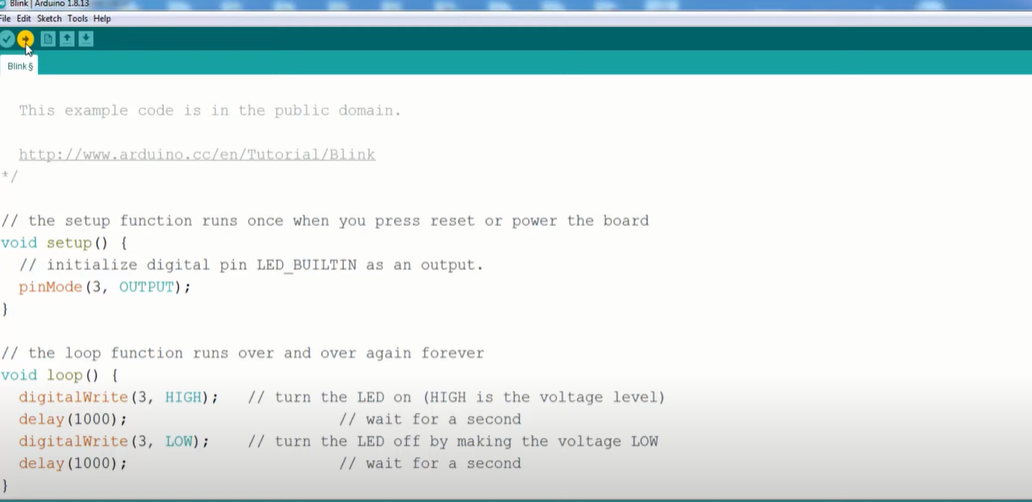
- Now write the code to upload.
Applications
- This approach allows you to upload any sketch to it and use it in places where a regular Arduino board would be too large.