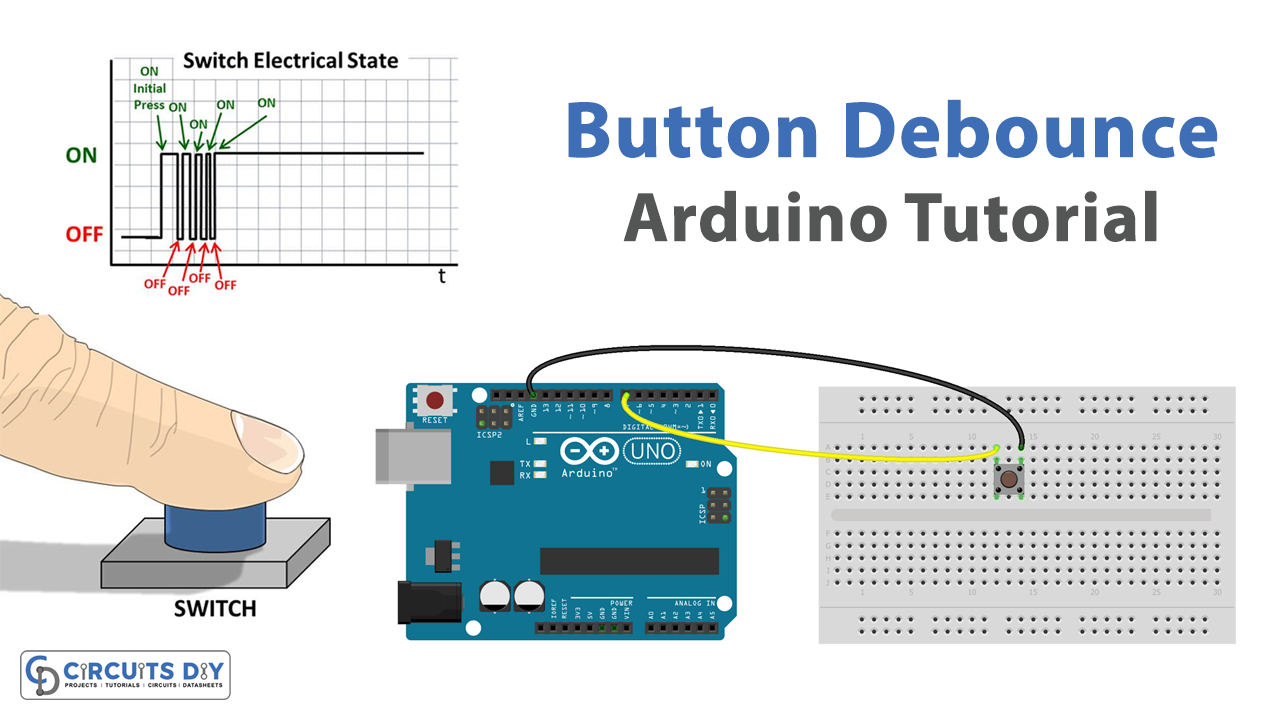
Introduction
A push button debounce code is a piece of software that is used to eliminate the “bouncing” effect that occurs when a mechanical pushbutton is pressed. When a button is pressed, it can cause the switch contact to bounce back and forth, which can result in multiple, rapid state changes. This can cause problems in electronic systems, as the rapidly changing state can be interpreted as multiple button presses.
The debounce code works by adding a small delay (debounce time) after a button press is detected, during which any additional state changes are ignored. After the debounce time has passed, the code checks the final state of the button and performs the appropriate action.
Hardware Components
You will require the following hardware for Button Debounce with Arduino.
| S.no | Component | Value | Qty |
|---|---|---|---|
| 1. | Arduino UNO | – | 1 |
| 2. | USB Cable Type A to B | – | 1 |
| 3. | Power Adapter for Arduino | 9V | |
| 4. | Button | – | 1 |
| 5. | Breadboard | – | 1 |
| 6. | Jumper Wires | – | 1 |
Button Debounce with Arduino
- Connect the pushbutton to the Arduino board. The pushbutton should be connected to a digital input pin, and it should also be connected to the ground. For example, you could connect the pushbutton to digital pin 2 and ground.
- Declare a variable to store the state of the push button and the last time the button was pressed.
boolean buttonState = false;  // State of the pushbutton
unsigned long lastDebounceTime = 0;  // Time of the last debounce
- In the “setup()” function, set the digital input pin as an input using the “pinMode()” function. For example:
void setup() {
  pinMode(2, INPUT);  // Set digital pin 2 as an input
}
- In the “loop()” function, read the state of the pushbutton using the “digitalRead()” function.
void loop() {
    int reading = digitalRead(2);  // Read digital pin 2
- Compare the current reading to the previous state, if the state has changed, store the current time in lastDebounceTime.
if (reading != buttonState) {
        lastDebounceTime = millis();
    }
- Check if the debounce delay has passed. If it has, update the button state and take any desired actions.
if ((millis() - lastDebounceTime) > 50) {
    // debounce time has passed
    buttonState = reading;
    if (buttonState == HIGH) {
        // Perform actions here
    }
  }
- In your action part of the code, you can perform the task you want to perform when the button is pressed. For example, you can toggle the state of an LED or send a signal to another device.
- End the loop function
Schematic
Make connections according to the circuit diagram given below.
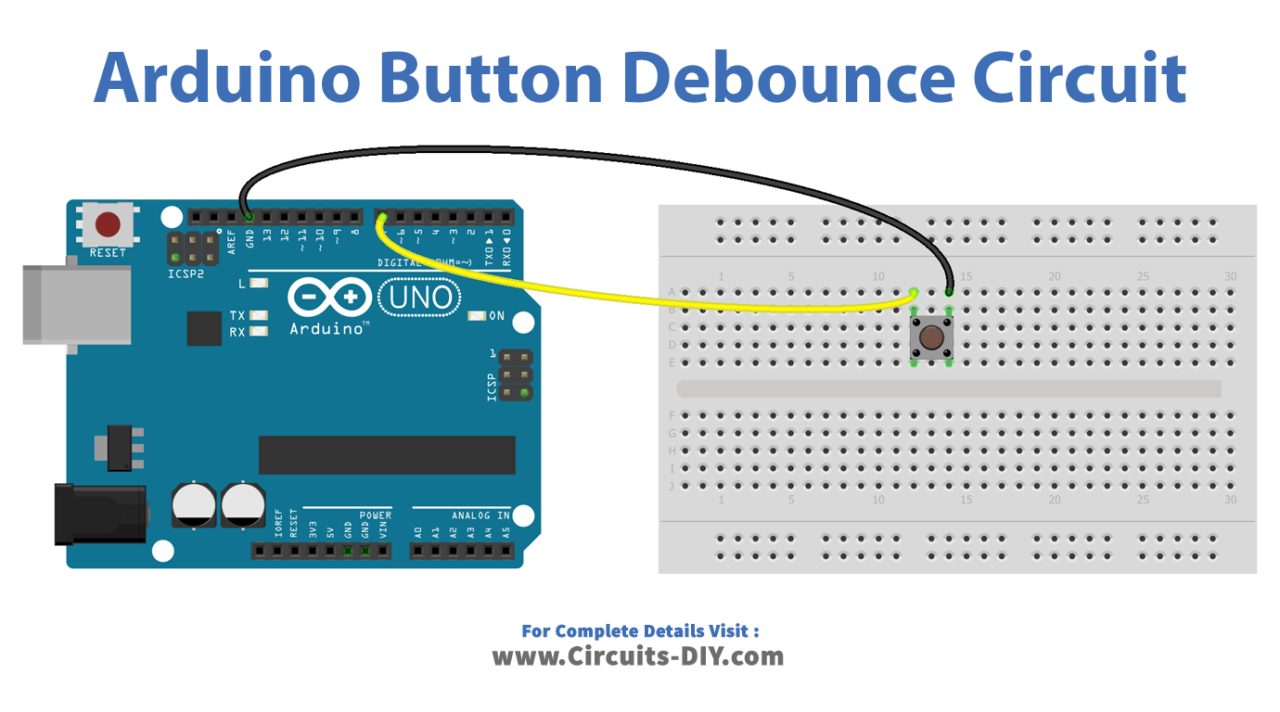
Wiring / Connections
| Arduino | Push Button |
|---|---|
| D7 | VCC |
| GND | GND |
Installing Arduino IDE
First, you need to install Arduino IDE Software from its official website Arduino. Here is a simple step-by-step guide on “How to install Arduino IDE“.
Installing Libraries
Before you start uploading a code, download and unzip the following libraries at /Progam Files(x86)/Arduino/Libraries (default), in order to use the sensor with the Arduino board. Here is a simple step-by-step guide on “How to Add Libraries in Arduino IDE“.
Code
Now copy the following code and upload it to Arduino IDE Software.
Reading Button without Debounce
const int BUTTON_PIN = 7;       // the number of the pushbutton pin

// Variables will change:
int lastState = LOW;  // the previous state from the input pin
int currentState;                // the current reading from the input pin

void setup() {
  // initialize serial communication at 9600 bits per second:
  Serial.begin(9600);
  // initialize the pushbutton pin as an pull-up input
  // the pull-up input pin will be HIGH when the switch is open and LOW when the switch is closed.
  pinMode(BUTTON_PIN, INPUT_PULLUP);
}

void loop() {
  // read the state of the switch/button:
  currentState = digitalRead(BUTTON_PIN);

  if(lastState == HIGH && currentState == LOW)
    Serial.println("The button is pressed");
  else if(lastState == LOW && currentState == HIGH)
    Serial.println("The button is released");

  // save the the last state
  lastState = currentState;
}
Reading Button with Debounce
const int BUTTON_PIN = 7;        // the number of the pushbutton pin
const int DEBOUNCE_DELAY = 50;   // the debounce time; increase if the output flickers

// Variables will change:
int lastSteadyState = LOW;       // the previous steady state from the input pin
int lastFlickerableState = LOW;  // the previous flickerable state from the input pin
int currentState;                // the current reading from the input pin

// the following variables are unsigned longs because the time, measured in
// milliseconds, will quickly become a bigger number than can be stored in an int.
unsigned long lastDebounceTime = 0;  // the last time the output pin was toggled

void setup() {
  // initialize serial communication at 9600 bits per second:
  Serial.begin(9600);
  // initialize the pushbutton pin as an pull-up input
  // the pull-up input pin will be HIGH when the switch is open and LOW when the switch is closed.
  pinMode(BUTTON_PIN, INPUT_PULLUP);
}

void loop() {
  // read the state of the switch/button:
  currentState = digitalRead(BUTTON_PIN);

  // check to see if you just pressed the button
  // (i.e. the input went from LOW to HIGH), and you've waited long enough
  // since the last press to ignore any noise:

  // If the switch/button changed, due to noise or pressing:
  if (currentState != lastFlickerableState) {
    // reset the debouncing timer
    lastDebounceTime = millis();
    // save the the last flickerable state
    lastFlickerableState = currentState;
  }

  if ((millis() - lastDebounceTime) > DEBOUNCE_DELAY) {
    // whatever the reading is at, it's been there for longer than the debounce
    // delay, so take it as the actual current state:

    // if the button state has changed:
    if (lastSteadyState == HIGH && currentState == LOW)
      Serial.println("The button is pressed");
    else if (lastSteadyState == LOW && currentState == HIGH)
      Serial.println("The button is released");

    // save the the last steady state
    lastSteadyState = currentState;
  }
}
Arduino Button Debounce Code for A Single Button
#include <ezButton.h>

ezButton button(7);  // create ezButton object that attach to pin 7;

void setup() {
  Serial.begin(9600);
  button.setDebounceTime(50); // set debounce time to 50 milliseconds
}

void loop() {
  button.loop(); // MUST call the loop() function first

  if(button.isPressed())
    Serial.println("The button is pressed");

  if(button.isReleased())
    Serial.println("The button is released");
}
Working Explanation
The of this circuit is as follows, The code reads the state of the pushbutton using the “digitalRead()” function, which returns the current state of the button (HIGH or LOW). It then compares the current state of the button to the previous state. If the state has changed (e.g. from LOW to HIGH), it resets a debounce timer using the “millis()” function. This function returns the number of milliseconds since the Arduino board began running the current program.
The code then waits for the debounce time (e.g. 50 milliseconds) to pass. During this time, the code keeps reading the state of the button and comparing it to the previous state, but it ignores any additional state changes. After the debounce time has passed, the code checks the final state of the button. If the button is pressed (e.g. state is HIGH), it performs the desired actions like turning on a led, activating a motor, and also updating the previous state to the current state.
Applications
- Control Systems
- Human-machine interface
- Power Management
- Automotive Electronics
- Navigation buttons
- Safety mechanism
Conclusion.
We hope you have found this Arduino – Button – Debounce Circuit very useful. If you feel any difficulty in making it feel free to ask anything in the comment section.