Overview
Pushbuttons are essentially the building blocks of any electronic circuit or design setup. Interfacing it with an ESP32-WROOM microcontroller involves connecting the pushbutton to one of the GPIO pins on the ESP32 and then detecting the button press and release events. In today’s tutorial, we are going to understand how to control a simple pushbutton using an ESP32-WROOM microcontroller.
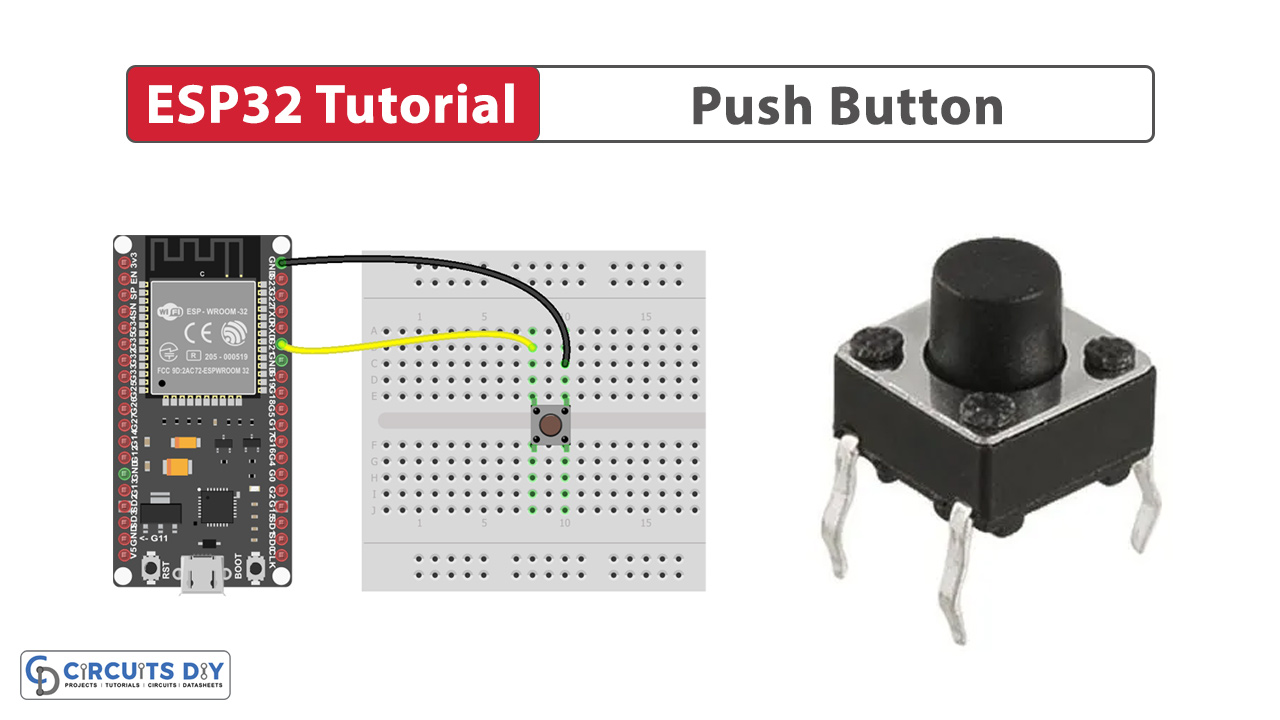
Introduction to a Push Button
A pushbutton is an electromechanical switch that can be used to make or break an electrical connection in a circuit. In the default state, the contacts are open, preventing the flow of electrical current. When the button is pressed, it closes the contacts, allowing current to pass through it momentarily.
If you want to learn more about Push Buttons, read this article on Push Button.
Hardware Components
You’ll need the following hardware components to get started:
Steps-by-Step Guide
(1) Setting up Arduino IDE
Download Arduino IDE Software from its official site. Here is a step-by-step guide on “How to install Arduino IDE“.
(2) ESP32 in Arduino IDE
There’s an add-on that allows you to program the ESP32 using the Arduino IDE. Here is a step-by-step guide on “How to Install ESP32 on Arduino IDE“.
(3) Schematic
Make connections according to the circuit diagram given below.
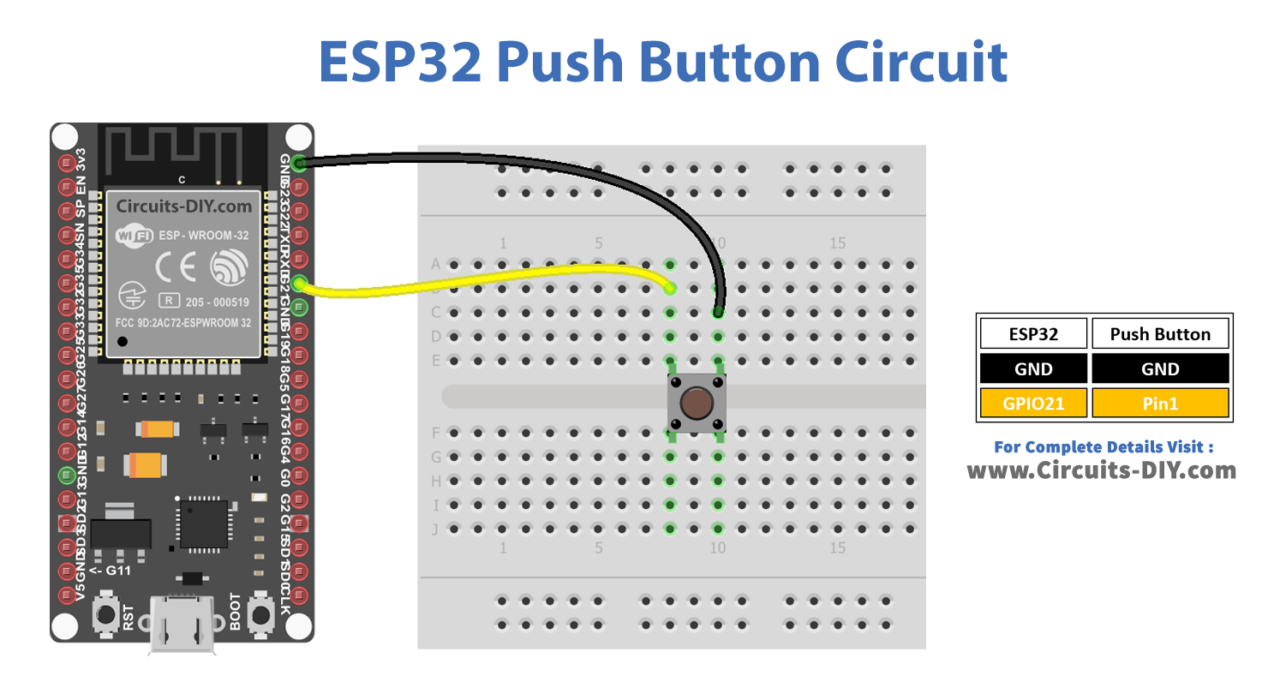
Wiring / Connections
| ESP32 | Button |
|---|---|
| GND | GND |
| GIOP21 | Pin 1 |
(4) Uploading Code
Now copy the following code and upload it to Arduino IDE Software.
Push Button State Detection
The below example code shows how to detect the state change from LOW to HIGH
/* Circuits DIY
 * For Complete Details Visit
 * https://www.circuits-diy.com/esp32-tutorial-push-button/
 */

#define BUTTON_PIN 21 // GPIO21 pin connected to button

// Variables will change:
int lastState = HIGH; // the previous state from the input pin
int currentState;     // the current reading from the input pin

void setup() {
  Serial.begin(9600);
  // initialize the pushbutton pin as an pull-up input
  pinMode(BUTTON_PIN, INPUT_PULLUP);
}

void loop() {
  // read the state of the switch/button:
  currentState = digitalRead(BUTTON_PIN);

  if(lastState == LOW && currentState == HIGH)
    Serial.println("The state changed from LOW to HIGH");

  // save the last state
  lastState = currentState;
}
Push Button Read
This code reads the push button state and prints on the serial monitor.
#define BUTTON_PIN 21 // GIOP21 pin connected to button

void setup() {
  // initialize serial communication at 9600 bits per second:
  Serial.begin(9600);
  // initialize the pushbutton pin as an pull-up input
  // the pull-up input pin will be HIGH when the switch is open and LOW when the switch is closed.
  pinMode(BUTTON_PIN, INPUT_PULLUP);
}

void loop() {
  // read the state of the switch/button:
  int buttonState = digitalRead(BUTTON_PIN);

  // print out the button's state
  Serial.println(buttonState);
}
Push Button Action
The below code prints on the serial monitor if the button is pressed or released.
#define BUTTON_PIN 21  // GIOP21 pin connected to button

// Variables will change:
int lastState = LOW;  // the previous state from the input pin
int currentState;     // the current reading from the input pin

void setup() {
  // initialize serial communication at 9600 bits per second:
  Serial.begin(9600);
  // initialize the pushbutton pin as an pull-up input
  // the pull-up input pin will be HIGH when the switch is open and LOW when the switch is closed.
  pinMode(BUTTON_PIN, INPUT_PULLUP);
}

void loop() {
  // read the state of the switch/button:
  currentState = digitalRead(BUTTON_PIN);

  if (lastState == HIGH && currentState == LOW)
    Serial.println("The button is pressed");
  else if (lastState == LOW && currentState == HIGH)
    Serial.println("The button is released");

  // save the the last state
  lastState = currentState;
}
Applications
- Control lights, fans, and appliances with button presses.
- Act as a remote for TVs, speakers, etc.
- Start/stop workout tracking with a button press.