Overview
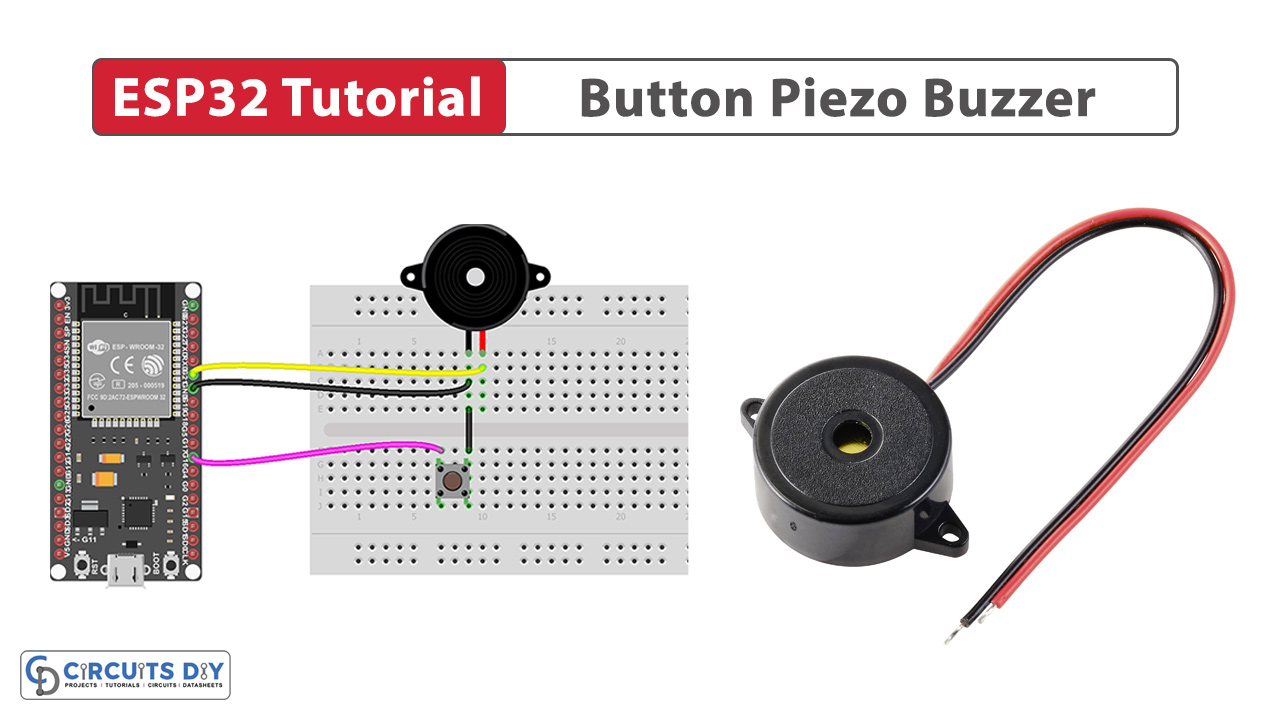
Interfacing a piezoelectric buzzer and an ESP32-WROOM microcontroller using a pushbutton entails prompting the buzzer to generate a sound or melody at the push of a button. It is a very simple but efficient circuit allowing for ease of access for newcomers in the domain of electronic circuit designing. So, in today’s tutorial, we are going to understand how to interface a piezoelectric buzzer with an ESP32-WROOM microcontroller using a push button.
What is a Piezoelectric buzzer?
A piezoelectric buzzer is a simple transducer that generates sound through the piezoelectric effect. It consists of a piezoelectric crystal or ceramic material bonded to a diaphragm. When an electrical voltage is applied to the element, it undergoes mechanical deformation, causing the diaphragm to vibrate rapidly.
Hardware Components
You’ll need the following hardware components to get started:
| Components | Value / Model | Qty |
|---|---|---|
| ESP32 | – | 1 |
| Button | – | 1 |
| Piezo Buzzer | – | 1 |
| Power Adapter | 12V | 1 |
| DC Power Jack | – | 1 |
| Breadboard | – | 1 |
| Jumper Wires | – | 1 |
| DC Power for ESP32 | – | 1 |
Steps-by-Step Guide
(1) Setting up Arduino IDE
Download Arduino IDE Software from its official site. Here is a step-by-step guide on “How to install Arduino IDE“.
(2) ESP32 in Arduino IDE
There’s an add-on that allows you to program the ESP32 using the Arduino IDE. Here is a step-by-step guide on “How to Install ESP32 on Arduino IDE“.
(3) Schematic
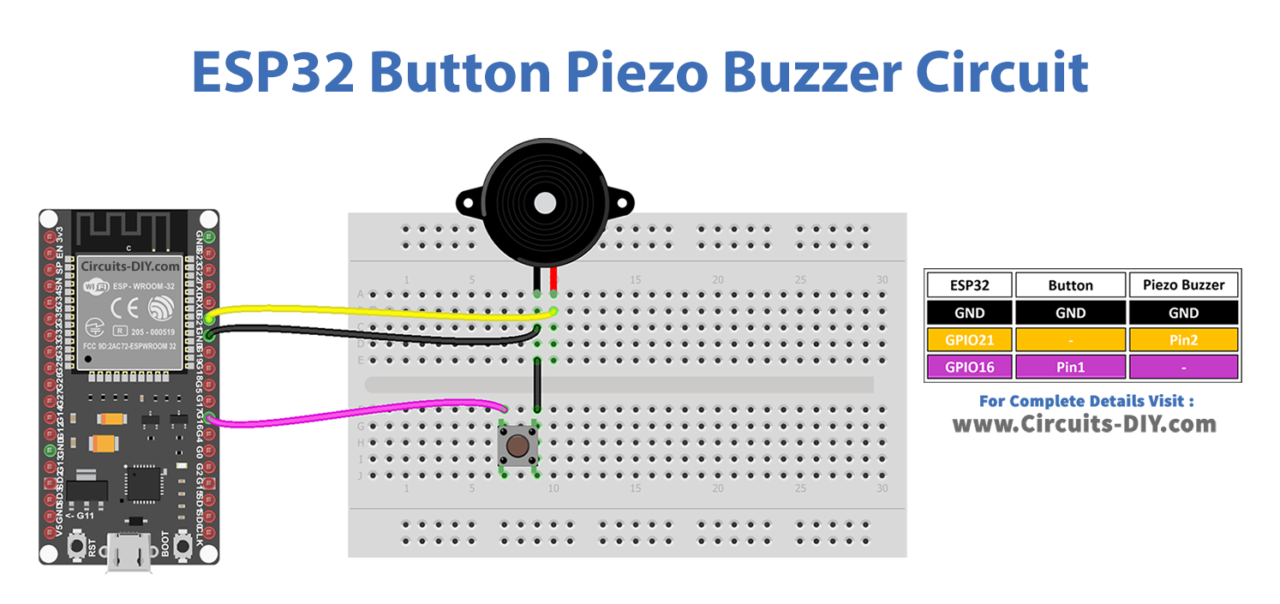
Make connections according to the circuit diagram given below.
Wiring / Connections
| ESP32 | Button | Piezo Buzzer |
|---|---|---|
| GND | GND | GND |
| GIOP21 | Pin 2 | |
| GIOP16 | Pin 1 |
(4) Uploading Code
This code configures an ESP32 microcontroller to interact with a button and a buzzer. The button is connected to GPIO pin 16 and is set up with a pull-up resistor to ensure a stable state when not pressed. The buzzer is connected to GPIO pin 21 and is set as an output.
In the main loop, the code continuously checks the state of the button using digitalRead(BUTTON_PIN). If the button is pressed (LOW state), it prints a message to the serial monitor and turns on the buzzer by setting BUZZER_PIN to HIGH. When the button is released (HIGH state), it prints another message and turns off the buzzer by setting BUZZER_PIN to LOW.
Now copy the following code and upload it to Arduino IDE Software.
#define BUTTON_PIN 16 // ESP32 GPIO16 pin connected to button's pin
#define BUZZER_PIN 21 // ESP32 GPIO21 pin connected to Buzzer's pin

void setup() {
  Serial.begin(9600);                // initialize serial
  pinMode(BUTTON_PIN, INPUT_PULLUP); // set ESP32 pin to input pull-up mode
  pinMode(BUZZER_PIN, OUTPUT);       // set ESP32 pin to output mode
}

void loop() {
  int buttonState = digitalRead(BUTTON_PIN); // read new state

  if (buttonState == LOW) {
    Serial.println("The button is being pressed");
    digitalWrite(BUZZER_PIN, HIGH); // turn on
  }
  else
  if (buttonState == HIGH) {
    Serial.println("The button is unpressed");
    digitalWrite(BUZZER_PIN, LOW);  // turn off
  }
}