
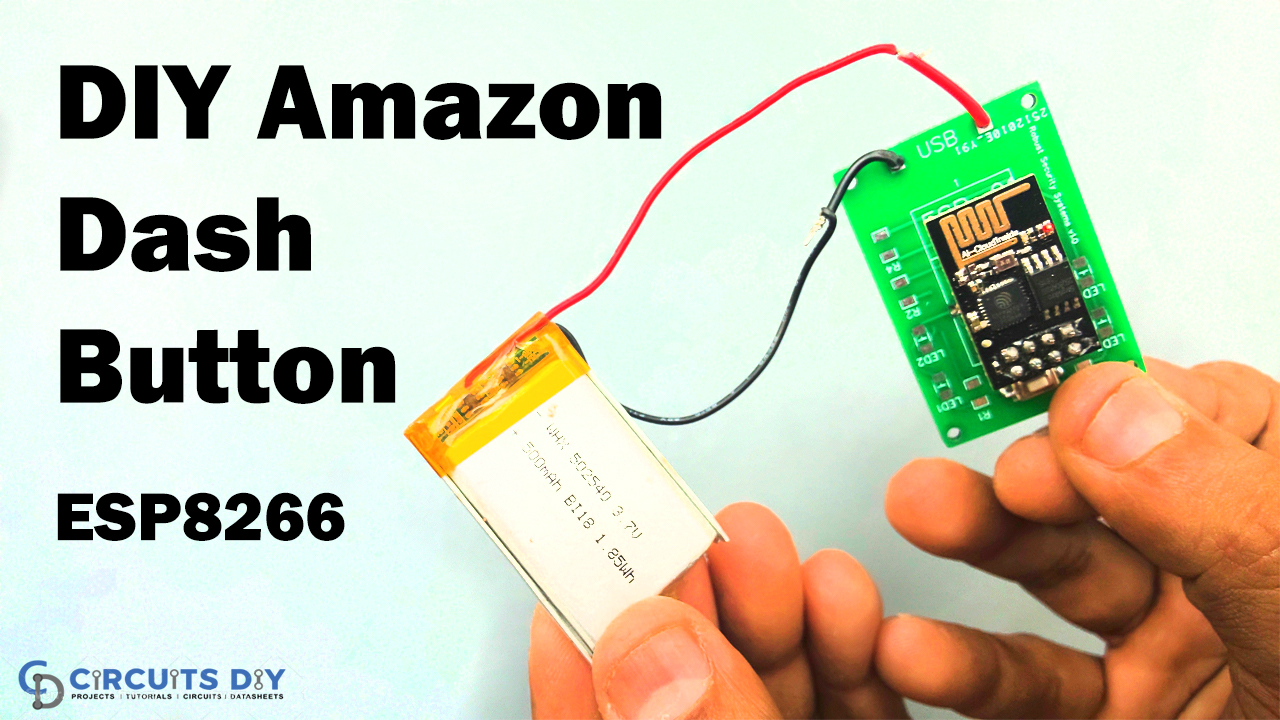
In this project, you’re going to make a Dash Button OR Wi-Fi Button using an ESP8266. Dash button is mostly used to trigger an event like a home automation event, service event, etc. Dash Button is just like a remote control that you can put into your pocket or place anywhere that when pressed sends out an email. It can also be called a DIY Amazon Dash Button.
JLCPCB is the foremost PCB prototype & manufacturing company in china, providing us with the best service we have ever experienced regarding (Quality, Price Service & Time).
Hardware Required
| S.no | Component | Value | Qty |
|---|---|---|---|
| 1. | ESP8266 | – | 1 |
| 2. | Lithium Battery | 3.7v | 1 |
| 3. | Dash Button PCB | – | 1 |
| 4. | Push Button SMD | – | 1 |
| 5. | Female Header | – | 1 |
Circuit Diagram

Code
/*
 * ESP8266 Wi-Fi Button
 * Project Details at https://Circuits-DIY.com
 */

#include <ESP8266WiFi.h>

// Replace with your SSID and Password
const char* ssid     = "Circuits DIY";
const char* password = "03433212601";

// Replace with your unique IFTTT URL resource
const char* resource = "https://maker.ifttt.com/trigger/Button_Pressed/with/key/gdPQ76f331xwJUyL-25zLJHgjFM1U0u2YNT3fGu_s20";

// How your resource variable should look like, but with your own API KEY (that API KEY below is just an example):
//const char* resource = "/trigger/button_pressed/with/key/nAZjOphL3d-ZO4N3k64-1A7gTlNSrxMJdmqy";

// Maker Webhooks IFTTT
const char* server = "maker.ifttt.com";

void setup() {
  Serial.begin(115200);

  initWifi();
  makeIFTTTRequest();

  // Deep sleep mode until RESET pin is connected to a LOW signal (pushbutton is pressed)
  ESP.deepSleep(0);
}

void loop() {
  // sleeping so wont get here
}

// Establish a Wi-Fi connection with your router
void initWifi() {
  Serial.print("Connecting to: ");
  Serial.print(ssid);
  WiFi.begin(ssid, password);

  int timeout = 10 * 4; // 10 seconds
  while(WiFi.status() != WL_CONNECTED  && (timeout-- > 0)) {
    delay(250);
    Serial.print(".");
  }
  Serial.println("");

  if(WiFi.status() != WL_CONNECTED) {
     Serial.println("Failed to connect, going back to sleep");
  }

  Serial.print("WiFi connected in: ");
  Serial.print(millis());
  Serial.print(", IP address: ");
  Serial.println(WiFi.localIP());
}

// Make an HTTP request to the IFTTT web service
void makeIFTTTRequest() {
  Serial.print("Connecting to ");
  Serial.print(server);

  WiFiClient client;
  int retries = 5;
  while(!!!client.connect(server, 80) && (retries-- > 0)) {
    Serial.print(".");
  }
  Serial.println();
  if(!!!client.connected()) {
     Serial.println("Failed to connect, going back to sleep");
  }

  Serial.print("Request resource: ");
  Serial.println(resource);
  client.print(String("GET ") + resource +
                  " HTTP/1.1\r\n" +
                  "Host: " + server + "\r\n" +
                  "Connection: close\r\n\r\n");

  int timeout = 5 * 10; // 5 seconds
  while(!!!client.available() && (timeout-- > 0)){
    delay(100);
  }
  if(!!!client.available()) {
     Serial.println("No response, going back to sleep");
  }
  while(client.available()){
    Serial.write(client.read());
  }

  Serial.println("\nclosing connection");
  client.stop();
}
Working Explanation
After connecting the circuit according to the circuit diagram, take the circuit aside for a while. Now you need to use a free service known as If This Than That (IFTTT). We need this service to automate tasks online. Here, we will email when the ESP push button is pressed.
Getting Started with IFTTT
- Go on the IFTTT website and and click the on the button Get started. Complete all the details, and create your account.
- Open the tab My Applets and click on New Applet
- Click the word This and then search for Webhooks
- Type button_pressed and click on Create trigger
- Press the word That and the search for gmail service
- A new window will open and you need to grant access, so that IFTTT can send out emails through your account.
- Click on send Email and then on Connect button.
- After connecting your email there would be a window of Complete action feilds. Here, provide mail address for notifications and then press on
- Click on continue and then to finish option. You would have your Applet created after clicking Finish.
- Now open the search, find the Webhooks service and open it.
- Now you can find your unique API KEY. Keep that private. Type button_pressed in the event name. Your final URL will be appear in the bottom of the web page. You need to Copy that URL.
- On your internet browser, paste that URL and press enter, you will see the Congratulations message.
- Also, open the email, new message will be there.
Uploading of Code
- Now if you see our code, you have the message replace with your IFTTT URL. We have already written our URL but you need to paste yours.
- Upload the code to your circuit, give supply and use the circuit.
Application
- You may use this button in automation circuits.
Related posts:
 Smart Home Automation Control System | ESP8266 | NodeMcu | Firebase
 Home Automation Using NodeMCU ESP8266 & Firebase
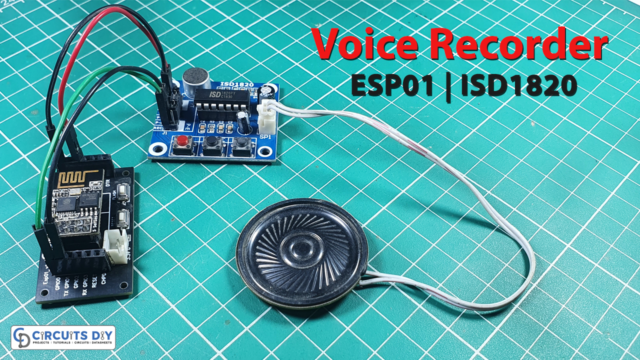 Voice Recording with ISD1820 Module and ESP01
 ESP8266-ESP01 Local Time Internet Clock with OLED SSD1306
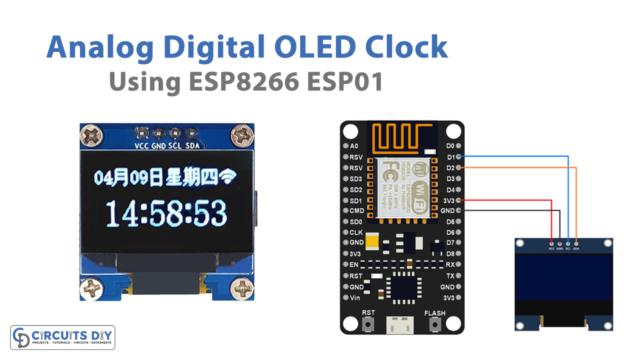 IoT-Based Analog Digital OLED Clock using ESP8266 ESP01
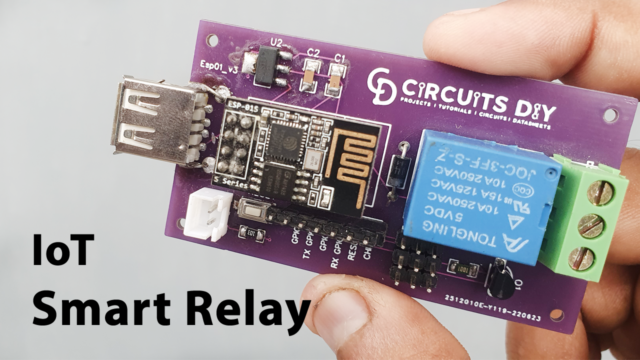 ESP8266-01 IoT Smart Relay for Home Automation


