Introduction
Connecting an Arduino UNO microcontroller to an internet router using an RJ45 Ethernet cable is a powerful way to give the microcontroller access to network resources and the internet. By leveraging the Ethernet library provided by the Arduino IDE, the device can be configured with network settings such as the IP address, subnet mask, and gateway address, enabling it to communicate with other devices on the network.
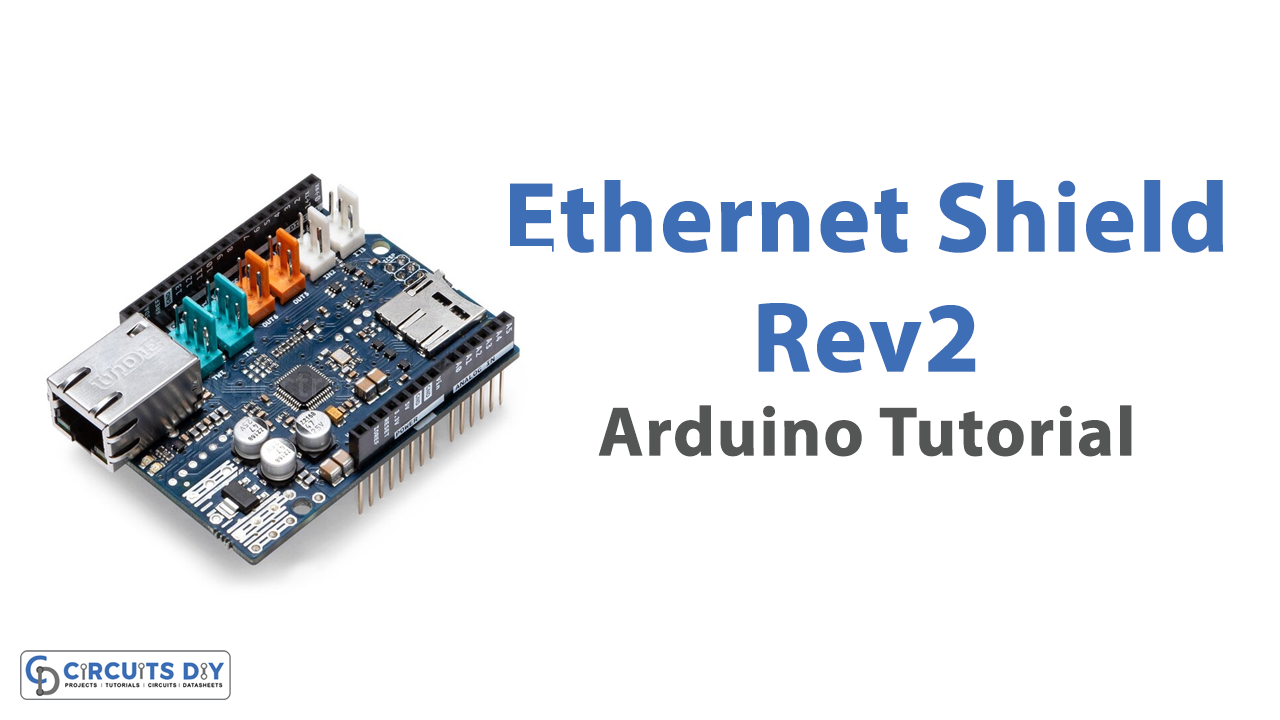
The Velleman KA04 Ethernet Shield for Arduino Uno is a hardware module that enables an Arduino Uno microcontroller to connect to the internet. The shield provides an RJ45 Ethernet jack and allows an Arduino Uno to communicate with other devices and servers on a network using standard internet protocols such as TCP/IP. With the Ethernet shield, an Arduino Uno can be used for a wide range of internet-connected projects, including web servers, data logging, and remote control applications.
Hardware Components
You will require the following hardware for using Ethernet Shield 2 with Arduino.
| S.no | Component | Value | Qty |
|---|---|---|---|
| 1. | Arduino UNO | – | 1 |
| 2. | USB Cable Type A to B | – | 1 |
| 3. | Arduino Ethernet Shield 2 | – | 1 |
| 4. | Ethernet Cable | – | 1 |
| 5. | 9V Power Adapter for Arduino | 9V | 1 |
Ethernet Shield Rev2 with Arduino UNO
- Include the necessary libraries
#include <SPI.h>
#include <Ethernet.h>
This code includes the required libraries for Ethernet and SPI communication.
- Define the MAC address of the Ethernet shield
byte mac[] = { 0xDE, 0xAD, 0xBE, 0xEF, 0xFE, 0xED };
This code defines the MAC address of the Ethernet shield. The MAC address is a unique identifier for the Ethernet shield and is usually printed on a sticker on the shield.
- Define the setup function
void setup() {
  // initialize the serial communication at 9600 bits per second:
  Serial.begin(9600);

  // TODO: add your setup code here, to run once:
}
This code defines the setup() function. This function is called once when the Arduino board is powered on or reset. In this function, the serial communication is initialized with a baud rate of 9600 bits per second. This allows the board to communicate with the computer via the serial monitor. Any setup code specific to the application can be added to this function.
- Obtain an IP address using DHCP
  // initialize the Ethernet shield using DHCP:
  Serial.println("Obtaining an IP address using DHCP");
  if (Ethernet.begin(mac) == 0) {
    Serial.println("Failed to obtaining an IP address");

    // check for Ethernet hardware present
    if (Ethernet.hardwareStatus() == EthernetNoHardware)
      Serial.println("Ethernet shield was not found");

    // check for Ethernet cable
    if (Ethernet.linkStatus() == LinkOFF)
      Serial.println("Ethernet cable is not connected.");

    while (true);
  }
This code initializes the Ethernet shield using DHCP. DHCP stands for Dynamic Host Configuration Protocol, and it allows the board to obtain an IP address automatically from a DHCP server. If obtaining an IP address fails, error messages are printed, and the board enters an infinite loop. This code also checks whether the Ethernet shield is present and whether the Ethernet cable is connected.
- Print out the IP address, subnet mask, gateway’s IP address, and DNS server’s IP address
  // print out Arduino's IP address, subnet mask, gateway's IP address, and DNS server's IP address
  Serial.print("- Arduino's IP address   : ");
  Serial.println(Ethernet.localIP());

  Serial.print("- Gateway's IP address   : ");
  Serial.println(Ethernet.gatewayIP());

  Serial.print("- Network's subnet mask  : ");
  Serial.println(Ethernet.subnetMask());

  Serial.print("- DNS server's IP address: ");
  Serial.println(Ethernet.dnsServerIP());
This code prints out the IP address, subnet mask, gateway’s IP address, and DNS server’s IP address using the Serial.print() and Serial.println() functions. These values are obtained from the Ethernet library functions Ethernet.localIP(), Ethernet.gatewayIP(), Ethernet.subnetMask(), and Ethernet.dnsServerIP().
- Define the loop function
void loop() {
  // TODO: add your loop code here, to run repeatedly:
}
Code
Now copy the following code and upload it to Arduino IDE Software.
#include <SPI.h>
#include <Ethernet.h>

// replace the MAC address below by the MAC address printed on a sticker on the Arduino Shield 2
byte mac[] = { 0xDE, 0xAD, 0xBE, 0xEF, 0xFE, 0xED };

// TODO: Declare something depending on your application

void setup() {
  Serial.begin(9600);

  // initialize the Ethernet shield using DHCP:
  Serial.println("Obtaining an IP address using DHCP");
  if (Ethernet.begin(mac) == 0) {
    Serial.println("Failed to obtaining an IP address");

    // check for Ethernet hardware present
    if (Ethernet.hardwareStatus() == EthernetNoHardware)
      Serial.println("Ethernet shield was not found");

    // check for Ethernet cable
    if (Ethernet.linkStatus() == LinkOFF)
      Serial.println("Ethernet cable is not connected.");

    while (true);
  }

  // print out Arduino's IP address, subnet mask, gateway's IP address, and DNS server's IP address
  Serial.print("- Arduino's IP address   : ");
  Serial.println(Ethernet.localIP());

  Serial.print("- Gateway's IP address   : ");
  Serial.println(Ethernet.gatewayIP());

  Serial.print("- Network's subnet mask  : ");
  Serial.println(Ethernet.subnetMask());

  Serial.print("- DNS server's IP address: ");
  Serial.println(Ethernet.dnsServerIP());

  // TODO: initialize something depending on your application
}

void loop() {
  // TODO: do something depending on your application
}
Working Explanation
In the setup() function, the sketch initializes the serial communication at a baud rate of 9600 and attempts to obtain an IP address using DHCP. If obtaining an IP address fails, the sketch checks for the presence of the Ethernet hardware and the Ethernet cable and waits indefinitely. If obtaining an IP address is successful, the sketch prints out the IP address, subnet mask, gateway’s IP address, and DNS server’s IP address on the serial monitor. These parameters are necessary for communicating with other devices on the network or the internet.
After initializing the Ethernet shield and obtaining the necessary network parameters, the sketch initializes other peripherals or devices depending on the application. The loop() function is a placeholder for the main application code. The user can add code to read sensors, control actuators, or communicate with other devices on the network or the internet.
Applications
- Web servers
- Data logging
- Remote control
- Security systems
- Industrial automation.
Conclusion.
We hope you have found this Ethernet Shield Rev2 Tutorial very useful. If you feel any difficulty in making it feel free to ask anything in the comment section.