
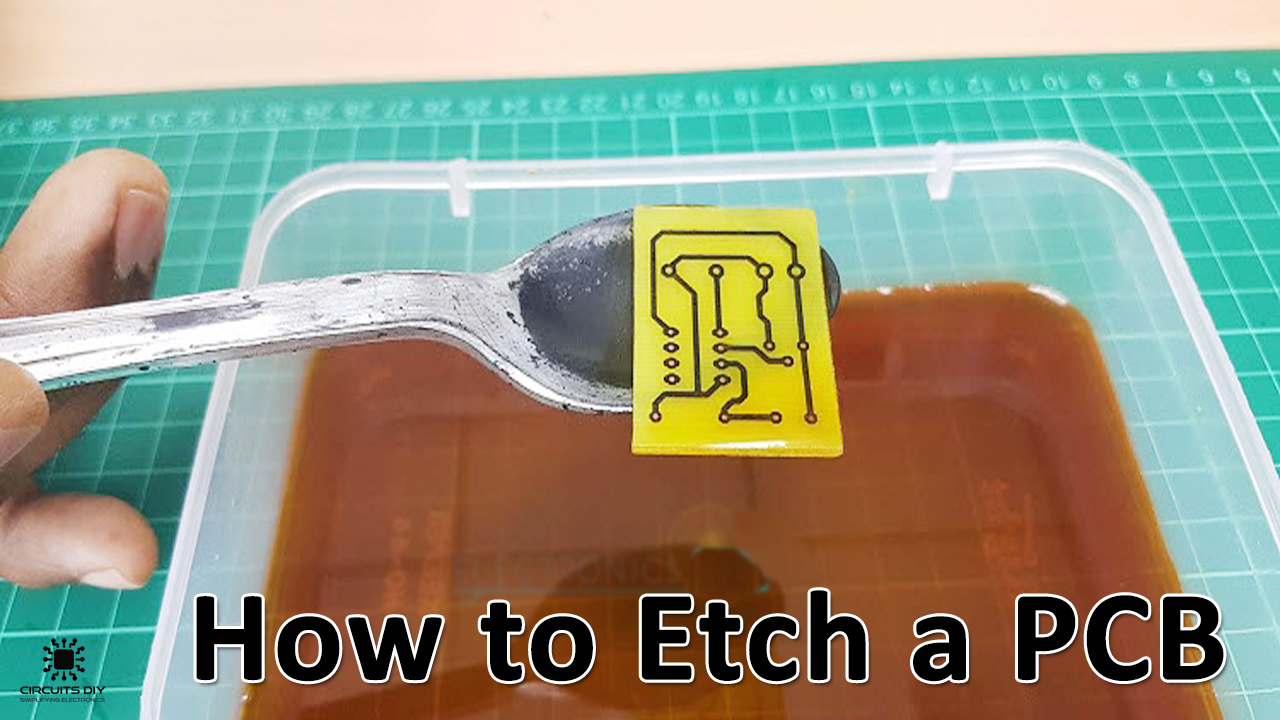
What is PCB Etching?
PCB is an acronym that stands for Printed Circuit Board that helps to connect active & passive electronic components with pads, tracks, and lines incorporated on a laminated copper sheet. A number of stages are involved in proper PCB fabrications which include designing, layout, routing, etching & troubleshooting. In this article, we will take a deep dive into the step by step process on How to Etch a PCB.
PCB Etching is the process of copper-clad being removed from another substrate surface. The etching process involves using liquid chemicals to take off the substrate material before they are used in fabrication. Alternative methods include plasma etching and laser etching. Mostly, Chemical etching is used in PCB fabrication which is a subtractive process that utilizes chemical baths.
JLCPCB is the foremost PCB prototype & manufacturing company in china, providing us with the best service we have ever experienced regarding (Quality, Price Service & Time).
Equipment Components For PCB Etching
You will need the following parts to properly Etch a PCB.
| S.no | Component | Value | Qty |
|---|---|---|---|
| 1. | Copper Clad Board w/ Fiber sheet Base | 100x70mm | 1 |
| 2. | Glossy Photo paper | – | 1 |
| 3. | Rubbing Alcohol | – | 1 |
| 4 | Acetone | – | 1 |
| 5. | Flat Iron (In case you want to use heating method for circuit transfer) | – | 1 |
| 6. | Ferric Chloride Solution (FeCl3) | – | 1 |
| 7. | Etching Tray | – | 1 |
| 8. | Scratch Pen | – | 1 |
| 9. | Utility Knife | – | 1 |
| 10. | Laptop/PC (with a prepared PCB design) | – | 1 |
| 11. | Hand Drill w/ drill bits | 3.2mm – 8mm drill bits | 1 |
| 12. | Sandpaper | – | 1 |
| 13. | Solid Ink Printer | – | 1 |
Useful Steps For PCB Etching
Following are the steps on ‘How to Etch a PCB.’
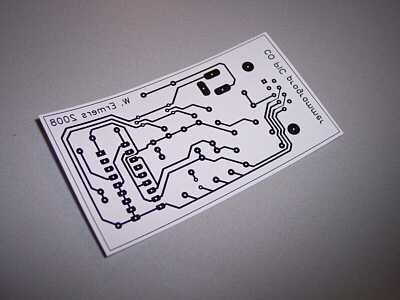
1) Design & Printout Your PCB Schematics
First of all, design your PCB schematic using a design software such as EagleCAD, fritzing etc, and printout your PCB layout onto a Glossy photo paper using a solid ink printer.
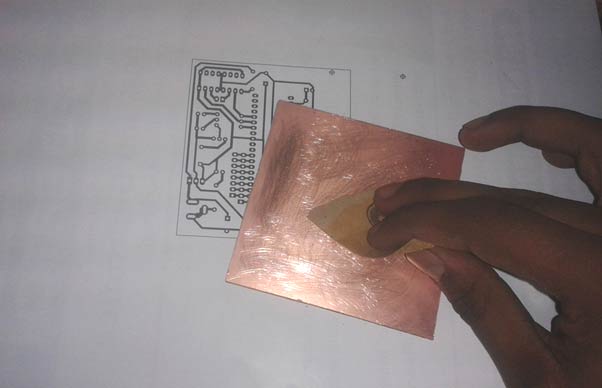
2) Slice up & Sand the copper clad
Cut as much as the layers of the same size you require from the copper-clad & sand them, focus on sanding the edges of the copper clad well enough to get a nice etch.
3) Transfer of Circuit to Copper Clad Using a Heating Element or Heatless Toner Transfer Method
Now, the next step is to transfer the printed PCB schematics on the copper clads. Here 2 methods are applicable, you may use the one best suited to your needs.
Heating Element Toner Transfer Method
In this method you basically iron the printed circuit on the copper-clad using a heating element such as a flat iron. laundry iron usually works best. Ironing transfers the ink from the photo paper & fuses it to the PCB board. If the paper is very thick, set the iron to the highest possible setting or to the medium setting if not.
Heatless Toner Transfer Method
First, clean the copper clad using freshwater & a tissue. After that, use a good amount of Alcohol & Acetone mixture in an 8:3 ratio on the copper clad. Then place the photo paper over it. The entire paper should cover the Alcohol-acetone coated copper clad in one go. Let it dry for 30 min, after which dip the board in some freshwater before peeling the photo paper. Carefully start the peeling processing, letting the board dry for a couple of minutes in case you see pieces of paper sticking to the board. After the peeling off the photo paper, remove any residual paper by using a tissue.
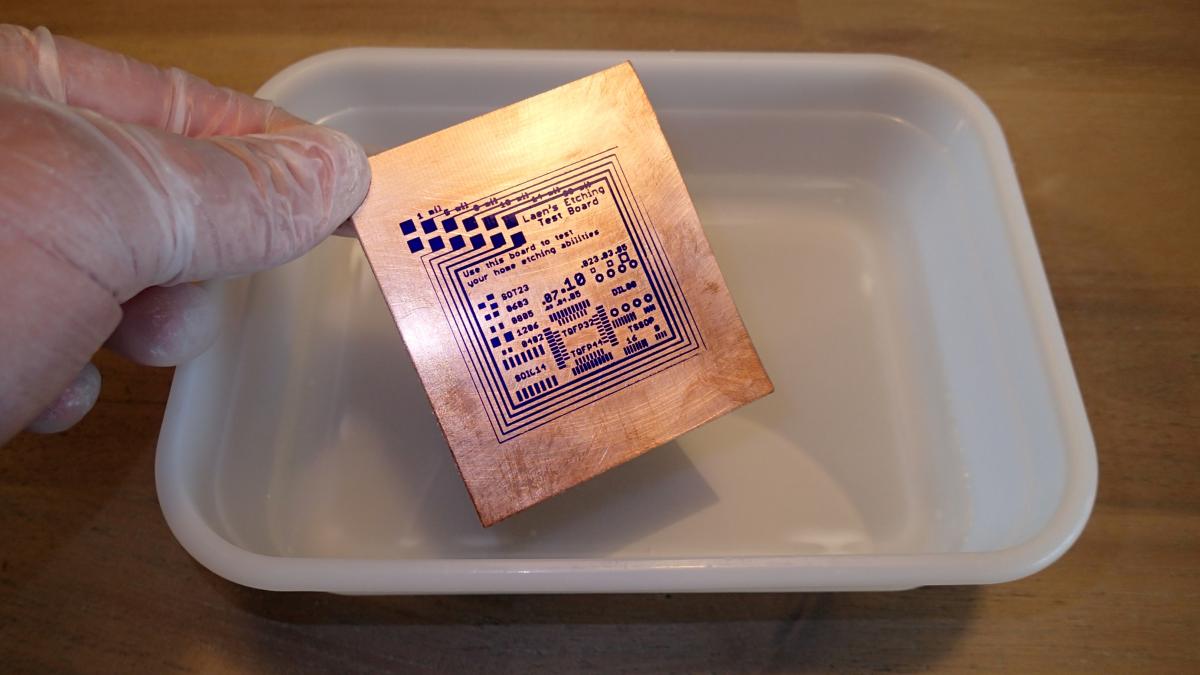
4) Start Your Etch
Place the Cu clads in the ferric chloride (FeCl3) solution for around 5-8 minutes. The time for etching will depend on the levels of temperatures and the thickness of the copper sheet. After this check the traces & remove any unwanted copper between the traces using a scratch pen.
5) Rinse, Clean & Inspect the PCB
Once all the copper has etched away from the board, rinse the board using clean bathwater. After that, clean the board using rubbing alcohol to wipe any excess ink remaining on the PCB.
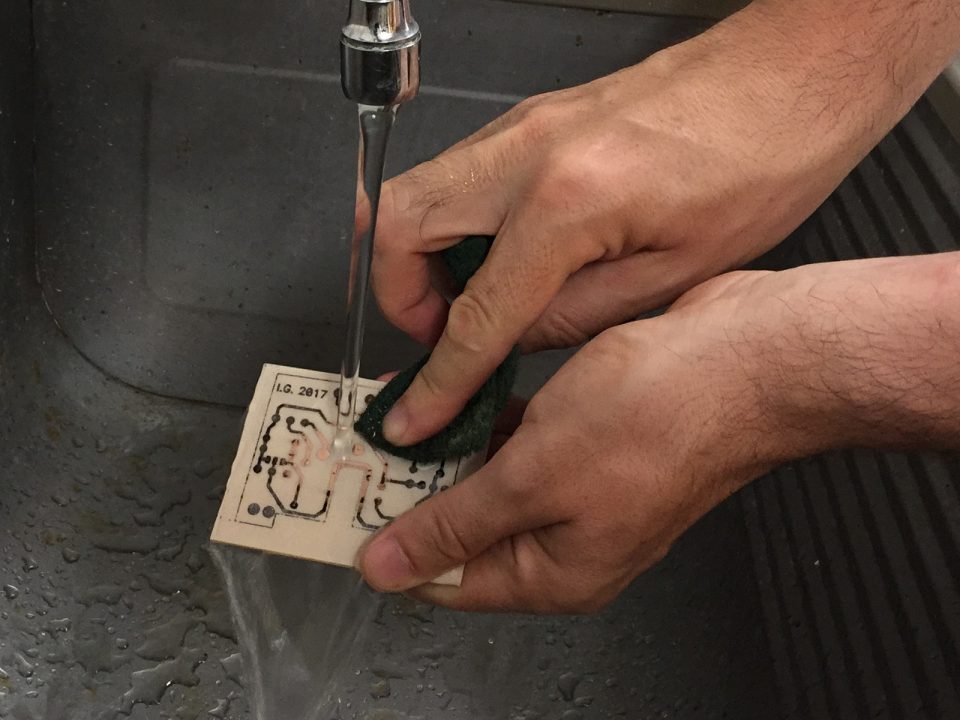
All in all, by following the above-given instructions you will be able to obtain a clean etch, after which you can continue on to applying masking ink & drilling vias onto your PCB.


1 thought on “How To Etch A PCB (Printed Circuit Board) – A Beginners Guide”
Comments are closed.